
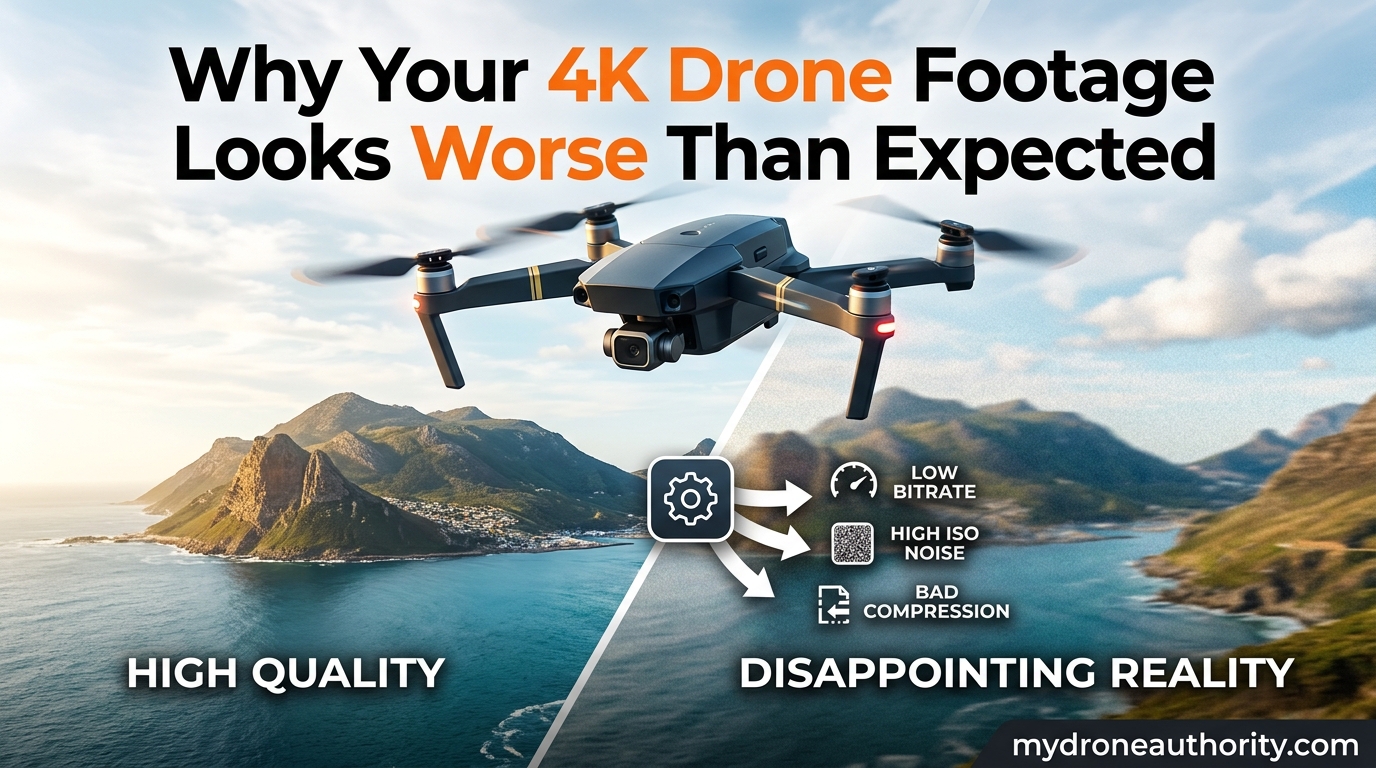
You unpack the drone, charge the batteries, and head out for that golden-hour flight you have been planning all week. The live feed on your phone looks crisp, the still photos come out tack-sharp, and you cannot wait to edit the 4K clips. Then you sit down at your computer, scrub through the footage, and something feels off. The video looks softer, noisier, or just less impressive than the resolution number on the box promised. If this sounds familiar, you are not alone, and your gear is probably not broken. This guide explains exactly why your 4K drone footage looks worse than expected, what is happening behind the scenes, and which settings you can change today to get sharper results.
Almost every drone pilot hits this wall at some point, from first-time Mini owners to experienced Mavic flyers. The short answer is that 4K video and 4K photos are not the same animal, even though they share a resolution label. Video is compressed in real time, spread across dozens of frames every second, and processed through codecs designed to trade detail for manageable file sizes. Once you understand the math, the disappointment starts to make sense, and more importantly, you can work around it.
Table of Contents
Why Your 4K Drone Footage Looks Worse Than Expected: The Core Problem
Your 4K drone footage looks worse than expected because video compression spreads a limited bitrate across every frame recorded each second, leaving each individual frame with far less data than a still photo captured at the same resolution. A 12-megapixel JPEG from your drone might contain 3 to 8 megabytes of image data, while a single frame of 4K video at 60 frames per second on a 150 Mbps bitrate only receives about 0.3 megabytes of data. That is roughly a 10x to 25x difference in data per image, and your eyes can tell.
This is the single biggest reason pilots feel let down. Marketing focuses on the resolution number, but resolution only describes how many pixels exist, not how much information each pixel carries. Two 4K frames can look completely different depending on how much data was thrown away during compression. Once you accept that 4K video is not 4K photos played back at speed, the rest of the puzzle falls into place.
The problem shows up in a few familiar ways. Footage looks soft when you zoom in or crop. Details smear in motion. Night shots turn grainy fast. Fast pans look jittery. Each of these symptoms has a specific cause, and most are traceable back to bitrate, codec, shutter speed, or stabilization choices. Let us break them down one at a time.
Bitrate and Compression: The Real Reason Footage Looks Soft
Bitrate is the single most important number to understand if you want to know why your 4K drone footage looks worse than expected. Bitrate measures how much data the drone writes to the memory card every second, usually expressed in megabits per second (Mbps). Higher bitrate means more data per frame, which means more detail, less banding, and cleaner gradients.
Here is where the math gets revealing. Take a drone recording 4K at 60 frames per second with a 150 Mbps bitrate. First, convert that to megabytes: 150 Mbps divided by 8 equals about 18.75 megabytes per second. Now divide that across 60 frames and you get roughly 0.31 megabytes of data per frame. Compare that to a single JPEG still from the same camera, which might be 3 to 5 megabytes. Each video frame is carrying less than one-tenth the data of a photo, and that gap shows up as softness when you pause the video or look closely at fine details like leaves, grass, or distant text.
This is also why your drone footage looks worse than expected when you crop in post. A still photo tolerates cropping because it has data to spare. A video frame is already running on a data budget, so any additional zoom magnifies the compression artifacts that were already hiding in the image.
Drone manufacturers set bitrate limits based on the camera processor, thermal limits, and memory card write speeds. A DJI Mini 4 Pro and a Mavic 3 Pro both shoot 4K, but the higher-end body can write more data per second, which is one reason footage from a flagship drone looks cleaner even when the resolution number is the same. The bitrate is doing the heavy lifting behind the scenes.
If your drone supports a high-bitrate mode like H.265 at 200 Mbps or an All-Intra option, turning it on is usually the easiest single change you can make to improve perceived sharpness. The files get bigger, but the quality jump is real and measurable.
H.264 vs H.265: The Codec Trade-off Explained
The codec your drone uses to encode video determines how efficiently that bitrate is spent. The two codecs you will see on almost every modern drone are H.264 (also called AVC) and H.265 (also called HEVC). Both compress video, but they use very different approaches, and choosing between them is one of the most common decisions pilots get wrong.
H.264 is the older, more compatible codec. Almost every device, editor, and video player handles H.264 footage without complaint. The trade-off is that H.264 is less efficient, so at the same bitrate it preserves less detail than H.265. If your drone caps out at 100 Mbps and you choose H.264, you are leaving quality on the table.
H.265 is newer and roughly 50 percent more efficient at the same bitrate, which means an H.265 file at 100 Mbps can look about as clean as an H.264 file at 150 Mbps. That efficiency is why DJI and other brands push H.265 for 4K recording. The downside is that H.265 is harder on your computer during editing, older devices may not play it smoothly, and the codec uses more aggressive interframe compression that can occasionally smear fast-moving detail.
Here is a useful rule of thumb. If you are recording in bright, detailed scenes and your editing machine can handle it, choose H.265 at the highest bitrate your drone allows. If you are dealing with fast motion, lots of panning, or a slower computer, H.264 at high bitrate often holds up better because it uses simpler interframe prediction and is less likely to smear motion.
Neither codec is going to magically make low-bitrate footage look professional. The codec only decides how the data is spent. The bitrate decides how much data you have to spend in the first place. Both matter, but bitrate is the bigger lever.
Chroma Subsampling: What 4:2:0 Means for Sharpness
Chroma subsampling is one of the most overlooked reasons 4K drone footage looks worse than expected, and almost no competitor article explains it in plain language. Almost all consumer drones, including high-end models, record video using 4:2:0 chroma subsampling. That number tells you how much color information is stored compared to brightness information.
The first digit (4) refers to the luminance, or brightness, samples in a row of pixels. The second and third digits (2 and 0) refer to the chroma, or color, samples. In 4:2:0 subsampling, color is sampled at half the horizontal resolution and half the vertical resolution of brightness. This works because human vision is much more sensitive to brightness detail than color detail, so throwing away color data is a cheap way to shrink file size without most viewers noticing.
The catch is that 4:2:0 hurts when you try to grade footage, key out skies, or pull clean stills from video. Edges between strongly different colors can show blocky artifacts, and heavy color grading pulls these artifacts into view. A still photo, by contrast, usually records full 4:4:4 color data, which is one more reason a video frame pulled from the same drone never matches the photo quality.
Some pro drones and the upper-tier mirrorless cameras offer 4:2:2 10-bit recording, which preserves much more color data and is the reason professional footage grades cleanly. If your drone supports a 10-bit D-Log or HLG mode, that is your path to richer, more flexible color, even though the file sizes will grow significantly.
Shutter Speed and Motion Blur: Why 4K Needs Different Settings
Shutter speed is the next major piece of the puzzle, and it is where beginners most often make their footage look worse without realizing it. The accepted rule for natural-looking video is the 180-degree shutter rule, which says your shutter speed should be roughly double your frame rate. At 30 frames per second, that means a shutter around 1/60. At 60 frames per second, target around 1/120.
This rule exists because a small amount of motion blur on each frame is what makes video feel smooth and cinematic to the human eye. Too fast a shutter and every frame is razor-sharp but the footage looks jittery, jittery, and unnatural. Too slow and motion smears into a blurry mess. Drone pilots who leave their camera on auto frequently end up with shutter speeds of 1/1000 or faster on sunny days, which freezes every frame and produces that harsh, video-game look people describe as looking “off.”
This is one of the most common reasons your 4K drone footage looks worse than expected even though you shot in bright daylight. The shutter is too fast, the frames are individually sharp but motion feels choppy, and the footage loses that smooth cinematic quality you were hoping for.
The fix is to use a neutral density (ND) filter. An ND filter acts like sunglasses for your camera, letting you keep a slow shutter speed even in bright sun. With an ND8, ND16, or ND32 filter on a sunny day, you can hold 1/60 at 30fps and bring back the motion blur that makes footage look professional. Many pilots buy ND filters expecting sharper footage and are confused when the image gets slightly softer, but the goal is not sharpness on each frame, it is smooth motion across frames.
If you hate the look of choppy drone video, an ND filter set is usually the single best quality-per-dollar upgrade you can make, more impactful than buying a newer drone.
Frame Rate Matters: Why 60fps Often Looks Worse Than 30fps
Frame rate is one of the most counterintuitive settings in drone video. Many pilots assume 60fps must look better than 30fps because it is a bigger number, but for perceived sharpness, the opposite is often true, and the reason comes back to bitrate math.
Remember that bitrate is a fixed amount of data per second. If you record 4K at 30fps on a 100 Mbps bitrate, each frame gets about 0.42 megabytes of data. Switch to 4K at 60fps on the same bitrate and each frame only gets about 0.21 megabytes. You have halved the data per frame in exchange for doubling the number of frames. Whether that is a good trade depends on what you are shooting.
For slow, cinematic landscape shots where the camera barely moves, 30fps at high bitrate usually looks sharper and richer than 60fps. For fast action, sports, or shots you plan to slow down in post, 60fps is the better choice because the extra motion samples matter more than per-frame detail. For walkthrough-style real estate or scenic footage, 30fps with motion blur from an ND filter is almost always the better aesthetic choice.
If your footage looks like a cheap soap opera, you are probably shooting 60fps with too fast a shutter. Dropping to 30fps with a proper 1/60 shutter often fixes the look instantly, even before any other settings change.
Stabilization and Sharpness: The Hidden Trade-off
Stabilization is supposed to make your footage look smoother, but most pilots do not realize that electronic image stabilization (EIS) often makes footage look softer at the same time. EIS works by cropping into the sensor image and shifting the cropped frame to cancel out drone movement. That crop means you are not actually using the full 4K sensor area, and the upscaling or warping the drone performs can smear fine detail.
This is a frequent reason pilots describe footage as “looking like 1080p even though I shot 4K.” If your drone applies heavy EIS, you might effectively be recording a centered 2.7K crop stretched back to a 4K frame. The resolution number on the file says 4K, but the actual captured detail is closer to 2.7K.
Optical stabilization, like the gimbal itself, is different and does not degrade resolution the same way. The gimbal physically moves lens elements or the sensor to stabilize, so the full sensor area stays in use. The trade-off comes when EIS is layered on top of the gimbal for extra smoothing, which is what “Hyperlight,” “RockSteady,” and similar modes do.
Try recording the same scene with stabilization on and off, then compare the files zoomed in at 100 percent. You will often see more detail in the unstabilized footage, especially in textures like grass, water, and distant foliage. If your gimbal is well-balanced and your flying is smooth, turning EIS off can produce visibly sharper footage, with the trade-off that any sudden drone movement will show as a jitter.
For most pilots, the sweet spot is gimbal stabilization always on and EIS on only when you know the flight will be rough. Treat EIS as a safety net, not a default.
Quick Fixes: Settings That Immediately Improve Drone Video Quality
Once you understand the technical reasons, the fixes are mostly about working with the data budget instead of against it. Here are the settings that deliver the biggest visible improvement in the shortest amount of time.
Step 1: Switch to H.265 at the highest bitrate your drone supports. This single change typically delivers more detail than any other setting, as long as your editing machine can handle HEVC footage.
Step 2: Drop to 30fps for scenic footage. Unless you need slow-motion or fast-action capture, 30fps gives each frame more data and produces a more cinematic look with proper motion blur.
Step 3: Lock your shutter to double your frame rate using ND filters. At 30fps, aim for 1/60. Buy an ND filter set if you do not already own one; it is the best quality-per-dollar upgrade most pilots can make.
Step 4: Turn off extra electronic stabilization when your gimbal can handle the shot. Keep the gimbal active, but disable EIS, Horizon Leveling, or RockSteady for static or slow scenes to preserve detail.
Step 5: Shoot in a flat color profile like D-Log or D-Cinelike if your drone supports it. Flat profiles preserve more dynamic range and give you more flexibility in post, but you must be willing to color-grade the footage afterward.
Step 6: Keep ISO as low as possible. Noise from high ISO is amplified by compression, so grainy night footage is often a combination of low bitrate plus high ISO plus H.265 smearing. If you must shoot at night, accept that 4K may not look better than 1080p, and consider downsampling.
Step 7: Avoid mid-day harsh sun when possible. The extreme contrast of noon lighting stresses the codec, blows highlights, and crushes shadows. Golden hour and overcast days almost always produce sharper-looking footage regardless of settings.
YouTube and Social Media Compression: Why Uploads Look Worse
Even after you nail your settings, your footage can still take a quality hit the moment you upload it. YouTube, Instagram, TikTok, and Facebook all re-encode your video to save bandwidth, and their compression is far more aggressive than what your drone applies. This is one of the most under-covered reasons drone footage looks worse than expected by the time anyone actually watches it.
YouTube in particular re-encodes every upload to multiple resolutions and bitrates, and the default 1080p stream often gets a fraction of the bitrate your original file had. A clean 100 Mbps 4K master can end up as a 10 Mbps stream by the time a viewer watches it on a phone, and that is where the softness creeps in. The platform favors steady, well-lit, low-noise footage because it compresses cleanly.
To minimize upload quality loss, upload at the highest resolution and bitrate your editing software allows, ideally in a high-bitrate H.264 master. Use a high target bitrate, avoid noise (compression amplifies noise), and avoid fast camera movement that motion-estimation algorithms struggle to handle. Avoid uploading 1080p if you can upload 4K, because YouTube often gives 4K uploads a higher-quality 1080p stream than direct 1080p uploads.
The realistic expectation is that any footage you upload will look at least one notch worse than the file on your computer. Plan for that by shooting with headroom, exposing carefully, and resisting the urge to add artificial sharpening in post, because over-sharpened footage compresses badly and ends up looking worse after upload.
How to make drone footage look better?
To make drone footage look better, switch to H.265 at the highest bitrate, shoot at 30fps for cinematic scenes, lock your shutter to double the frame rate using ND filters, and turn off heavy electronic stabilization when your gimbal can handle the shot. Shooting in a flat color profile like D-Log also helps if you are willing to color-grade the footage in post.
Why does my 4K footage look grainy?
Your 4K drone footage looks grainy because video compression spreads a limited bitrate across every frame, leaving each individual frame with far less data than a still photo. Grain gets worse at high ISO, in low light, and in high-contrast scenes where the codec struggles to handle dynamic range. Lowering ISO, shooting in better light, and using a higher bitrate setting all help reduce grain.
Why does my drone footage look choppy?
Drone footage looks choppy when the shutter speed is too fast for the frame rate, which freezes motion on every frame and removes the natural motion blur your eyes expect. The fix is the 180-degree shutter rule: keep your shutter speed at roughly double your frame rate, such as 1/60 at 30fps or 1/120 at 60fps, often using ND filters to achieve this in bright sunlight.
Why does my DJI footage look blurry?
DJI footage looks blurry for a few common reasons: electronic stabilization cropping into the sensor and reducing effective resolution, a shutter speed that is too fast for natural motion blur, low bitrate at 60fps spreading data too thin across frames, and heavy compression when uploaded to streaming platforms. Disabling EIS, using ND filters, and shooting 30fps at high bitrate usually fix the issue.
Conclusion
Once you understand why your 4K drone footage looks worse than expected, the disappointment stops feeling mysterious. The problem is not your drone, it is the gap between the resolution number on the box and the actual data each video frame carries. Compression, codec choice, shutter speed, frame rate, stabilization, and even upload compression on platforms like YouTube all take a bite out of perceived sharpness, and most pilots never realize how much each setting contributes.
The good news is that nearly all of these factors are within your control. Switch to H.265 at high bitrate, shoot 30fps when you can, lock your shutter with ND filters, disable heavy EIS, and shoot in flat color profiles you can grade later. Apply those changes this week and your footage will look measurably sharper, even on the same drone you are flying today. From there, the next step is learning to grade your footage in post, which is where professional drone video truly separates itself from amateur clips.