
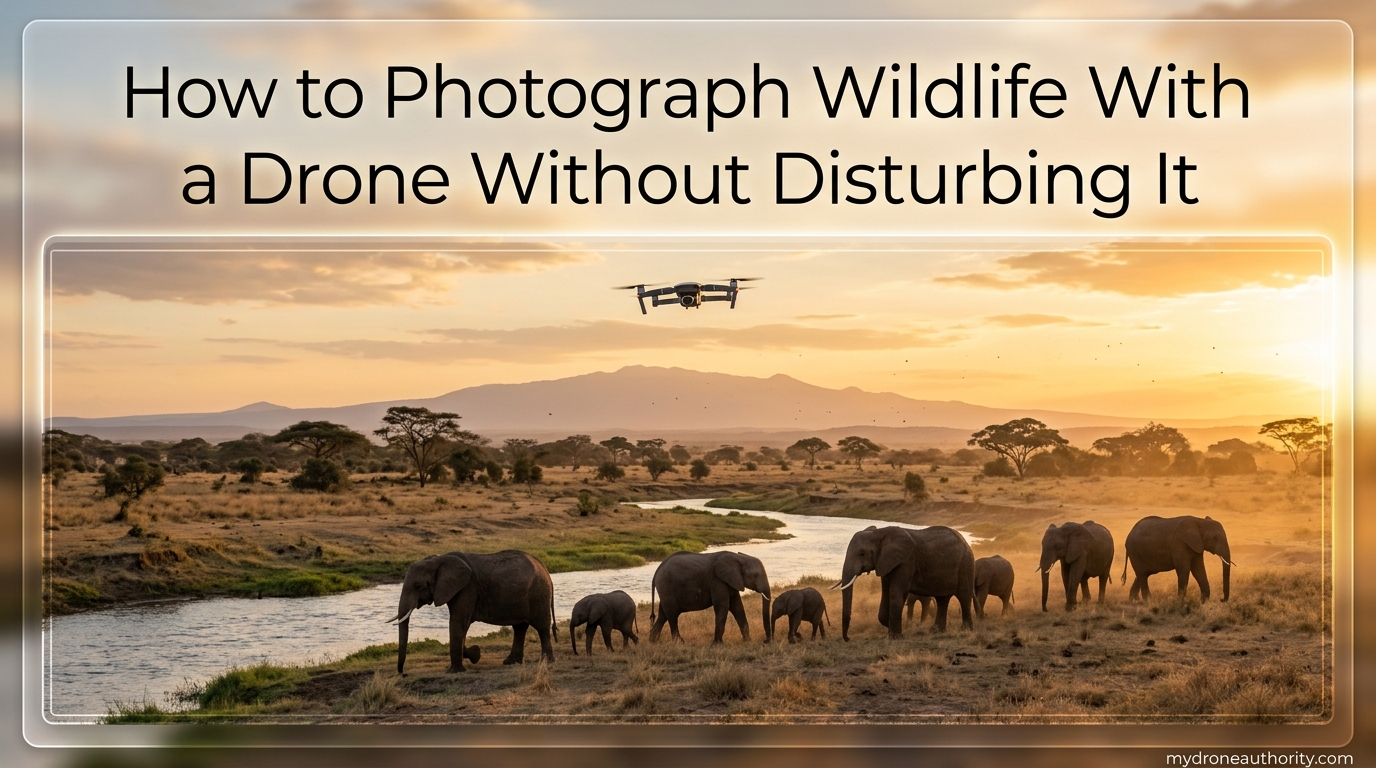
I still remember the first time I launched my drone near a herd of elk at sunrise. Within seconds, the entire group bolted. That moment taught me what research has since confirmed: capturing wildlife from the air demands far more care than most pilots realize. Learning how to photograph wildlife with a drone without disturbing it is part technical skill, part empathy, and part patience.
This guide walks through everything I have learned (and what conservation scientists recommend) about ethical drone wildlife photography. You will find a step-by-step workflow, species-specific distance guidelines, camera settings, and the warning signs that tell you it is time to land.
Table of Contents
Why Ethical Drone Wildlife Photography Matters
Ethical drone wildlife photography means capturing images of animals while actively minimizing stress, disturbance, and any risk of harm. It is not just about getting the shot. It is about leaving the animal and its habitat exactly as you found them.
Research by Jarrod Hodgson and colleagues at the University of Adelaide showed that even small drones can trigger elevated heart rates and behavioral changes in wildlife. Birds may abandon nests. Mammals may flee feeding areas. Repeated disturbance compounds over time and can reduce breeding success.
The animals rarely show stress the way we expect. A grazing deer that lifts its head is already on alert. A bird that shifts position on a branch has noticed you. By the time an animal runs or flies off, you have already pushed past the ethical line.
Every flight near wildlife is a trade-off. The image you capture is never worth a stressed animal, a fledged chick left vulnerable, or a habitat that animals begin to avoid. Shooting responsibly keeps the door open for the next photographer, too.
Understanding How Drones Affect Wildlife
Drones affect animals through three main channels: sound, visual presence, and movement patterns. Understanding each one helps you anticipate reactions before they happen.
Drone Noise and Sound Signature
Most consumer drones produce between 65 and 80 decibels at close range. That is comparable to a vacuum cleaner. High-frequency buzzing carries far further than pilots realize, especially in still morning air when wildlife is most active.
FPV racing drones and smaller quadcopters tend to fade into background noise once they climb above 25 to 50 feet. Larger cinema drones, however, remain noticeable at much greater distances. Choose your platform with this in mind.
Predator Perception
Many animals perceive drones as predators. Birds of prey may attack them. Smaller birds may flush from nests. Ground mammals often interpret the buzzing and descending motion as a raptor diving, which triggers an immediate flight response.
This is why quadcopters that look silhouetted against the sky are especially triggering. The shape, the sound, and the hovering behavior all read as predatory to species that have spent millennia avoiding hawks and eagles.
Behavioral Signs of Stress
Watch for these warning signs during any wildlife flight. The moment you see any of them, climb out and leave the area.
- Head-lift or alert posture in grazing animals
- Shifting, repositioning, or clustering in birds
- Vocalizations such as alarm calls or increased chatter
- Walking, running, or swimming away from the area
- Flush responses, where birds take flight suddenly
- Parents separating from young or nests left unattended
How to Photograph Wildlife With a Drone Without Disturbing It: Step-by-Step
This is the workflow I use on every wildlife flight. Each step exists to reduce the chance of disturbance before it happens.
Step 1: Scout the Location From the Ground
Never launch blind. Walk the area first, ideally the day before. Note where animals congregate, where nests are located, and where escape corridors lead. A ground-level scouting pass tells you more than any aerial view ever will.
Use binoculars to identify species and count individuals. If you spot nesting activity or young animals, choose a different location entirely.
Step 2: Check the Season and Time of Day
Avoid breeding and nesting seasons completely. For most North American birds, that means steering clear of nesting areas from early spring through mid-summer. For mammals, avoid calving and fawning windows.
Early morning and late evening are peak wildlife activity windows, but they are also when animals are most vulnerable to disturbance. Consider mid-morning flights when animals are less pressed for feeding time.
Step 3: Choose the Right Drone
Pick the smallest, quietest drone that can still capture the shot. Sub-250 gram drones like the DJI Mini series produce noticeably less noise than larger models. Their smaller silhouette also reads as less threatening to most wildlife.
Avoid large cinema drones near wildlife unless you are working with explicit permits and scientific oversight. The bigger the platform, the bigger the perceived threat.
Step 4: Launch at a Distance
Take off at least 100 feet from any wildlife, preferably more. Launching from a hidden position behind a tree line or terrain feature is ideal. Animals should never see the drone leave the ground.
Climb to your cruising altitude before moving toward the subject. A drone that appears from behind cover at height is far less alarming than one that rises visibly 30 feet away.
Step 5: Maintain Minimum Safe Distances
Stay at or above the minimum distance for the species you are filming. For most birds, that is 200 feet or more. For mammals, 150 to 300 feet depending on the species. When in doubt, add more distance.
Fly at altitude rather than approaching horizontally. A drone 200 feet above an animal is less threatening than one 200 feet away at eye level.
Step 6: Move Slowly and Predictably
Avoid fast approaches, sudden direction changes, and descending maneuvers near animals. Smooth, slow, predictable movement reads as non-threatening. Erratic flight patterns mimic predatory pursuit.
Never chase, follow, or circle an animal. If it moves away, let it go. Pursuing an animal to get a better angle is harassment, plain and simple.
Step 7: Keep Flights Short
Limit wildlife encounters to a few minutes maximum. Even non-threatening drone presence creates stress that accumulates over time. Get your shot, then leave.
I aim for under three minutes of actual wildlife interaction per flight. If I have not captured what I need in that window, the image was not meant to be.
Step 8: Monitor and Abort
Continuously watch the animal through the camera and with your own eyes. The instant you see any stress behavior, climb to a higher altitude and exit the area. Do not finish the shot.
If an animal flushes or flees, you have already failed. Land, pack up, and choose a new location. Do not retry the same subject.
Step 9: Post-Flight Assessment
After landing, watch the area for a few minutes. Are animals returning to normal behavior? Did birds settle back onto perches? This quick check tells you whether your flight caused lasting disruption.
If animals have left entirely, note the location and avoid flying there again. Cumulative disturbance is what causes long-term habitat abandonment.
Safe Distance Guidelines by Species
Distances vary by species sensitivity, habitat, and habituation. These are starting points based on published research and field experience. Always err on the side of more distance.
- Nesting birds: 300 feet minimum. Avoid entirely during incubation and chick-rearing.
- Raptors (eagles, hawks, owls): 500 feet or more. They may attack drones and are extremely sensitive.
- Waterfowl and shorebirds: 200 to 250 feet. Flocking species flush easily.
- Large mammals (deer, elk, moose): 200 to 300 feet, with altitude preferred over horizontal approach.
- Predators (bears, wolves, big cats): Avoid entirely. Disturbance can trigger dangerous responses.
- Marine mammals: Follow marine mammal protection laws, typically 100 to 300 feet depending on species and region.
A useful benchmark from osprey nest monitoring research: birds showed alert behavior at approximately 200 feet, pronounced alert at 150 feet, and extreme stress responses at 120 feet. Use those numbers as your floor, not your target.
Choosing the Right Drone for Wildlife Photography
The single most important equipment decision for ethical wildlife work is choosing a quiet, small drone. Smaller drones are less alarming visually and acoustically, and modern sub-250 gram models now carry capable cameras.
Look for drones with these characteristics:
- Sub-250 gram airframe for the smallest possible silhouette
- Low-noise propellers or propeller guards designed to reduce sound signature
- GPS stabilization for rock-solid hovering without corrective noise bursts
- A camera with at least a 1/1.3-inch sensor for acceptable image quality at distance
- Long battery life so you do not need to rush shots
- Hybrid zoom or telephoto capability, which is appearing on newer consumer models in 2026
The biggest technical limitation is the wide-angle lens on most consumer drones. A typical drone camera has a 24mm equivalent field of view, which means animals appear small in the frame unless you fly close. That close proximity is exactly what causes disturbance.
Newer models offering hybrid zoom help solve this problem. A 4x or 7x optical zoom lets you frame tightly from a respectful distance. If your drone lacks zoom, plan to shoot wider environmental compositions that place the animal in its habitat rather than filling the frame.
Best Camera Settings for Wildlife Drone Photography
No competitor I reviewed covers camera settings, but this is exactly where pilots either nail the shot or waste a flight. These are the settings I use for wildlife work from the air.
Shutter Speed
Use a fast shutter of 1/1000 or faster to freeze motion. Animals move quickly, and drones vibrate. Slow shutters produce blur from both the subject and the platform.
Aperture and ISO
Shoot wide open (f/2.8 or the widest your drone allows) for the most light. Keep ISO as low as conditions permit, typically ISO 100 to 400. Drone sensors are small, so noise climbs quickly above ISO 800.
Burst Mode
Always shoot in burst mode. Three to five frames per second gives you options when an animal shifts position, turns its head, or moves into better light. Memory is cheap. Missing the moment is not.
RAW Format
Shoot RAW whenever your drone supports it. Wildlife photography often requires heavy cropping, and RAW files give you the latitude to recover detail in shadows and highlights that JPEG throws away.
Exposure Lock
Lock exposure on the animal, not the sky. Drones meter for the bright sky and underexpose subjects sitting in shadow. Use exposure compensation of +0.3 to +1.0 EV when shooting dark animals against bright backgrounds.
Weather, Lighting, and Timing Considerations
Weather is overlooked in every competitor guide I read, but it shapes both image quality and wildlife impact. Plan around conditions, not against them.
Wind and Noise
Wind affects noise in two ways. First, drones work harder in wind, which increases propeller RPM and sound output. Second, wind carries sound in the direction it is blowing. A drone upwind of an animal will be heard sooner than one downwind.
Plan approach paths so the wind carries drone noise away from sensitive areas. Light winds of 5 mph or less are ideal for both stable flight and minimal acoustic footprint.
Golden Hour
The hour after sunrise and the hour before sunset produce the warmest, most flattering light for wildlife. The low angle also creates long shadows that reveal texture in fur, feathers, and terrain.
The trade-off is that these are also peak wildlife activity windows. Balance photographic quality against the elevated risk of disturbing feeding or bedding animals.
Overcast Days
Soft overcast light is a wildlife photographer’s secret weapon. Colors saturate beautifully, contrast stays manageable, and animals are often less active and less reactive than during bright midday sun.
Temperature and Thermals
Hot days produce thermals that can buffet a drone and create unstable footage. Cold mornings often mean calm air and predictable flight. Plan around thermal activity if you need smooth, slow passes.
Legal Regulations You Need to Know
Flying near wildlife is not just an ethical question. In many jurisdictions, it is a legal one, and the penalties can be severe.
Federal Wildlife Protections
In the United States, the Migratory Bird Treaty Act protects over 1,000 bird species from harassment, including disturbance caused by drones. The Endangered Species Act adds additional protections for listed species. Similar laws exist in Canada, the UK, Australia, and the European Union.
Harassing wildlife with a drone can qualify as a “take” under these statutes. That includes flushing birds from nests, separating parents from young, or causing animals to abandon feeding areas.
National Parks and Protected Areas
The US National Park Service prohibits drone operations in nearly all national parks. Many state parks, wildlife refuges, and marine protected areas have similar bans. Always check local rules before launching.
Aviation Regulations
In the US, the FAA requires Part 107 certification for commercial drone flights and limits recreational flights to 400 feet altitude. Other countries have equivalent rules. Flying legally is the foundation of flying ethically.
Local and Regional Rules
States, counties, and municipalities frequently add their own restrictions. California, for example, has specific protections for marine mammals and nesting seabirds that exceed federal minimums. Research local rules every time you fly somewhere new.
Do drones scare wildlife?
Yes. Research and field observations confirm that drones scare wildlife through noise, visual presence, and movement patterns that animals perceive as predatory. Birds may flush from nests, mammals may flee feeding areas, and even seemingly calm animals often show elevated heart rates and stress behaviors when drones are nearby. Smaller, quieter drones flown at altitude cause less disturbance, but no drone is completely invisible to wildlife.
What is the 1-1 rule for drones?
The 1-1 rule in drone wildlife photography refers to maintaining at least one unit of vertical distance for every unit of horizontal distance from the subject. For example, if you are 100 feet horizontally from an animal, fly at least 100 feet above it. This reduces the perceived predatory profile of the drone, since descending approaches read as attacks. Always favor altitude over proximity.
How close can I fly my drone to wildlife?
Minimum safe distances depend on species. Nesting birds require 300 feet or more, raptors need 500 feet, large mammals call for 200 to 300 feet, and marine mammals follow species-specific legal minimums. Osprey research showed alert behavior at 200 feet and extreme stress at 120 feet. When in doubt, add distance. The ethical pilot always prioritizes animal welfare over the shot.
What is the best drone for wildlife photography?
The best drone for wildlife photography is small, quiet, and equipped with zoom capability. Sub-250 gram drones like the DJI Mini series produce less noise and a smaller silhouette. Newer models with hybrid optical zoom let you frame tightly from a respectful distance, solving the wide-angle limitation that forces pilots to fly too close. Prioritize low noise, GPS stability, and at least a 1/1.3-inch sensor over flashy features.
Conclusion
Learning how to photograph wildlife with a drone without disturbing it comes down to respect: respect for the animal, respect for the habitat, and respect for the photographers who come after you. Maintain distance, choose quiet equipment, monitor stress behaviors, and walk away when something feels wrong. The best wildlife image is the one captured without the animal ever knowing you were there.