
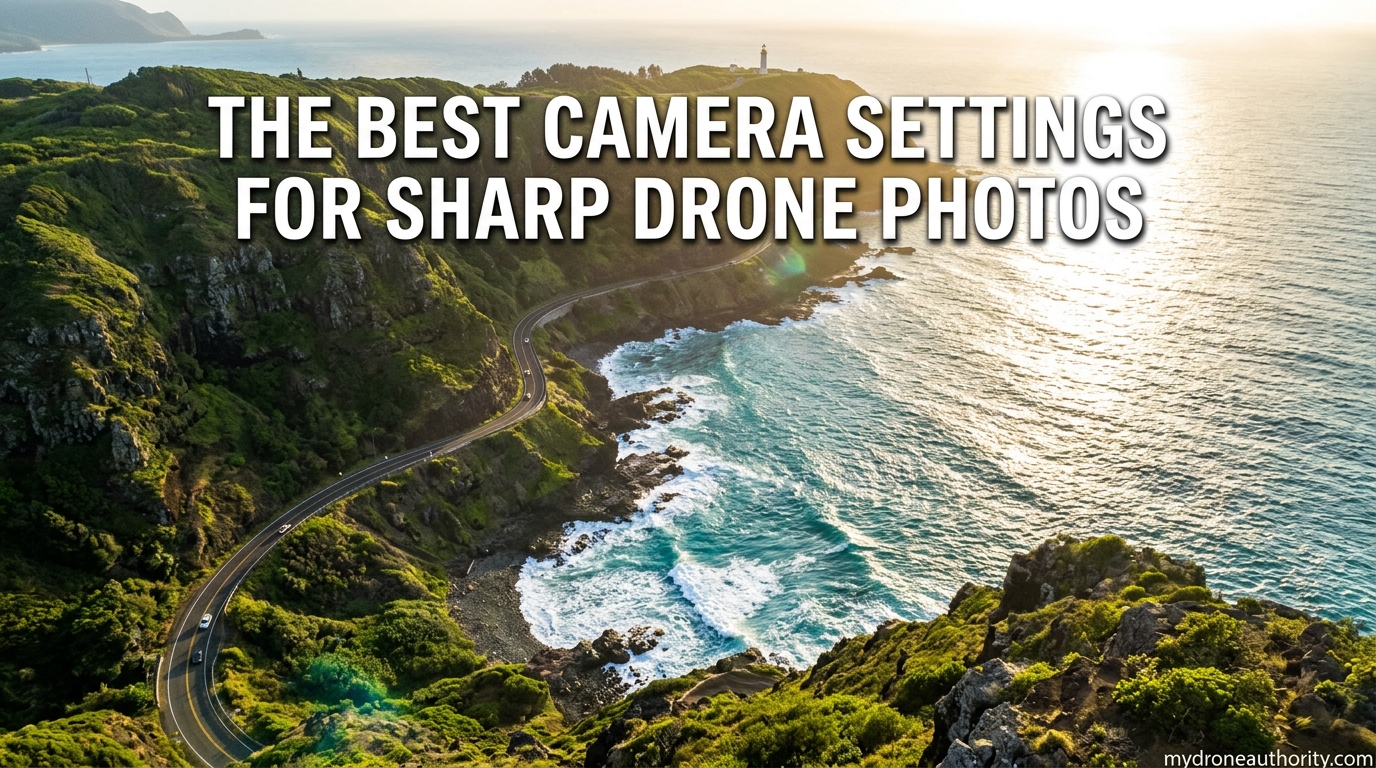
When I bought my first camera drone, I figured the onboard camera would handle the heavy lifting. After all, modern drones like the DJI Mavic and Air series have impressively capable sensors. So I left everything in Auto, flew out over a coastal cliff at golden hour, and came home expecting frame-worthy shots.
What I got instead was a folder full of soft, noisy, slightly washed-out images that looked fine on my phone but fell apart the moment I zoomed in on a monitor. Sound familiar?
The truth is that the best drone camera settings for sharp photos are almost never the default ones. Auto mode is built to produce acceptable results in any condition, which is very different from producing sharp, professional results in the conditions you actually care about. In this guide I will walk through every setting that affects sharpness, why it matters, and the specific values I use after years of trial and error.
By the end you will understand the exposure triangle, know exactly what to dial in for daylight, golden hour, and low light, and be able to troubleshoot soft images with confidence. These are the drone camera settings that consistently deliver tack-sharp aerial photos.
Table of Contents
Quick Answer: The Best Camera Settings for Sharp Drone Photos
If you only take one thing from this article, here are the values I recommend for most daytime drone photography:
- ISO: 100 (200 max on small sensors)
- Shutter Speed: 1/500 to 1/1000 second
- Aperture: f/5.6 to f/8 (the sharpest range for most drone lenses)
- File Format: RAW, always
- White Balance: Manual, set to a Kelvin value matching the scene
- Color Profile: Standard or True Color, not D-LOG for stills
Those six settings alone will pull most drone photographers out of the soft-image trap. The rest of this article explains why each value works and how to adjust it when conditions change.
The Exposure Triangle Explained for Drone Pilots
Before we get into specific numbers, it helps to understand how ISO, shutter speed, and aperture work together. Photographers call this the exposure triangle, and every photo you take is a balancing act between the three.
ISO controls how sensitive the sensor is to light. Shutter speed controls how long the sensor collects light. Aperture controls how wide the lens opening is, which affects both light and depth of field.
Here is the part most guides skip: every change to one setting forces a compensating change in another to maintain the same exposure. If you lower ISO to clean up noise, you need a slower shutter or wider aperture to let in more light. If you speed up the shutter to freeze motion, you need higher ISO or wider aperture to compensate.
Drone photographers face a tighter constraint than ground photographers. Our camera is moving, the wind is pushing it, and the props are vibrating. That means shutter speed and ISO are usually the two we juggle, while aperture stays parked at the lens’s sharpest setting. Keep that mental model in mind and the rest of this guide will make a lot more sense.
ISO Settings: Keep It Low for Clean Images
ISO is the single biggest contributor to noise in drone photos, and noise is the enemy of perceived sharpness. The rule I follow is simple: keep ISO at 100 whenever possible, and never go above 400 for still photography unless you are intentionally shooting in low light.
Here is the why. ISO does not actually make your sensor more sensitive. What it does is amplify the electrical signal coming off the sensor. The problem is that this amplification boosts both the image data and the random electrical noise present in any digital sensor. Double your ISO and you roughly double your noise, which shows up as grainy speckles that eat fine detail.
Drone sensors are small. Even the best 1-inch and Micro Four Thirds sensors found in premium drones produce visibly more noise at ISO 800 than a full-frame DSLR would. That noise gets baked into the file and no amount of post-processing will fully remove it without softening the image.
Over on the r/drone_photography and r/drones subreddits, ISO 100 comes up again and again as the default recommendation for daytime shots. Real-world shooters report that ISO 100 files clean up beautifully in Lightroom, while ISO 800 files start looking smeary the moment you apply noise reduction.
The only times I push ISO higher are during blue hour, night shoots, or when shooting indoors for real estate. Even then I try to stay below ISO 800 and compensate with longer shutter speeds instead.
Shutter Speed: Freezing Motion From Above
Shutter speed is where drone photography diverges sharply from traditional photography. On the ground, 1/125 second is plenty for a stationary subject. From a drone, that same speed will produce a soft image almost every time.
I recommend 1/500 to 1/1000 second as your starting range for sharp drone photos. For fast-moving subjects or windy conditions, push it to 1/1600 or faster.
The reason is that your camera platform is never truly still. Even with a three-axis gimbal stabilizing the lens, the drone body is being pushed by wind, buffeted by prop wash, and micro-vibrating by the motors spinning at thousands of RPM. A gimbal corrects for large movements, but it cannot fully eliminate the high-frequency vibration that bleeds fine detail from an image.
A fast shutter freezes all of that motion. Think of it as the difference between a snapshot taken from a moving car at 1/2000 versus 1/60. The faster shutter literally cuts off the vibration mid-cycle.
There are exceptions. If you want silky-smooth water in a coastal long exposure, you will need shutter speeds measured in whole seconds, not fractions. In that case, swap in a neutral density filter (more on this below) so you can run a slow shutter without overexposing. But for the vast majority of landscape, real estate, and architectural drone work, fast is sharp.
Aperture: The Sweet Spot for Edge-to-Edge Sharpness
Aperture is the setting most drone photographers get wrong, because the instinct is to stop down to f/11 or f/16 for maximum depth of field. That works on full-frame cameras. On a drone it actively softens your images.
The sharpest aperture on almost every consumer drone lens sits between f/5.6 and f/8. That is the sweet spot where the lens resolves maximum detail from corner to corner.
The reason is a phenomenon called diffraction. When light passes through a small opening, it bends and scatters slightly. The smaller the opening (higher f-number), the more scattering occurs. On a small drone sensor, that scattering becomes visible much earlier than it would on a larger sensor. By f/11 most drone lenses are noticeably softer, and by f/16 the entire image takes on a slightly hazy look.
There is also the wide-open problem. At f/2.8, most drone lenses suffer from corner softness and chromatic aberration. The center may look crisp, but edges of the frame lose detail. This is why photographers on MavicPilots consistently recommend f/5.6 as the daytime default. One popular thread on the forum sums it up: “If you want uniform sharpness edge to edge and low noise for daytime shots, use f/5.6, ISO 100.”
My own approach is f/5.6 in bright conditions, dropping to f/4 when I need a bit more light at golden hour. I almost never go to f/11 on a drone.
Shoot in RAW, Not JPEG
If there is one setting change that delivers an immediate, visible improvement in image quality, it is switching from JPEG to RAW. Every drone that supports RAW should be set to capture RAW files, period.
A JPEG is a processed, compressed, 8-bit file. The camera has already made decisions about sharpening, noise reduction, color, and contrast, and it has thrown away the data that did not fit into the compressed format. Once that data is gone, you cannot get it back.
A RAW file is the unprocessed sensor data, usually 12-bit or 14-bit. That means roughly 4,000 to 16,000 tonal values per channel instead of 256. You recover blown highlights, pull detail out of shadows, fix white balance perfectly, and apply sharpening without amplifying compression artifacts.
For sharpness specifically, RAW gives you latitude. A slightly underexposed RAW file can be brightened in post with minimal noise penalty. The same correction on a JPEG introduces banding and noise that softens the final image.
The only reason to shoot JPEG is if you need files delivered immediately, such as a same-day real estate listing. In that case, shoot RAW plus JPEG simultaneously so you have the RAW for later editing.
White Balance: Avoid Auto for Consistent Color
White balance is not strictly a sharpness setting, but it affects perceived sharpness more than people realize. Set white balance manually to a Kelvin value that matches your scene instead of leaving it on Auto.
The problem with Auto White Balance on a drone is that the camera re-evaluates color temperature on every shot. Fly from a sunlit field to a shaded grove and the entire color palette shifts. Even within a single composition, slight drone movement can trigger a different white balance reading between frames, which makes stitching panoramas and editing a consistent set of photos a nightmare.
Inconsistent color does not technically blur pixels, but it forces heavier edits in post, and heavy color correction degrades fine detail. Starting from a consistent, neutral baseline keeps your post-processing light and your images cleaner.
For most daytime outdoor work, I set white balance to 5500K (daylight). On overcast days, 6000K to 6500K warms the scene slightly. Golden hour shots often benefit from 5800K to preserve the warm light. The exact number matters less than consistency across a shoot.
Use the Histogram to Verify Exposure
The histogram is the single most underused tool in drone photography. Most modern drone apps can overlay a live histogram on the screen, and forum discussions consistently show that pilots find it confusing at first. It is worth learning.
A histogram is a graph showing the distribution of brightness values in your image, from pure black on the left to pure white on the right. The height of the graph at any point tells you how many pixels fall at that brightness.
Why does this matter for sharpness? Because detail lives in the middle of the histogram. If the graph is piled against the left edge, your shadows are crushed and detail there is gone. If it is piled against the right edge, your highlights are blown out and detail there is gone. Both situations produce soft-looking images because there is no actual pixel information to render sharply.
The technique I use is called ETTR, or expose to the right. You adjust exposure so the histogram sits as far right as possible without touching the right edge. This captures maximum data in the highlights, which you can then pull down in post for a clean, noise-free, sharp image.
If your drone supports a zebra pattern overlay, turn that on too. Zebra stripes warn you when parts of the frame are near overexposure, giving you a visual alert that the histogram alone cannot provide.
ND Filters and Bracketing for Tough Light
Two advanced techniques separate consistently sharp drone photos from occasional lucky shots: neutral density filters and auto exposure bracketing.
ND filters are essentially sunglasses for your camera. They cut the amount of light reaching the sensor, which lets you use slower shutter speeds or wider apertures in bright conditions. For still photography, the main use case is long exposures. If you want to smooth ocean waves into a misty blur at noon, you need an ND filter to bring shutter speed down to several seconds without overexposing.
ND filters are not magic sharpness boosters. Used incorrectly, a cheap ND filter will actually soften your images by introducing flare and reducing contrast. Buy quality multicoated filters and only use them when you specifically need the light reduction.
Auto Exposure Bracketing, or AEB, is the second technique. When a scene has more dynamic range than your sensor can capture in one shot (a bright sky above a dark canyon, for example), AEB takes three or five photos at different exposures in rapid succession. You then blend them in post as an HDR image.
I set AEB to a three-shot bracket at 0.7 EV spacing for most high-contrast scenes. The drone fires all three shots in about a second, so there is minimal alignment issue. In Lightroom or Photoshop, the HDR merge recovers highlight and shadow detail that would otherwise be clipped, producing a final image with far more usable information and therefore more perceived sharpness.
Settings Cheat Sheet by Lighting Condition
Here is a quick reference table for the drone camera settings I use in three common lighting conditions. Treat these as starting points and adjust based on your specific drone and scene.
| Condition | ISO | Shutter Speed | Aperture | White Balance |
|---|---|---|---|---|
| Bright Daylight | 100 | 1/1000 to 1/2000 | f/5.6 | 5500K |
| Golden Hour | 100 to 200 | 1/500 to 1/1000 | f/4 to f/5.6 | 5800K |
| Blue Hour / Low Light | 400 to 800 | 1/200 to 1/500 | f/2.8 to f/4 | 6000K to 7000K |
For long-exposure work where you want to blur water or clouds, add an ND filter and drop shutter speed to 1 to 5 seconds while keeping ISO at 100.
Drone-Specific Tips for Maximum Sharpness
Beyond the camera settings themselves, a handful of drone-specific habits have a real impact on sharpness. These come up less often in generic photography guides but matter a lot when your camera is flying.
Use Tripod Mode when framing. Most modern drones have a Tripod or Cinematic mode that slows the drone’s movement dramatically. This is not just for video. For still photography, Tripod Mode reduces sudden corrections and gimbal jitter while you compose and shoot. I switch into Tripod Mode, frame the shot, let the drone settle for two seconds, then fire.
Calibrate the gimbal regularly. A gimbal that is even slightly out of calibration will introduce a soft tilt or horizon issue that no camera setting can fix. Run the gimbal auto-calibration routine whenever you update firmware, travel, or notice the horizon drifting.
Watch for prop vibration. Damaged or unbalanced props create high-frequency vibration that the gimbal cannot fully cancel. If your images suddenly look soft across an entire shoot, check the props for nicks and cracks before blaming the camera settings.
Let the gimbal settle. After any movement, wait one to two seconds before firing the shutter. The gimbal needs that moment to fully stabilize after a pan or reposition. Patience here is free and pays off consistently.
Common Mistakes That Ruin Drone Photo Sharpness
Most soft drone photos trace back to the same handful of mistakes. If your images are not sharp, run through this list before anything else.
Leaving the camera in full Auto. Auto mode will raise ISO in bright conditions to keep shutter speed fast, which is the worst of both worlds. Switch to Manual or Aperture Priority and lock ISO low.
Shooting JPEG only. JPEGs from a drone look fine on a phone screen and fall apart on a monitor. Always shoot RAW.
Ignoring the histogram. If you never check the histogram, you are flying blind. A clipped histogram means lost detail that no amount of sharpening will recover.
Stopping down to f/11 or f/16. Diffraction softens small sensors at narrow apertures. Stay in the f/5.6 to f/8 range.
Using slow shutter speeds handheld in wind. Even a gentle breeze will blur a 1/100 shot. Default to 1/500 or faster unless you are intentionally doing long exposures.
FAQs
What are the best camera settings for drone photography?
The best starting settings for most daytime drone photography are ISO 100, shutter speed 1/500 to 1/1000 second, aperture f/5.6 to f/8, RAW file format, and a manual white balance around 5500K. These values minimize noise, freeze drone motion, and use the sharpest part of the lens.
What are the best camera settings for sharp photos?
For maximum sharpness, use ISO 100 for minimal noise, a shutter speed of at least 1/500 second to freeze drone and subject motion, and an aperture of f/5.6 to f/8 where most drone lenses resolve maximum detail. Avoid apertures above f/11 because diffraction softens small sensors.
How to make your drone shots look professional?
Shoot in RAW, lock ISO at 100, use a fast shutter of at least 1/500, set aperture to f/5.6 to f/8, manually set white balance, and use the histogram to verify exposure. Edit RAW files in Lightroom or similar software for fine control over sharpness, color, and dynamic range.
Is it better to shoot in 16:9 or 4:3?
Shoot in 4:3 if you want maximum resolution and editing flexibility, because that is the native aspect ratio of most drone sensors. Use 16:9 only if you know you need a widescreen final image, such as for a website hero banner or video frame grab. Cropping 4:3 to 16:9 later gives you the same result with no quality loss.
How to take good photos with a drone?
Plan your shoot around golden hour light, use manual camera settings with ISO 100 and shutter 1/500 or faster, shoot RAW, enable the histogram, fly in Tripod Mode for stability, let the gimbal settle before each shot, and edit your RAW files in post for best results.
What is the best camera setting for sharp images?
The single most important setting for sharp drone images is a fast shutter speed of 1/500 second or faster, combined with ISO 100. Shutter speed freezes the micro-movements of the drone in flight, which is the most common cause of soft aerial photos.
Conclusion
Sharp drone photos are not about buying a more expensive drone. They are about understanding the best drone camera settings for sharp photos and the reasoning behind each one. Lock ISO at 100, keep shutter speed at 1/500 or faster, park aperture between f/5.6 and f/8, shoot RAW, set white balance manually, and learn to read the histogram.
These six habits will pull you out of the Auto mode trap and put you in control of every shot. Pair them with Tripod Mode, a calibrated gimbal, and quality ND filters when conditions call for them, and your aerial images will look noticeably crisper on any screen.
Start with the cheat sheet settings above, fly during golden hour, and compare your next batch of RAW files side by side with what Auto mode produced. The difference will be obvious.
1 thought on “The Best Camera Settings for Sharp Drone Photos (October 2026)”