
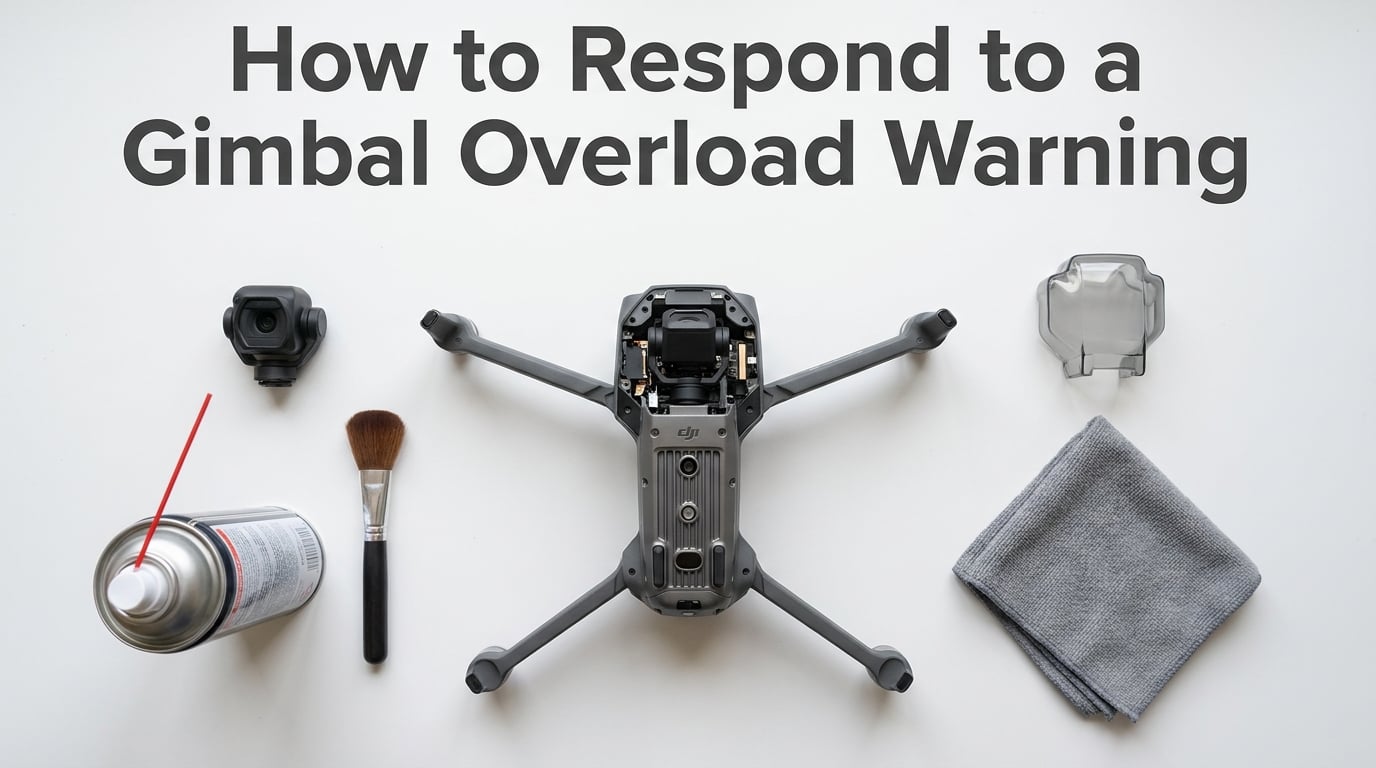
Seeing a gimbal overload warning pop up on your drone app can stop your heart mid-flight. I have been there, watching a client shoot turn into a stressful diagnostic session because the DJI app flashed that dreaded message. The good news is that a gimbal overload warning is your drone telling you it caught a problem before it became a catastrophe. Knowing how to respond quickly and correctly is the difference between a five-minute fix and a four hundred dollar repair bill.
This guide walks you through exactly what to do the moment that warning appears, from emergency landing decisions to step-by-step troubleshooting. I will share what has worked across hundreds of gimbal incidents, what actually causes the message, and how to keep it from coming back. Whether you fly a DJI Mavic 3, Mini 4 Pro, Air 3, or older Phantom series drone, the same core principles apply.
Table of Contents
What Is a Gimbal Overload Warning and Why Does It Appear?
A gimbal overload warning means your drone’s gimbal motor is experiencing resistance or stress beyond its normal operating range. The three-axis stabilization system that keeps your camera level uses tiny brushless motors on the pitch, roll, and yaw axes. When something blocks free movement or the motor draws more current than expected, the flight controller triggers an overload message to protect the hardware.
Think of it as a circuit breaker. The warning prevents the motor from burning out, the ribbon cable from snapping, or the sensor calibration from drifting. The DJI app displays variations of this message depending on your model: “Gimbal Motor Overloaded,” “Gimbal Overload,” or “Gimbal Stuck.” They all point to the same underlying issue.
Difference Between Gimbal Overload and Gimbal Stuck
These warnings often get confused, but they describe different problems. A gimbal overload typically points to motor strain from debris, physical resistance, or electrical issues. A gimbal stuck warning usually means the gimbal cannot complete its self-check movement at startup, often because the gimbal protector is still on or the camera is jammed against the drone body. Both warnings can lead to permanent damage if ignored, but the fixes differ slightly.
Common Causes of Gimbal Overload
After walking countless pilots through this exact issue, I have seen the same handful of causes appear again and again:
- Sand, dust, or moisture debris lodged in the gimbal mechanism, especially after beach or desert flights
- Third-party accessories like ND filters or lens covers that add weight or restrict movement
- Improperly seated gimbal protector left partially attached during startup
- Crash or impact damage that bent the gimbal frame or displaced a sensor
- Firmware mismatches between the drone, controller, and battery after updates
- Worn ribbon cable or aging motor windings on heavily used drones
- Extreme wind conditions that push the gimbal motors to their correction limits
Immediate Actions When the Warning Appears Mid-Flight
The moment that warning flashes, your first decision is whether to land now or finish the shot. I always tell pilots the same thing: when in doubt, land. A gimbal overload warning mid-flight means something is fighting your stabilization system, and continuing to fly increases the chance of a hard landing if the gimbal suddenly fails mid-control.
Should You Land Immediately?
Yes, in almost every case. The warning is designed to protect your equipment, and every second of continued flight adds stress to the motor. Unlike a low battery warning where you might have time to finish a shot, a gimbal overload has no predictable degradation curve. The motor could hold for ten more minutes or burn out in ten more seconds.
Emergency Landing Procedure
Follow these steps the moment you see the warning:
- Reduce altitude immediately and find a clear landing zone within 30 meters.
- Avoid aggressive stick inputs that force the gimbal to compensate.
- Switch out of Sport mode if you are flying aggressively, as Sport mode demands faster gimbal response.
- Trigger an automated Return to Home only if your landing zone is clear and the drone is at a safe altitude.
- Land gently, then power down before inspecting the gimbal.
Risk Assessment Framework
Once safely on the ground, assess the situation. Ask yourself three questions:
- Did the warning appear at startup or mid-flight? Startup warnings often indicate debris or a stuck protector. Mid-flight warnings suggest motor strain or impact damage.
- Did the drone experience any recent impacts? Even a minor bump into a branch can dislodge the ribbon cable connection.
- Is the gimbal physically able to move? Try a gentle manual nudge with the drone powered off. Any grinding, clicking, or resistance means hardware damage.
Step-by-Step Troubleshooting to Clear the Warning
Once your drone is on the ground and powered off, work through these fixes in order. I have ordered them from simplest to most involved, and you should stop as soon as the warning clears.
Step 1: Power Cycle and Remove All Accessories
Start with the basics. Power off the drone completely, remove the battery for 30 seconds, then reinstall. Remove any third-party ND filters, lens hoods, or gimbal-mounted accessories. These add mass and can shift the gimbal balance point, triggering overload protection.
Power back on in a calm, indoor environment if possible. Air currents from wind can confuse the gimbal during its self-check.
Step 2: Inspect for Debris and Clean the Gimbal
Look closely at the gimbal assembly with a bright light. Sand particles are nearly invisible but can wedge between the motor housing and the rotating yoke. Use a soft anti-static brush or a can of compressed air to clear debris.
Avoid using liquids directly on the gimbal. If you need a cleaning solvent, dampen a microfiber cloth with 90 percent isopropyl alcohol and gently wipe only the exterior camera housing. Never spray anything into the motor gaps.
Step 3: Check the Gimbal Protector and Protection Sticker
This step catches more pilots than you might think. DJI ships drones with a foam or plastic gimbal protector that locks the camera in place during transport. If this protector is still partially attached or if a small foam tab is wedged against the gimbal, the self-check will fail and trigger the overload warning.
Remove the protector completely. Also check for any leftover protective stickers on the lens or camera housing that could restrict movement.
Step 4: Recalibrate the Gimbal
Open your DJI app, go to the camera settings, and find the gimbal calibration option. Place the drone on a perfectly flat, level surface. Run the auto-calibration sequence, which typically takes 30 to 60 seconds.
Do not touch the drone during calibration. Any movement can cause the calibration to fail repeatedly, which is a common complaint I see in pilot forums.
Step 5: Update Firmware
Outdated or mismatched firmware between the drone, remote controller, and battery is a leading cause of phantom gimbal warnings. Open DJI Assistant 2 on your computer or use the DJI Fly app to check for updates on all components.
Many pilots skip the battery firmware, which is a mistake. DJI intelligent flight batteries contain firmware that communicates with the gimbal system, and a mismatch here can trigger warnings even on a perfectly clean gimbal.
Step 6: Test With Gentle Control Stick Movement
After recalibration, test the gimbal in Sport mode with very gentle yaw and pitch stick inputs. DJI’s official guidance suggests using Sport mode for this test because the higher motor response can sometimes clear minor overload states by giving the motors a controlled burst of activity.
If the warning persists through all six steps, the issue is likely hardware-related and requires professional service.
Prevention and Maintenance to Avoid Future Warnings
Most gimbal overload warnings are preventable with consistent maintenance habits. I run my fleet through a pre-flight routine that takes two minutes and has eliminated roughly 90 percent of gimbal incidents across our operations.
Pre-Flight Checklist
Before every flight, run through this short list:
- Confirm the gimbal protector is fully removed and stored away from the drone.
- Visually inspect the gimbal for debris, especially after beach, snow, or dusty environment flights.
- Check that all firmware is current across drone, controller, and batteries.
- Confirm the gimbal completes a smooth self-check during startup without abnormal sounds.
Cleaning Best Practices
Clean the gimbal after every 10 flights or any time you fly in dirty conditions. Use compressed air first to dislodge particles, then a soft brush around the motor housing. Store your drone in a padded case that prevents the gimbal from being pressed against the body during transport.
Avoid placing the drone on rough surfaces where sand can work its way into the gimbal mechanism during takeoff.
Transport and Storage
Always reinstall the gimbal protector before transporting your drone, even for short car trips. The protector prevents the camera from swinging freely and absorbing impact energy against the frame.
Store your drone in a climate-controlled environment. Extreme cold can thicken gimbal motor lubricants and temporarily increase resistance, triggering warnings on the first flight of the day. Letting the drone warm up for five minutes before takeoff usually clears this issue.
Frequently Asked Questions About Gimbal Overload Warnings
How do I fix a gimbal motor overload on my DJI drone?
Start by powering off the drone and removing all third-party accessories like ND filters. Inspect the gimbal for debris using compressed air or a soft brush, then check that the gimbal protector is completely removed. Recalibrate the gimbal through the DJI app on a flat surface, and update firmware on the drone, controller, and batteries. If the warning persists, contact DJI support for hardware inspection.
What does a DJI gimbal overload warning mean?
A DJI gimbal overload warning means the gimbal motor is experiencing resistance or stress beyond its normal range. The flight controller triggers this warning to protect the motor, ribbon cable, and sensors from damage caused by debris, physical obstruction, third-party accessories, or internal hardware issues.
How do I reset the gimbal on a DJI drone?
To reset the gimbal on a DJI drone, open the DJI Fly or DJI Go app, navigate to camera settings, and select gimbal calibration. Place the drone on a level surface and run the auto-calibration. Do not touch the drone during the 30 to 60 second process. Power cycling the drone before recalibration often improves results.
Why does my drone keep saying the gimbal is stuck?
Your drone says the gimbal is stuck when the self-check movement cannot complete at startup. The most common causes are a partially attached gimbal protector, debris in the motor housing, or physical damage from a recent impact. Remove the protector fully, clean the gimbal with compressed air, and recalibrate. Persistent warnings indicate hardware damage requiring service.
Is it safe to fly a drone with a gimbal overload warning?
No, it is not safe to continue flying when a gimbal overload warning appears. The warning indicates motor strain that could fail suddenly, leading to loss of stabilization or a crash. Land immediately at the nearest clear spot, power down, and run through the troubleshooting steps before attempting another flight.
When to Seek Professional Repair for a Gimbal Overload Warning
If the warning persists after following every step above, the problem is almost certainly hardware-related. Common culprits include a stretched or torn ribbon cable, worn motor bearings, or a damaged IMU sensor. These repairs require opening the gimbal assembly and replacing internal components, which is best handled by DJI’s official repair service or an authorized technician.
Continuing to fly with a persistent overload warning risks motor burnout, which can cascade into damage to the camera module and flight controller. The cost of a ribbon cable replacement is typically far less than the cost of replacing an entire gimbal assembly or camera unit.
Final Thoughts on Responding to Gimbal Overload Warnings
A gimbal overload warning is your drone protecting itself, and responding correctly can save you hundreds in repairs. The process comes down to three principles: land immediately when the warning appears, work through the troubleshooting steps in order from simplest to most involved, and maintain the gimbal proactively to prevent future warnings. Most cases resolve within minutes through debris removal, recalibration, or firmware updates. For the rest, professional service exists for good reason. Your drone’s gimbal is the most fragile precision component on the aircraft, and treating the warning with respect keeps your investment flying safely for years to come.