
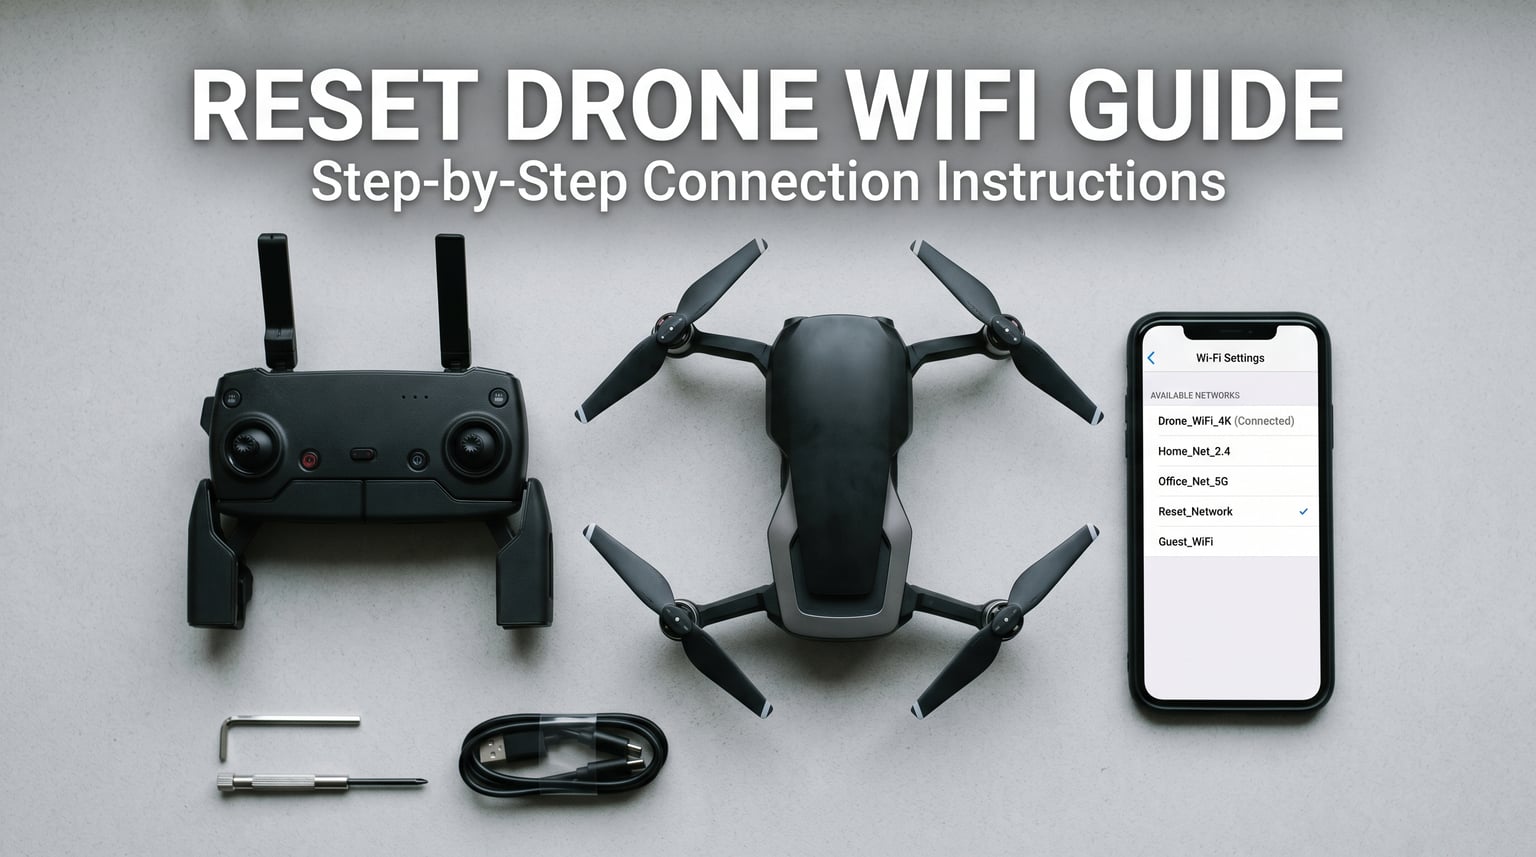
Last weekend I lost 40 minutes on a launch field because my drone’s WiFi refused to show up on my phone. The controller was bound, the props spun, but the network just would not appear. After working through it (and chatting with our team about similar cases), I realized most drone WiFi pairing problems follow the same handful of root causes.
This guide walks you through how to reset the WiFi on a drone when it won’t pair, from the easiest 30-second checks to brand-specific hard resets. By the end, you should have a working connection or a clear next step if hardware is the issue.
Table of Contents
Why Your Drone Won’t Connect to WiFi
Drone WiFi pairing fails for a small number of reasons. In our experience troubleshooting these devices, here are the most common culprits we see in 2026:
- Low or mismatched battery levels on the drone, controller, or phone
- Stale network credentials cached on your phone from a previous flight
- Firmware version mismatch between drone, controller, and app after an update
- Radio interference on the 2.4GHz or 5GHz band from routers or other drones nearby
- Stuck pairing state that requires a full WiFi reset to clear
- Loose WiFi card or camera module cable inside the drone body
Authentication failures are especially common. One Parrot owner on a forum described it perfectly: “Everything was working just fine. Now the wifi won’t connect to the phone or the controller. I just get Authentication and then it defaults to my home connection.” That default-back-to-home behavior is a tell-tale sign your phone is rejecting the drone’s network, often because the cached password no longer matches after a reset.
Connection drops after 100 feet are another recurring theme. Pilots assume they have hit the drone’s range limit, but in most cases the drone never actually lost the link — the phone’s WiFi scanner simply wandered to a different access point. Forcing the phone to stay on the drone’s network (turn off mobile data, disable WiFi auto-switching) often restores video immediately.
Step 1: Check the Battery Levels on Both Devices
Before you reset anything, confirm both devices have enough charge. A drone below 20% battery will often refuse to broadcast its WiFi network to preserve flight time. The same goes for controllers — many will throttle or disable the radio link when their own battery is low.
I always charge the drone, controller, and phone to at least 50% before any pairing attempt. It only takes a few minutes and rules out the easiest explanation. If your drone uses a smart battery with LED indicators, make sure you are reading the per-cell voltage and not just the percentage — a battery that reads 40% with one weak cell will underperform dramatically.
Step 2: Restart the Drone and Controller
A cold reboot clears most stuck radio states. Power both devices off completely, wait 30 seconds, then power them back on in this order:
- Power on the drone first and let it fully boot (usually 10 to 20 seconds).
- Power on the controller second.
- Open the drone’s companion app last.
That boot order matters. The drone needs to broadcast its SSID before the controller and phone try to find it. Reversing the order is one of the most common causes of “drone WiFi not showing up” complaints. The 30-second wait between power-off and power-on is also important — it gives the internal capacitors time to fully discharge so the WiFi card actually resets.
Step 3: Forget the Drone’s WiFi Network on Your Phone
If your phone remembers an old network with an outdated password, it will silently fail every connection attempt. Go into your WiFi settings, find the drone’s network name (usually something like “Drone-XXXXXX” or a brand prefix), tap it, and select “Forget.”
Then toggle airplane mode on and off to force your phone to rescan. When the drone’s SSID reappears in the list, tap it and enter the password printed on the drone or in its manual. Most drones use “12345678” or “88888888” as the default.
On iPhones, you may also need to go to Settings > General > Reset > Reset Network Settings to fully clear any cached WPA keys. On Android, the “Forget” option usually handles it in one tap.
Step 4: Reset the Drone’s WiFi Settings
This is the core of how to reset drone WiFi. The exact method varies by brand, but the general pattern is the same:
- Make sure the drone is powered off.
- Press and hold the power button for 8 to 15 seconds.
- Watch the LED indicator — a slow blink means boot, a fast blink or color change means reset.
- Release the button when the LED pattern changes.
- Wait for the drone to fully reboot (about 20 to 30 seconds).
On most drones, the WiFi network will reset to its factory SSID and password. On others, you’ll need to repeat the binding process with the controller. We’ll cover brand-specific steps below.
To verify the reset worked, scan for available networks on your phone. The drone’s SSID should appear within 30 seconds of reboot. If you see a different network name than before, the reset was successful.
Step 5: Put the Drone in Pairing Mode
Pairing mode is the drone’s way of saying “I’m ready to accept a new connection.” Most consumer drones enter pairing mode automatically after a WiFi reset, but some require a specific button combo:
- Holy Stone and Potensic: Hold the power button for 3 seconds after reset until the LED blinks rapidly.
- DJI Mavic and Mini series: Press and hold the power button on the drone for about 4 seconds to enter linking mode.
- Budget E88/E99 drones: Power on, then press the “pair” or “WiFi” button once after boot.
Pairing mode typically lasts 30 to 60 seconds. If you miss the window, power cycle the drone and try again. The LED will usually blink slowly when pairing mode is active and stop blinking once it’s paired.
Step 6: Update Firmware on Drone and Controller
Firmware mismatches are a top cause of “my drone won’t pair after an update” complaints. We saw this issue spike every time a major app update ships in 2026. Connect the drone to its companion app with a USB cable, then check for firmware updates on both the drone and the controller.
Never update firmware on a low battery. Always update over a stable WiFi connection with the drone plugged in or fully charged. A failed firmware update can brick the radio and require a more invasive reset.
One quirk worth knowing: some drones cache the old WiFi credentials even after a firmware update. If your drone pairs fine but the app will not connect, try re-flashing the firmware or performing a full factory reset from the app before assuming the radio is dead.
Step 7: Brand-Specific Hard Reset Procedures
Different brands hide the WiFi reset in different places. Here are the exact procedures for the most common models our team has worked with in 2026.
DJI Drones (Mavic, Mini, Air, Phantom)
DJI uses DJI Assistant 2 on a PC or Mac for a true factory reset. Connect the drone via USB, open DJI Assistant 2, and select “Factory Reset” under the device tools. For a quick WiFi-only reset on the Mavic Mini and Mini 2, hold the power button for 9 seconds until the LEDs blink yellow, then release.
For the DJI Mini 3 and Air 2S, the binding button is on the back of the aircraft. Hold it for 3 seconds until you hear a beep, then power on the controller to complete the link.
Holy Stone Drones (HS110, HS175, HS720)
Power off, then hold the power button for 10 to 15 seconds. The LEDs will cycle through colors and the WiFi SSID will return to factory defaults. Reconnect through the Holy Stone app, not directly through your phone’s WiFi settings. The Holy Stone app manages the SSID and password rotation automatically, so going through the app prevents mismatched credential issues later.
Parrot Drones (Anafi, Bebop)
Parrot drones reset through the FreeFlight app: go to Settings, then “Reset to factory defaults.” For the Anafi, you can also press and hold the power button for 8 seconds until the LED turns solid red. Parrot is unique in that the controller and drone link over WiFi rather than a dedicated radio, so a router reset on your home network can also kick the Anafi off the network and require re-binding.
Potensic and Budget Drones (E58, E88, E99 Pro)
These budget drones share a similar pattern: power off, hold the power button for 12 to 15 seconds, wait for the LED to flash rapidly, then release. The WiFi network name usually reverts to something like “4K_XXXXXX_XXXX” or “Drone-XXXXXX.”
Budget drones are notorious for one specific issue: the camera ribbon cable comes loose during hard landings. If your E88 or E99 Pro shows the WiFi network but the app shows no video, the camera module has likely shifted and needs to be reseated.
WiFi Frequency and Interference Settings
Most consumer drones broadcast on 2.4GHz for range, with newer models adding a 5GHz option for cleaner signals in crowded areas. If your drone supports both, switch to 5GHz when you’re flying near WiFi routers or other drones — it tends to be much less congested.
If you’re stuck on 2.4GHz, change the WiFi channel on your home router to 1, 6, or 11 to avoid overlap with the drone’s default channel. Connection drops after 100 feet are usually interference, not range — switching channels often fixes it.
Microwave ovens, baby monitors, and Bluetooth speakers all crowd the 2.4GHz band. If you are flying from a backyard or an indoor space, move at least 30 feet away from any of these sources before troubleshooting the drone itself.
When WiFi Works But the App Won’t Show the Camera Feed
This is one of the most common pain points we hear about on forums. Your phone connects to the drone’s WiFi, but the app shows a black screen or “no signal.” The fix is almost always one of these:
- Close the app completely and reopen it after the drone is fully booted.
- Grant the app camera, location, and local network permissions in your phone’s settings.
- Check that the camera module cable inside the drone is fully seated (see below).
- Update the app — older app versions often lose video after firmware updates.
On some budget drones, the app requires you to confirm a “video stream” prompt the very first time it connects. If you tapped “No” or dismissed the prompt, the app will not show the camera feed until you reset its permissions in your phone’s settings.
Hardware Inspection: Checking the WiFi Card and Camera Module
If you have a “WiFi works but no camera” issue, or the drone will not broadcast any network at all, the WiFi card may have come loose. On most drones, the WiFi card sits on top of or behind the camera module and connects with a small ribbon cable.
Power off the drone, remove the battery, and open the body shell. Press the ribbon cable firmly back into its socket. We have seen multiple forum reports of controllers with loose USB ports too — if the controller’s charging port wiggles, that’s why it loses binding. Re-seat or replace it.
Warranty is worth considering here. If your drone is still under warranty, opening the body shell will void it. Try all the software resets first. If they fail, contact the manufacturer before cracking open the case.
Tips for Preventing Future WiFi Pairing Issues
A few habits have saved me from repeat pairing headaches in 2026:
- Always update the app and firmware together. Updating one without the other is the leading cause of “it worked yesterday” complaints.
- Power cycle the drone after every long flight. Heat and vibration can leave the radio in a stuck state.
- Keep the controller’s USB port clean and tight. Loose ports are a top cause of binding drops.
- Forget the drone’s network on your phone after every flight if you fly multiple drones. Cached credentials are the silent killer of clean re-pairing.
Storing the drone and controller in a padded case also helps. Vibrations from tossing the gear in a backpack can slowly work the ribbon cables loose over time, which is why the “worked yesterday, fails today” pattern is so common.
When to Skip DIY and Call Support
If you have tried all seven steps above — battery check, power cycle, network forget, full WiFi reset, pairing mode, firmware update, and a brand-specific hard reset — and the drone still will not pair, the WiFi card itself has likely failed. This is not something you can fix with software.
For drones under warranty, open a support ticket with the manufacturer. For out-of-warranty drones, replacement WiFi cards are available for most major models on eBay or specialty shops like GetFPV. The repair itself usually takes 15 to 30 minutes with a Phillips screwdriver and a steady hand.
For very cheap entry-level drones, the replacement card often costs nearly as much as a new drone, and the time spent troubleshooting is rarely recovered. If the drone is still under 90 days old, push for a manufacturer replacement first.
Frequently Asked Questions
Why is my drone not connecting to Wi-Fi?
The most common reasons a drone won’t connect to WiFi are low batteries, outdated firmware, cached network credentials on your phone, or radio interference. Start by charging everything, forgetting the drone’s network on your phone, and power cycling both devices. If that fails, perform a WiFi reset by holding the power button for 8 to 15 seconds until the LED pattern changes.
How do I hard reset my drone’s WiFi?
To hard reset a drone’s WiFi, power off the drone, then press and hold the power button for 8 to 15 seconds. Watch the LED — a slow blink means normal boot, while a fast blink or color change means the WiFi settings are resetting. Release the button and wait 30 seconds for the drone to fully reboot. The WiFi network name and password will return to factory defaults.
Why is my drone not pairing?
Pairing failures usually mean the drone and controller are out of sync. Hold the binding button on both devices at the same time, or run through a full WiFi reset. If pairing still fails after a reset, your controller’s USB port may be loose, or the drone’s WiFi card may have come disconnected internally. Inspect the hardware before assuming a software issue.
How do I put my drone in pairing mode?
Most drones enter pairing mode automatically after a WiFi reset, indicated by a rapidly blinking LED. On DJI drones, press and hold the power button for 4 seconds to enter linking mode. On budget drones like the E88 or E99 Pro, press the WiFi or pair button once after boot. Pairing mode typically lasts 30 to 60 seconds before timing out.
Final Thoughts
Learning how to reset the WiFi on a drone when it won’t pair comes down to a simple ladder: start with batteries and a power cycle, then clear your phone’s cached network, then run a full WiFi reset, and only then reach for a firmware update or brand-specific hard reset.
If you have tried all of the above and the drone still will not pair, the WiFi card or controller hardware is likely the issue. Open the body shell, reseat the ribbon cable, and check the controller’s USB port. That fixes more stubborn cases than people expect.