
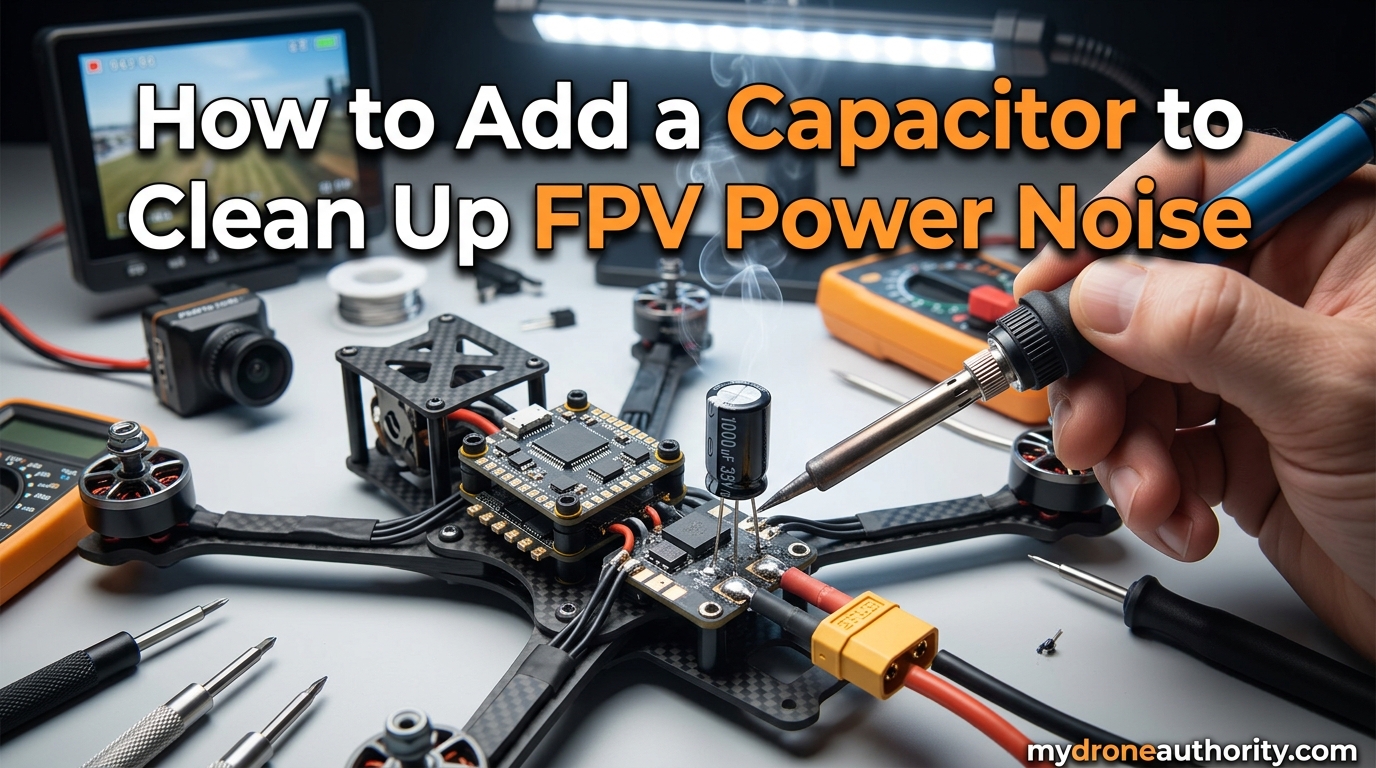
You arm your 5-inch quad, ease the throttle past mid-stick, and suddenly your goggles fill with horizontal lines. The video breaks up, your OSD flickers, and in the worst cases the flight controller reboots mid-air. I have seen this exact scenario play out in roughly half of the first-time builds that come across my workbench, and in almost every case the root cause is the same: ESC switching noise riding on the power rails.
The good news is that learning how to add a capacitor to clean up FPV power noise is one of the cheapest and most effective modifications you can make. A quality low-ESR capacitor costs under five dollars, takes about ten minutes to solder, and can prevent hundreds of dollars in damaged flight controllers, VTX units, and receivers. In this guide I will walk you through exactly what a capacitor does, how to choose the right one for your build, where to install it for maximum effectiveness, and how to avoid the common mistakes that leave pilots frustrated with noise that refuses to go away.
Table of Contents
What Does a Capacitor Do on an FPV Drone?
A capacitor on an FPV drone is a small electronic component that stores and releases electrical energy to smooth out voltage spikes and filter electrical noise in the power system. It sits across the positive and negative power rails, acting as a fast-responding energy reservoir that absorbs the rapid voltage spikes generated when the ESC switches its MOSFETs on and off thousands of times per second.
Think of it like a shock absorber for your electrical system. Every time an ESC phase switches, it creates a brief spike that the battery and wiring cannot instantly compensate for. The capacitor catches those spikes and releases the energy back into the system during the gaps, leaving the voltage seen by your sensitive electronics far cleaner.
The benefits show up across the entire drone:
- Cleaner video feed with fewer horizontal noise lines
- Fewer ESC desync events that cause motors to stop mid-flight
- Reduced chance of flight controller brownouts and reboots
- Lower electrical stress on VTX, camera, and receiver components
- Improved gyro data quality, which translates to better flight controller tuning
If you have ever wondered why some builds fly silky-smooth while others fight oscillations no matter how much you tune PID and filter settings, the power system cleanliness is often the hidden variable. A capacitor is not a magic cure-all, but it removes a major source of noise that software filtering can only partially compensate for.
How to Know If You Need a Capacitor
Not every build needs a capacitor, but the threshold is lower than most pilots assume. As a general rule from the workbench, any quad larger than three inches running a 4-in-1 ESC will benefit from one, and anything five inches or larger should have one as a default. Smaller micro builds with brushed motors or tiny whoop-style AIO boards usually get away without.
Look for these symptoms before you commit to adding a capacitor:
- Horizontal lines in your FPV feed that get worse as throttle increases
- Video breakup or OSD flicker at specific throttle positions, often around mid-stick
- Random ESC desyncs where one motor stops spinning briefly
- Flight controller reboots or gyro resets during punch-outs
- Hot motors or ESCs even when props are balanced and bearings are good
- Noise that improves temporarily when you fit a fresh battery
One important note: before assuming power noise is your problem, rule out other causes. A damaged coax cable, a poorly tuned Betaflight dynamic notch filter, or a VTX running too close to the flight controller can all mimic noise symptoms. If your noise is consistent across throttle positions rather than worsening with motor RPM, the capacitor may not be your fix.
How to Choose the Right Capacitor
Three specifications determine whether a capacitor will do its job on your FPV drone: capacitance, voltage rating, and ESR. Get any one of these wrong and you will either get no benefit or risk damaging the component. Let me break each one down.
Capacitance (uF) – How Big Should It Be?
Capacitance, measured in microfarads (uF), tells you how much energy the capacitor can store. For FPV drones the useful range is roughly 470uF on the small end up to 2200uF for larger 7-inch builds. The most common value you will see recommended is 1000uF, which is a solid middle-ground for 5-inch quads on 4S or 6S.
Going too small means the capacitor cannot absorb enough of the spike to make a visible difference. Going too large adds weight and physical bulk without proportional benefit, since the relevant noise is high-frequency rather than sustained sag. A 1000uF capacitor handles the spikes from a typical 5-inch build effectively, and parallel pairs of smaller values can sometimes outperform a single large can due to lower combined ESR.
Voltage Rating – Never Undersize This
The voltage rating is the maximum sustained voltage the capacitor can handle safely. A fully charged 6S battery sits at 25.2V, and brief spikes can push even higher. Undersizing the voltage rating is the number one reason pilots report capacitors exploding on the bench or puffing after a flight.
The rule is simple: pick a voltage rating at least 20 percent above your battery’s fully charged voltage. For a 4S pack (16.8V max), a 25V capacitor is the minimum safe choice and 35V gives a comfortable margin. For 6S packs (25.2V max), you want 35V minimum, with 50V being the safer long-term choice. Undersized capacitors do not just fail quietly – they can vent electrolyte across your flight controller.
ESR – Why Low-ESR Matters for FPV
ESR stands for Equivalent Series Resistance, and it is the single most under-appreciated spec in FPV capacitor selection. A standard electrolytic capacitor from your local electronics shop will have an ESR of 0.1 ohms or higher. A low-ESR capacitor rated for switching power supply use sits closer to 0.01 to 0.03 ohms. That difference of an order of magnitude is what separates a capacitor that cleans your video from one that does nothing visible.
Here is why. The noise generated by ESC switching is high-frequency – tens of kilohertz and up. At those frequencies, the capacitor’s impedance is dominated by its ESR, not its capacitance. A high-ESR capacitor simply cannot respond fast enough to absorb the spike, so the noise passes right through to your gyro and VTX. A low-ESR capacitor tracks the spike almost instantly and shunts it to ground.
For brand recommendations the FPV community has converged on a small set of trusted parts: Panasonic FM and FR series, Rubycon ZLH and ZLJ series, and Nichicon UHW series. These are all low-ESR electrolytic capacitors designed specifically for switching supply decoupling. Generic no-name capacitors from mystery kits often have unspecified ESR and disappointing real-world performance.
Capacitor Size Chart by Drone Size and Cell Count
Use these tables as a starting reference when selecting a capacitor. They reflect what works in practice across dozens of community builds and workshop repairs, not theoretical calculations.
Capacitance by Drone Wheelbase
| Drone Size | Typical Build | Recommended Capacitance | Example Voltage Rating |
|---|---|---|---|
| 2 inch | Toothpick, micro | Optional or 220-330uF | 25V |
| 3 inch | Cinewhoop, toothpick | 470uF | 25V or 35V |
| 4 inch | Light 4S or 6S | 470-680uF | 35V |
| 5 inch | Standard freestyle, race | 1000uF | 35V (4S) or 50V (6S) |
| 7 inch | Long range, cruiser | 1500-2200uF | 50V |
Voltage Rating by Cell Count
| Battery | Full Charge Voltage | Minimum Voltage Rating | Recommended Rating |
|---|---|---|---|
| 2S | 8.4V | 16V | 16V or 25V |
| 3S | 12.6V | 16V | 25V |
| 4S | 16.8V | 25V | 35V |
| 6S | 25.2V | 35V | 50V |
| 8S | 33.6V | 50V | 63V |
For 5-inch builds on 6S, the most commonly recommended single part is a 1000uF 35V low-ESR capacitor from Panasonic or Rubycon. That combination handles the vast majority of noise issues without excess weight. If you fly aggressive freestyle with sharp throttle punches, stepping up to 1500uF or splitting into two 680uF capacitors in parallel can give a measurable improvement.
Where to Install the Capacitor
The best place to install a capacitor on an FPV drone is directly across the main battery input pads on the ESC or 4-in-1 ESC board. Solder the positive lead to the positive battery pad and the negative lead to the negative battery pad, keeping the leads as short as physically possible.
This placement matters more than most pilots realize. The capacitor needs to sit electrically as close to the source of the noise as possible. The ESC MOSFETs are the noise generators, and the ESC battery pads are the closest accessible point to those MOSFETs. Every millimeter of wire and trace between the capacitor and the noise source adds inductance, and inductance makes the capacitor less effective at absorbing high-frequency spikes.
What about soldering the capacitor across the XT60 connector instead? This is a common question, and the short answer is that XT60 placement works but is significantly less effective than ESC pads. The battery leads between the XT60 and the ESC can be 100mm or longer, and at the frequencies involved in ESC switching noise, that length acts as an inductor that fights the capacitor’s filtering action. You will still see some benefit, but rarely the dramatic improvement you get from ESC pad mounting.
For lead length, aim for under 10mm if your physical layout allows. Trim the capacitor leads before soldering, and never leave long floppy leads just because they happened to fit. If you have no choice but to use longer leads on a tight build, accept the compromise and consider adding a second smaller capacitor closer to the ESC pads later if noise persists.
Step-by-Step Installation Guide
Once you have the right capacitor in hand, installation is a straightforward soldering job. Follow these steps to get a clean, effective result on the first try.
- Gather your tools. You need a soldering iron (40W or better), rosin-core solder, flux paste, wire cutters, a small zip tie or two, and your selected low-ESR capacitor. A multimeter is useful for verifying polarity before you power up.
- Identify the polarity. Before touching the iron, find the stripe on the side of the capacitor. The stripe marks the negative lead. The positive lead is the longer of the two original leads. If you have already trimmed them, the stripe is your only reliable reference.
- Tin the ESC battery pads. Apply a small amount of fresh solder and flux to both the positive and negative battery pads on the ESC. A good tin coat makes the actual capacitor soldering much cleaner.
- Trim the capacitor leads. Cut both leads to length so the capacitor will sit flat against the ESC without strain. Keep leads under 10mm if possible. Mark the negative lead with a marker or by bending it slightly so you do not lose track after trimming.
- Tin the capacitor leads. Apply a thin coat of solder to each lead. This helps them bond to the pads quickly without overheating the capacitor body.
- Solder negative lead first. Place the striped negative lead onto the negative battery pad and apply the iron until the solder flows. Hold for a second to set, then release. Soldering the negative lead first reduces the risk of accidental shorts if the capacitor shifts.
- Solder the positive lead. Repeat for the positive lead on the positive battery pad. Double-check polarity one more time before moving on.
- Secure the capacitor. Apply a dab of hot glue or RTV silicone between the capacitor body and the frame or ESC to absorb vibration. For larger capacitors, add a zip tie around the frame arm or ESC standoffs. A capacitor that rattles loose in flight will not help your video.
- Test before flying. With props off, plug in a battery and check that the capacitor is not getting hot after 30 seconds. Run the motors at low throttle for a minute and recheck. If everything is cool and stable, you are good to fly.
Capacitor Polarity – Read This Before Soldering
Yes, it absolutely matters which way you install an electrolytic capacitor, and installing one backwards is one of the most common and most destructive mistakes in FPV building. Electrolytic capacitors are polarized components. Reverse voltage causes the internal electrolyte to boil, which vents through the top pressure relief score lines, often with a small explosion and a spray of hot electrolyte across your electronics.
Before you apply any power, verify the stripe on the capacitor body lines up with the negative battery pad. The stripe side is always negative. If you are not certain, do not plug in the battery. Workshop experience says a reverse-connected capacitor on a 6S pack typically fails within the first 30 seconds of motor testing, and the cleanup is not fun.
Troubleshooting Common Problems
Even with a capacitor installed, things do not always go perfectly. Here are the symptoms that come up most often on the workbench and how to address them.
The capacitor gets hot after flight. A capacitor that is warm to the touch is normal, especially after aggressive flying. A capacitor that is too hot to hold is a problem. The usual causes are a voltage rating that is too low for your pack, ripple current exceeding the capacitor’s rating, or a counterfeit or out-of-spec capacitor. Swap to a higher-voltage genuine part and recheck.
Horizontal lines still appear in the video. If the capacitor is correctly installed and you still see noise, the most common cause is lead length. Long leads between the capacitor and the ESC pads add inductance that defeats the filtering. Other causes include noise on the VTX power rail itself (which may need a separate small capacitor on the 5V or 9V line), a noisy BEC, or a damaged VTX. Check that your capacitor leads are under 10mm and that you are using a genuine low-ESR part.
The capacitor exploded on first test. This is almost always a polarity error or a voltage rating undersize. Disconnect the battery immediately, clean any electrolyte off the board with isopropyl alcohol, inspect for damage to nearby components, and verify your polarity and voltage rating before trying again with a fresh part.
ESC desync still happening. A capacitor helps with desync caused by voltage ripple, but desync can also come from motor wiring issues, ESC firmware bugs, or overheating MOSFETs. If the capacitor does not fix your desync, look at ESC temperature, motor wire routing, and your ESC firmware version before assuming the capacitor failed.
Cost-Effectiveness: Why a $3 Part Saves $200 Builds
The case for adding a capacitor becomes obvious once you tally the cost of the components it protects. A typical 5-inch freestyle build carries a flight controller, a 4-in-1 ESC, a VTX, a camera, and a receiver that together easily add up to two hundred dollars or more. A quality low-ESR capacitor costs between two and five dollars.
Forum discussions are full of pilots who learned this lesson the expensive way. One builder on IntoFPV reported losing two flight controllers, a VTX, and a receiver to voltage spikes before anyone suggested adding a capacitor. The fix was a single 1000uF 35V part and the problem never returned. Another user documented a capacitor that was still going strong two years after installation, eliminating video noise for the life of the build.
If you are on the fence about whether your build needs one, the math makes the decision easy. The capacitor is cheap, the install is quick, and the downside of skipping it is potentially replacing every expensive component on your quad. Treat it as standard build practice rather than an optional upgrade.
How to use a capacitor to reduce noise?
Solder a low-ESR electrolytic capacitor across the main battery input pads on your ESC, with the negative stripe aligned to the negative pad and leads trimmed as short as possible. A 1000uF 35V capacitor is the standard choice for a 5-inch quad on 4S or 6S, and it absorbs the high-frequency voltage spikes generated by ESC switching that otherwise show up as horizontal lines in your FPV video.
What does a capacitor do on an FPV drone?
A capacitor on an FPV drone stores and releases electrical energy to smooth out voltage spikes and filter ESC switching noise from the power system. It acts as a fast-responding reservoir that catches high-frequency ripple before it reaches sensitive electronics, which reduces video noise lines, prevents ESC desync, and protects the flight controller, VTX, and receiver from voltage-spike damage.
Where do you put the capacitor on an FPV drone?
The best place to install a capacitor on an FPV drone is directly across the main battery input pads on the ESC or 4-in-1 ESC board, keeping leads under 10mm. Soldering across the XT60 connector also works but is less effective because the long battery leads add inductance that reduces the capacitor’s ability to absorb high-frequency noise.
How do I know if I need a capacitor for my FPV drone?
You likely need a capacitor if you see horizontal lines in your FPV feed that worsen with throttle, experience random ESC desyncs, suffer flight controller reboots during punch-outs, or notice your VTX flickering at specific throttle positions. As a default, any quad larger than three inches running a 4-in-1 ESC benefits from a capacitor, and anything five inches or larger should have one as standard practice.
What size capacitor for 6S drone?
For a 6S drone, use a 1000uF capacitor rated for at least 35V, with 50V being the safer long-term choice since a fully charged 6S pack sits at 25.2V and brief spikes push higher. For larger 7-inch long-range builds on 6S, step up to 1500uF or 2200uF. Always use a low-ESR part from a reputable brand such as Panasonic FM, Rubycon ZLH, or Nichicon UHW.
Does it matter which way you install a capacitor?
Yes, electrolytic capacitors are polarized and installing one backwards will typically cause it to fail, vent, or explode within seconds of applying power. Always align the stripe on the capacitor body with the negative battery pad. Verify polarity visually before plugging in the battery, every time.
Conclusion
Adding a capacitor to clean up FPV power noise is one of the highest-value modifications you can make to a drone, and it is well within the reach of any builder with basic soldering skills. Choose a low-ESR electrolytic capacitor from a reputable brand, size the capacitance and voltage rating to your build, solder it directly across the ESC battery pads with short leads, and double-check polarity before every flight.
Once installed correctly, a single two-to-five-dollar part will reliably eliminate the horizontal video noise lines that plague so many builds, reduce the chance of ESC desync, and protect your expensive electronics from voltage spikes that would otherwise shorten their life. Treat it as standard build practice for anything five inches and up, and you will spend a lot less time troubleshooting noise and a lot more time flying clean.
If you are working through a fresh build or troubleshooting an existing one, the capacitor is a great first step before you dive into Betaflight filter tuning or ESC firmware changes. Get the power system clean first, then optimize everything else around it.