
Most drone pilots I meet can fly confidently but feel let down the moment they open their gallery. The shots look flat, the subject gets lost in scenery, and the whole image reads more like a satellite tile than a photo worth sharing. The good news is that almost every weak aerial image comes down to one fixable problem: composition.
When I started shooting aerial work, I made the same mistakes. I chased altitude, ignored my grid overlay, and treated the sky itself as the subject. Once I began applying the composition tricks that instantly improve drone photos, my keep rate jumped from maybe one in twenty to several strong frames per flight. This guide breaks down the same techniques I now use on every shoot.
You will learn seven field-tested composition tricks, the drone-specific settings that make them work, practical flight tips, common mistakes to avoid, and how settings like ISO, grid overlays, and golden hour timing interact with composition. Whether you shoot landscapes, real estate, weddings, or travel content, these adjustments will show up the very next time you take off.
The principles here are the composition tricks that instantly improve drone photos that I teach every new pilot I mentor. They work on entry-level sub-250-gram drones and on professional cinematic rigs alike, because composition is about where you place things in the frame, not which sensor you carry.
Table of Contents
Composition Tricks That Instantly Improve Drone Photos
Composition is the deliberate placement of subjects, lines, and space inside your frame so the viewer’s eye lands where you want it. With a drone, you also have one tool ground photographers only dream of: altitude. That power is exactly why composition matters more, not less, in aerial photography.
Most aerial shooters spend their first year obsessing over camera specs and ignoring the frame. I did the same. The result is sharp, well-exposed images that still feel hollow. Below are the seven tricks I rely on most, each one ready to apply on your next flight, in roughly the order I would teach them.
1. Master the Rule of Thirds with Your Drone Grid Overlay
The rule of thirds is the fastest composition fix you can make, and nearly every modern drone app supports it. Turn on the thirds grid overlay in your DJI Fly, Autel Pilot, Skydio, or Litchi app before takeoff. The grid splits your frame into nine equal rectangles, with four intersection points where the lines cross.
Position your main subject on one of those four intersection points rather than dead center. The brain reads off-center placement as intentional and balanced, while dead-center placement often feels static. For landscape drone work, place the horizon on either the upper or lower third line. I rarely put a horizon in the middle of the frame because it splits the photo into two competing halves.
When the sky is dramatic with clouds and color, give it two thirds of the frame. When the ground is the story, give it two thirds instead. The overlay gives you a constant reference while you fly, so you never have to guess where the thirds land.
The grid overlay is also a quick sanity check while hovering. If your subject sits on a thirds intersection and the horizon is level, you have already beaten most amateur drone photos. This single toggle, free in every app I have used, is the highest-leverage setting change you can make today.
One refinement I use: when I want a more cinematic feel, I break the rule of thirds deliberately by pushing the subject close to a corner. This is a choice, not an accident, and the contrast against the rule is exactly what makes it land.
2. Hunt for Leading Lines from Above
Leading lines are visual paths that pull the viewer’s eye through the frame toward your subject. Roads, rivers, fence lines, shorelines, bridges, train tracks, and shadows all qualify. From above, these lines are far more obvious than they are at ground level, which is one reason aerial images can feel so powerful.
I look for a single strong line first, then I position the drone so that line starts in a corner or along one edge and runs toward my subject. Diagonal lines create motion and energy, while converging lines, like a road narrowing toward the horizon, add depth and a sense of distance.
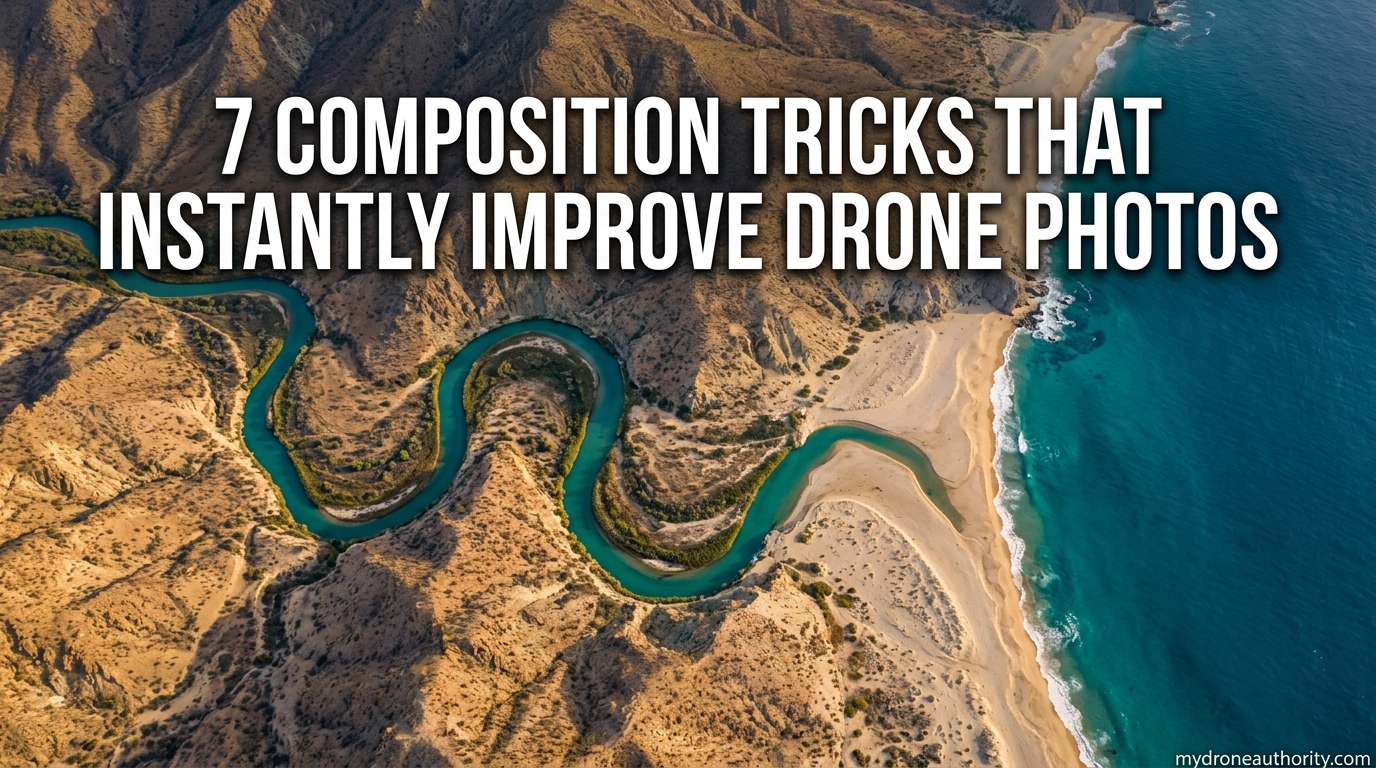
S-curves are the gold standard. A winding river, a switchback road, or a curving coastline pulls the eye on a journey rather than a straight sprint. I will spend ten minutes circling a location just to find the angle that turns a boring straight road into an S-curve through the frame.
Straight horizontal lines tend to feel static, so I usually adjust my flight path to convert them into diagonals. Even a five-degree yaw rotation can transform a flat horizon line into a dynamic diagonal that leads toward your subject.
One trick I use often: fly low along a winding road or path and let it snake from the bottom of the frame toward a farmhouse, lighthouse, or lone tree. The line does the work of leading the eye, and the subject rewards the viewer for following it. Shadows at golden hour make excellent leading lines too, because tree lines, hills, and buildings cast long dark paths that direct attention.
3. Use Symmetry and Patterns for Striking Top-Down Shots
Top-down, or bird’s-eye, compositions are where drones shine. The trick is to find repetition or perfect symmetry, because the camera removes all sense of depth at this angle. Agricultural fields, ocean waves, parking lots, salt flats, sports courts, vineyard rows, and geometric rooftops all produce pattern-rich images.
I aim the camera straight down using the gimbal pitch at negative ninety degrees, then I rotate the drone until the pattern fills the frame evenly. Symmetry becomes the subject itself. The brain loves repetition, and from above, even mundane scenes like a parking lot can become graphic and abstract.
A lone breaker of the pattern, a single red umbrella on a beach of blue ones, instantly becomes the focal point. This contrast between repetition and interruption is one of the most reliable drone photo tricks I know. Without the disruption, pattern shots can feel pretty but empty.
Crop fields, irrigation circles, and vineyards are especially rewarding because their geometry is invisible from the ground. I check satellite maps to locate them, then plan flights around the patterns they form when seen from directly overhead.
Be selective with top-down shots. They are addictive, but a gallery of nothing but overhead patterns loses impact fast. I treat them as one tool among many, not the entire shoot. A healthy mix includes top-downs, low-altitude layered shots, and mid-range perspective shots.
4. Create Depth with Foreground, Midground, and Background
The number one complaint I hear from new drone pilots is that their photos look flat. The fix is depth, and depth comes from layering three distinct zones: a foreground element close to the drone, a midground subject, and a background like mountains, sky, or a distant city.
Fly lower than you think you need. At fifteen to forty meters up, foreground elements like treetops, rocks, or rooftops enter the bottom of the frame. Place your main subject in the midground, and let distant terrain anchor the top. That three-layer stack is what separates a postcard from a snapshot.
Most beginners default to flying at the legal ceiling of 120 meters because it feels impressive. From that height, everything compresses into a map and depth vanishes. Dropping to forty meters can completely transform the same scene by reintroducing foreground and a sense of looking across rather than down.
Fog and haze are secret weapons here. A thin layer of mist between foreground and background visually separates the layers and adds atmosphere. I check weather apps before sunrise flights specifically for ground fog, and some of my favorite frames came from valleys half-filled with mist at dawn.
Atmospheric perspective also helps. Distant mountains naturally appear lighter and bluer than near terrain because of haze. Lean into that natural color shift, and let it carry the eye from foreground to background.
5. Use Negative Space Intentionally
Negative space is the empty area around your subject. Beginners often try to fill every pixel with something interesting, which creates clutter and confusion. Intentional negative space gives your subject room to breathe and forces attention toward it.
A single boat on a calm lake, a person on an empty beach, or a lone car on a salt flat all work because the surrounding emptiness becomes part of the story. I compose these by placing the subject small in the frame, usually on a thirds intersection, and letting water, sand, or sky dominate the rest.
The mistake to avoid is accidental negative space, where the subject is tiny and lost because no decision was made. Decide that emptiness is the point, and the image reads as intentional minimalism instead of a missed shot.
Negative space also pairs well with color contrast. A red jacket against a white snowfield, a yellow kayak against dark water, or a blue tent against orange sand uses emptiness plus color to lock the viewer onto the subject.
I often underexpose by a third of a stop on minimalist drone scenes. This deepens the negative space and makes the subject pop harder than a brighter exposure would.
6. Frame Your Subject with Natural Elements
Natural framing uses elements inside the scene to surround your subject. From a drone, you can use the canopy of a tree, an arch of branches, the curve of a cliff, or the outline of a canyon to create a frame within the frame.
I fly until part of the scene enters the edges of the image, then I adjust altitude until that element surrounds my subject without covering it. The frame directs the viewer inward and adds a sense of discovery. It also hides uninteresting corners of the sky or terrain that would otherwise distract.
Natural framing works especially well with vertical subjects like waterfalls, lighthouses, and tall trees. I position the drone so the canopy of surrounding trees forms a soft circular border around the subject. The viewer’s eye drops naturally toward the center because the frame blocks the rest of the world out.
Caves, tunnels, and bridges make especially strong frames when you fly through them. Just confirm local rules and line-of-sight requirements before attempting anything that takes the drone behind an obstacle. Safety always comes before a single frame.
7. Add a Human Element for Scale and Story
Aerial scenes can feel anonymous without a point of reference. Dropping a person into the frame instantly solves two problems at once: it provides scale, and it adds a story. A lone hiker on a ridge line, a surfer paddling out, or a couple walking a beach path turns a scenic shot into a moment.
I fly at a respectful distance, keep the person small enough to suggest scale but large enough to recognize, and usually place them on a thirds intersection or at the end of a leading line. Their movement or direction of travel gives the viewer an emotional anchor.
This trick also works with vehicles, animals, or small boats. Anything alive or moving reads as the subject of the photo, even in a vast landscape. A single white sailboat in a bay of deep blue instantly becomes the story, no matter how spectacular the surrounding cliffs are.
For real estate and wedding drone work, the human element is often the entire point. I frame the couple on a thirds intersection and use the surrounding landscape to support them rather than compete with them. The result reads as a moment, not a survey photo.
Practical Flight Tips for Better Drone Composition
Composition happens in the air, but small flight habits make it far easier. Below are the routines I have built after hundreds of flights.
Scout before you fly. Open Google Maps or Apple Maps satellite view, look for shapes, lines, and water features, then mark candidate locations. Showing up blind almost always wastes battery on forgettable shots, and a five-minute map session often saves twenty minutes of searching in the air.
Shoot during golden hour, the hour after sunrise and the hour before sunset. Low sun creates long shadows, warm color, and depth that no composition trick can replicate at midday. Blue hour, the period just after sunset or before sunrise, also rewards drone work with cool tones and city lights.
Keep ISO at 100 whenever possible. Drone sensors are small, and high ISO introduces noise that flattens detail and weakens composition. If the shutter drops too low, use ND filters rather than bumping ISO. A polarizing filter can also deepen skies and reduce glare on water.
Fly slowly and compose deliberately. Hover, study the live grid overlay, and reframe before you press the shutter. Most of my best frames came after I paused for ten seconds rather than shooting in a rush. Slow flight also lets you spot small composition errors before they become permanent.
Bracket exposures when the sky and ground differ in brightness. Blended exposures preserve detail in both zones, which keeps your composed elements visible instead of blown out. Most drone apps support auto exposure bracketing, and it costs you nothing but a few extra megabytes.
Use the histogram if your app offers one. A spike pressed against the right edge means blown highlights, which destroy compositional detail in bright skies. Adjust exposure until the histogram sits comfortably inside the right third without clipping.
Shoot RAW. JPEG discards information you may need to recover shadows, balance color, or pull detail out of a tricky sky. Composition survives editing better when you start with the maximum data your sensor can capture.
Common Drone Composition Mistakes to Avoid
Even with the tricks above, a few mistakes will quietly ruin otherwise solid compositions. I have made all of these myself, more than once.
Over-shooting from maximum altitude is the most common. At 120 meters, everything shrinks into a map view and your subject vanishes. Drop to thirty or fifty meters and watch the image gain depth and presence. Most of my keepers are shot well below sixty meters.
Ignoring the horizon is another silent killer. A tilted horizon instantly reads as amateur, even when the rest of the composition is strong. Use the grid overlay to level it, or fix it in post, but never leave it slanted. The same applies to vertical lines on buildings when shooting real estate.
Centering every subject by default kills visual energy. The rule of thirds exists for a reason, and breaking it should be a choice, not an accident. If you do center a subject, do it for symmetry or power, not because you forgot to think about placement.
Clutter kills compositions. If the frame has six competing subjects, the eye gives up and moves on. Pick one clear subject and remove everything that does not support it. Sometimes that means flying lower, sometimes it means recomposing to exclude a distracting building or road.
Shooting only in one orientation is a subtle mistake. Vertical compositions often work better for social media, while horizontal shots suit landscapes and prints. I rotate the gimbal or recompose the same scene in both orientations whenever the subject allows.
Forgetting to vary altitude across a shoot produces a monotonous gallery. I force myself to capture the same scene from at least three different altitudes. The low shot is usually the strongest, even when the high shot felt more impressive in the moment.
FAQs
How to improve drone photography?
To improve drone photography, turn on your grid overlay, shoot during golden hour, fly lower than you think for depth, use leading lines and the rule of thirds, keep ISO at 100, and scout locations with satellite maps before flying.
What are the five composition techniques used most in drone photography?
The five most common drone composition techniques are the rule of thirds, leading lines, symmetry and patterns, layered depth with foreground and background, and intentional negative space.
How can I instantly improve my photography composition?
You can instantly improve composition by turning on the rule of thirds grid, placing your subject on an intersection rather than centering it, leveling the horizon, simplifying the frame to one clear subject, and using leading lines to guide the eye.
Why do my drone photos look flat?
Drone photos usually look flat because the image lacks layered depth. Fly lower to include foreground elements, add a midground subject and a distant background, and shoot during golden hour when low light creates shadows that separate the layers.
Conclusion
The composition tricks that instantly improve drone photos are not secret. They are the same fundamentals ground photographers have used for a century, adapted to the sky. Turn on your thirds grid, hunt for leading lines, lean into symmetry, build layered depth, use negative space with intent, frame with natural elements, and add a human anchor when it fits.
Pick two of these tricks for your next flight and practice them until they feel automatic. Then add another. Within a few sessions, your drone gallery will stop reading like aerial snapshots and start reading like intentional photography. Fly safe, fly low when the scene calls for depth, and let composition do the heavy lifting for every frame you bring home in 2026.