
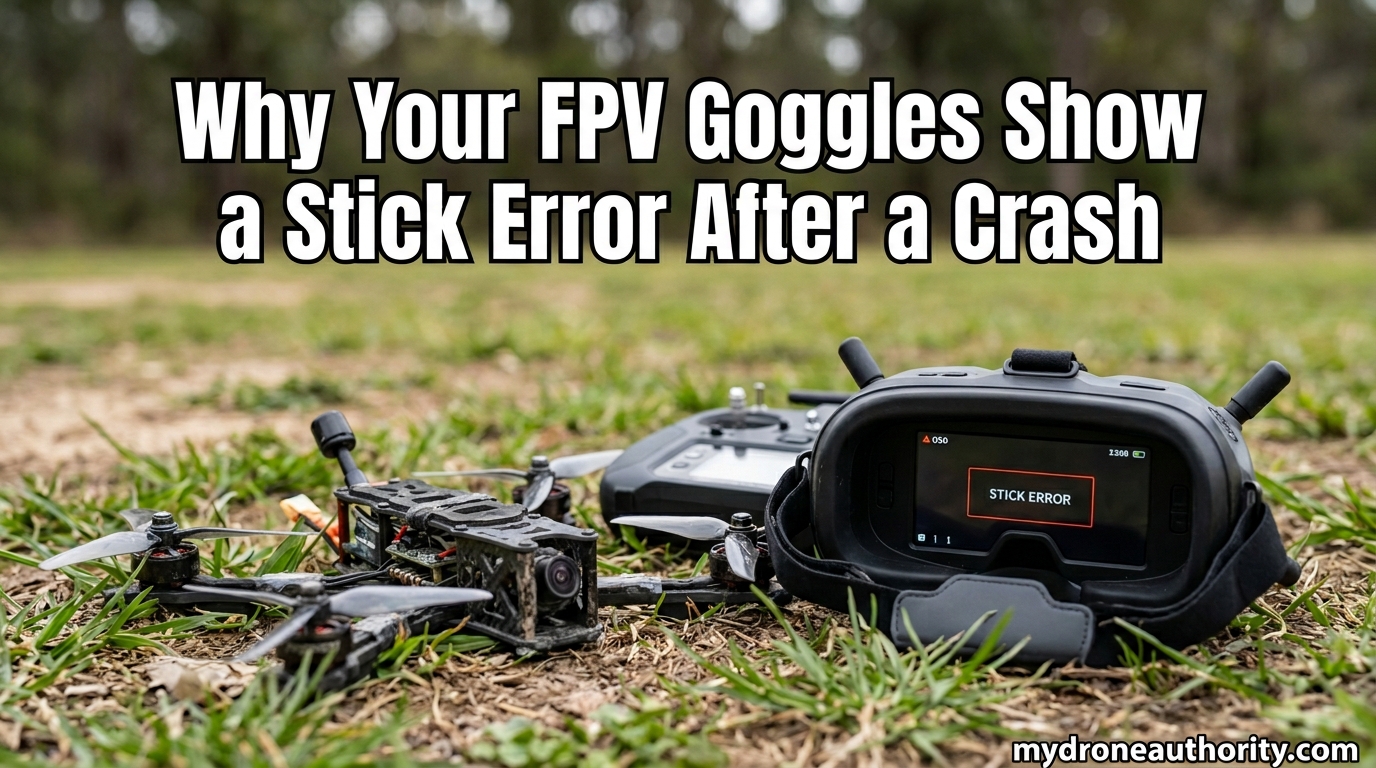
Seeing a “Remote Control Stick Error” message in your FPV goggles right after a crash is one of the most frustrating moments a pilot can face. You still have video feed, the drone powers on, but the sticks do absolutely nothing. I have lived through this exact scenario, and in nearly every case the culprit is the same: a broken or disconnected SBUS signal between your receiver (or Air Unit) and the flight controller.
This guide breaks down exactly why the FPV goggles stick error after crash appears, what the SBUS signal actually does, and how to trace the problem step by step. By the end you will know whether the fix is a 30-second rebinding job, a solder touch-up, or a flight controller replacement.
I have pulled together the most reliable fixes from Oscar Liang’s technical write-ups, the DIYFPV community, Reddit threads on r/fpv, and real reports from the Facebook FPV groups where pilots share their actual crash recovery stories. Every step below is one that has worked for someone with a downed drone.
Table of Contents
What the “Stick Error” in FPV Goggles Actually Means
The “Remote Control Stick Error” is an OSD-level warning telling you that the flight controller is not receiving valid stick data from your radio. In the DJI FPV system family (Goggles 2, Goggles 3, Vista, O3 Air Unit, Avata series), this almost always traces back to the SBUS signal path, not the sticks themselves.
SBUS is a serial protocol that carries up to 16 channels of control data down a single wire into a UART on your flight controller. When that wire goes quiet, Betaflight (or whatever firmware you run) sees no receiver input at all. The goggles, which also receive telemetry from the FC, interpret the silence as a stick problem and throw the error.
Here is the important distinction: the sticks on your controller may be perfectly calibrated and centered, but the message will still show. The error is about signal delivery, not stick position. That is why recalibrating alone rarely fixes a crash-induced stick error.
One quick sanity check before going deeper: make sure your throttle stick is lowered all the way down. Some pilots on neopilots.com report a “stick error” if the throttle was left mid-stick, because the system interprets an armed-state mismatch as an input fault.
Why Crashes Cause the Stick Error: SBUS Signal Disruption
A crash does three things that directly damage the SBUS signal path. Understanding which one happened to your quad determines the fix.
1. Connector unseating. The impact jolt pulls the small JST or Molex plug on the back of the O3 Air Unit, Vista, or receiver partially out of its socket. The pin still looks seated but has walked back just enough to lose contact on the signal line. This is the single most common cause and the easiest to repair.
2. Wire fracture. Vibration and impact concentrate stress at the solder joint where the SBUS wire meets the flight controller pad, or at the strain relief inside the Air Unit plug. A hairline break can pass continuity when cold but fail the moment current flows. Pilots in the DIYFPV thread consistently find this on close visual inspection.
3. SBUS pad or input diode damage. This is the serious one. Oscar Liang documented it in detail: when a drone crashes, motor wires can short against the frame, dumping voltage spikes into the 5V rail and into the SBUS input pin. Most flight controllers have a protective inverter diode on the SBUS line that absorbs these spikes. One big spike fries the diode, and the SBUS pad effectively goes dead even though the wire is intact.
This diode failure is why reflashing Betaflight does nothing. The problem is physical hardware on the FC board, not firmware. If you reflash and the board now reports zero stick input where it previously reported something, you have likely pushed an already-damaged input over the edge.
Physical Inspection Checklist After a Crash
Work through these in order before touching any software. Grab a magnifying glass or your phone in macro mode, because the defects are tiny.
Step 1: Unplug the battery and disconnect the drone from any USB power. Never probe a powered board.
Step 2: Locate the SBUS wire. On DJI O3 / Vista systems this is the yellow wire in the 6-pin harness that lands on a free UART TX or RX pad on your FC. On standalone receivers (Frisky R-XSR, XM+, etc.) it is the labeled SBUS output pin.
Step 3: Gently tug each connector while holding the opposite end. A good connection has zero movement. If the plug slides in the socket even a millimeter, reseat it fully and add a dab of hot glue or liquid electrical tape for strain relief.
Step 4: Inspect the solder joint where the SBUS wire meets the FC pad. Look for a ring crack around the pad, a dull grey joint, or a wire that wiggles independently of the solder. Resolder if you see any of these.
Step 5: Trace the wire back into the Air Unit plug. Bend the harness gently at each point. A broken internal conductor will often reveal itself as a kink or soft spot under the insulation.
Step 6: Check the gimbal screws on your controller. A post on the Facebook FPV group flagged that a loose screw inside the FPV Remote 2 was causing a persistent stick error. Tightening it resolved the issue with zero wiring work.
Step-by-Step SBUS Signal Troubleshooting in Betaflight
Once the wiring passes visual inspection, confirm the SBUS signal is actually arriving at the flight controller.
Step 1: Plug the FC into your computer via USB and open Betaflight Configurator. Leave the battery disconnected for this test.
Step 2: Go to the Receiver tab. With your radio powered on and bound, you should see the channel bars move when you wiggle the sticks. No movement means no SBUS signal is reaching the FC.
Step 3: Confirm the correct UART is assigned. Under the Ports tab, verify the UART your SBUS wire is soldered to has “Serial RX” enabled. A crash can sometimes corrupt configuration if the FC took a power hit, and reflashing firmware without re-checking the port mapping is a common dead end.
Step 4: Under the Receiver tab, confirm the receiver mode is set to “SBUS” (not CRSF, IBUS, or PPM). Mixing these up after a reflash is the most common self-inflicted stick error.
Step 5: If you are on a DJI system with the O3 or Vista, verify SBUS fast mode if your FC supports it. Some boards (SpeedyBee F405 for example) only decode the SBUS signal correctly when the protocol matches the inverter speed.
Step 6: If all settings look right but bars still do not move, the SBUS input diode on the FC is almost certainly dead. This is the point where you stop troubleshooting software and start planning a pad swap or board replacement.
A multimeter test can confirm diode death: set the meter to continuity mode, place one probe on the SBUS pad and the other on the FC’s signal ground. A healthy diode reads open in one direction and low resistance in the other. A fried diode reads open in both directions, or shorted in both.
Controller Calibration Procedure
If the receiver tab shows signal but the goggles still throw the error, the controller itself needs calibration. This is also worth doing any time you rebind or update firmware.
Step 1: Install DJI Assistant 2 (Consumer Drones Series) on a PC. Connect the controller via USB-C and power it on.
Step 2: Open Assistant and select your controller from the connected device list.
Step 3: Navigate to the Stick Calibration page. You will see on-screen dots representing each gimbal axis.
Step 4: Follow the on-screen prompts to rotate both sticks in slow, full circles. Keep the motion smooth, because the algorithm samples maximum throw on each axis.
Step 5: Confirm calibration, then power-cycle the controller. Reconnect and check the live stick readout to verify all four axes center cleanly and reach full deflection.
Step 6: On some controllers you can also access a quick calibration through the goggles menu: Settings, Control, Stick Calibration. This is faster but less thorough than the Assistant 2 method.
A trick reported on the Mavic Pilots forum: if calibration completes but the error reappears, change your stick mode from Mode 2 to Mode 1, apply, then change it back. This forces the gimbal mapping to reinitialize and has cleared the error for several users on brand-new controllers.
Rebinding Goggles, Controller, and Drone After a Crash
A hard impact can desync the binding tokens between your three DJI components. When that happens, the controller appears connected but never passes stick data, triggering the same “Remote Control Stick Error.”
Step 1: Power off everything: goggles, controller, drone.
Step 2: Power on the drone first. Wait for the Air Unit LED to show a steady pattern.
Step 3: Press and hold the bind button on the drone (or the Air Unit itself on a custom build) until the LED begins rapidly blinking.
Step 4: Power on the goggles. Press and hold the bind button on the goggles until they beep and show “Linking.”
Step 5: Once the goggles confirm link, power on the controller. Press and hold its bind button until it beeps.
Step 6: The full triangle (drone, goggles, controller) should now show as linked in the goggles OSD. Test stick movement before arming.
As one FPV Pilots forum user succinctly put it: “long press on the battery button until it beeps, same on RC, then battery again and goggles bind button.” The order matters more than people expect, so follow the sequence above rather than mashing buttons randomly.
When the Flight Controller Needs Replacement
If you have reseated every connector, resoldered the SBUS wire, confirmed Betaflight settings, recalibrated the sticks, and rebound the full system, and the receiver tab still shows zero stick input, the SBUS input diode on your flight controller is dead.
This is a hardware-level failure that no firmware flash will fix. You have two options: move the SBUS wire to a spare UART that has a working inverter (some FCs expose a second SBUS-capable pad), or replace the flight controller entirely.
The second option is usually the right call. Continuing to fly on a board that has taken a voltage spike means the next crash is more likely to take out additional inputs or the gyro. A new FC in the 40 to 60 dollar range buys you known-good hardware and a clean slate.
One note on DJI-specific systems: the O3 Air Unit and Vista are not part of this failure path. They generate the SBUS signal correctly; it is the receiving FC that dies. Do not replace the Air Unit hoping to fix a stick error.
Stick Error vs. IMU Error vs. ESC Error
Pilots frequently confuse three different post-crash errors. Knowing which one you have saves hours of misdirected troubleshooting.
A stick error means no receiver input is reaching the FC. Fix path: SBUS wiring and receiver tab.
An IMU error means the gyro or accelerometer on the FC is not initializing. Fix path: resolder the FC, reflow the IMU chip, or replace the FC. Calibration does not help a physically damaged IMU.
An ESC error means the electronic speed controller is not responding to the FC’s motor commands. Fix path: check ESC signal wire, resolder the motor bullet connectors, or replace the ESC. Some DJI Avata crashes trigger this when an ESC takes a direct impact.
If your OSD shows multiple errors at once, treat them as separate faults and chase the stick error first. Without control input, fixing the other systems is moot.
Why do my FPV goggles show a stick error after a crash?
The most common cause is a broken or disconnected SBUS signal wire between your Air Unit or receiver and the flight controller. The crash either unseated a connector, fractured the signal wire, or fried the SBUS input diode on the FC through a voltage spike.
How do I fix a Remote Control Stick Error in DJI goggles?
Start by reseating the SBUS connector and resoldering the wire to the FC pad. Open Betaflight and confirm the receiver tab shows stick movement. If it does not, verify the UART and receiver mode settings, then rebind the drone, goggles, and controller in the correct order.
Can I fix the stick error by reflashing Betaflight?
Usually no. Reflashing firmware does not repair physical SBUS pad or diode damage, which is the root cause in most post-crash stick errors. Reflashing can even make the issue worse if the FC has already taken a voltage hit. Always inspect wiring first.
How do I calibrate DJI controller sticks?
Connect the controller to a PC running DJI Assistant 2, open the device, navigate to Stick Calibration, and follow the on-screen prompts to rotate both sticks in slow full circles. Confirm, power-cycle, and verify all four axes center cleanly in the live readout.
How do I rebind DJI FPV goggles after a crash?
Power off everything. Power on the drone and hold its bind button until the LED blinks rapidly. Power on the goggles and hold their bind button until they beep and show Linking. Then power on the controller and hold its bind button. The full triangle should link in that order.
Can a DJI drone be repaired after a crash?
Yes, most DJI drones and custom FPV builds are repairable. The fix may be as simple as reseating a connector or as involved as swapping the flight controller. Frame cracks, broken arms, and bent motor shafts are also replaceable on most platforms.
Wrapping Up the Stick Error Mystery
The “FPV goggles stick error after crash” message is loud and scary, but it almost always points to one place: the SBUS signal path between your receiver hardware and the flight controller. Trace the wire, reseat the connectors, resolder the pad, and confirm signal in Betaflight before doing anything else.
If the wiring and software all check out and the receiver tab still shows dead silence, the SBUS input diode on your FC has taken the hit. Plan for a flight controller replacement rather than chasing firmware fixes that will not help. Knowing the difference between a stick error, IMU error, and ESC error will also keep you from wasting time on the wrong repair.
Next step: run through the physical inspection checklist above, then open Betaflight and watch the receiver tab. Within 15 minutes you will know exactly which fix your grounded quad needs.