
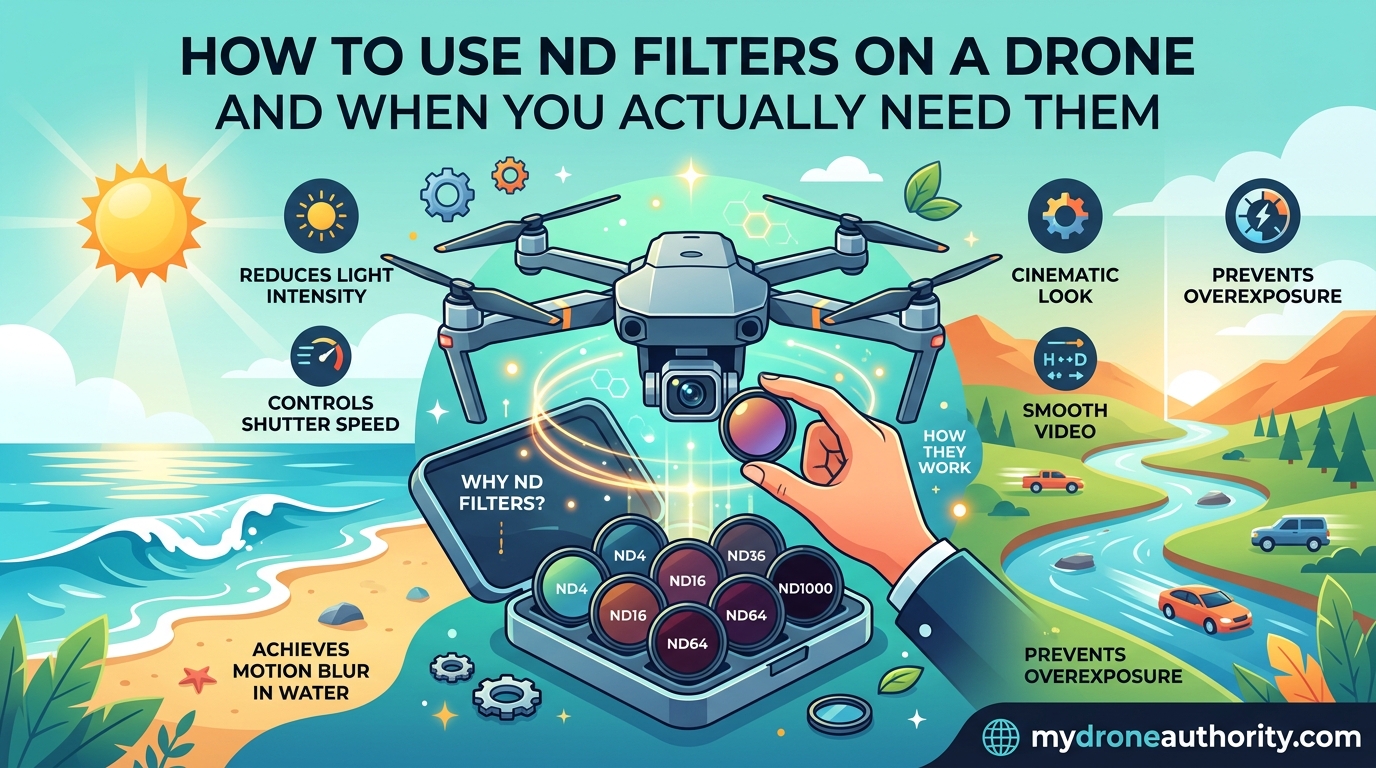
You take off on a clear afternoon, fly your drone over a glassy lake, hit record, and the footage looks nothing like the cinematic shots you see online. The water is razor-sharp but jittery. Every frame feels choppy. If that sounds familiar, the missing piece is almost certainly an ND filter.
An ND (neutral density) filter is a darkened piece of glass that screws or snaps onto your drone’s camera lens to reduce the amount of light hitting the sensor. Think of it as sunglasses for your camera. By cutting light, an ND filter lets you slow your shutter speed in bright conditions, which is the single biggest difference between amateur-looking drone clips and smooth, professional footage.
This guide walks through exactly how to use ND filters on a drone, what each rating (ND4, ND8, ND16, ND32, ND64) actually does, and the specific moments when reaching for a filter is worth it versus when it will only hurt your footage. I have spent hundreds of flights learning the hard way which settings matter, and the answer is not always “use a filter.” Sometimes the opposite is true.
By the end, you will know which filter to grab for golden hour, midday sun, or long-exposure stills, how to set your shutter speed correctly once it is mounted, and the common mistakes that leave pilots blaming their gear when the real issue is technique.
Table of Contents
What Are ND Filters? A Plain-English Explanation
A neutral density filter is a camera attachment made from darkened optical glass that blocks a measured amount of light from reaching the sensor without changing the color of the scene. The keyword is “neutral” — it should not add a tint, a color cast, or any visible effect to the image beyond darkening it.
The easiest way to picture it is the sunglasses analogy. When you step outside on a bright day, you squint because too much light is hitting your eyes. Sunglasses cut that light so you can keep your eyes open and relaxed. Your drone camera does not have eyelids, so when there is too much light, it compensates by closing the shutter faster, raising the f-stop, or dropping ISO. The result is a fast shutter speed that makes video look jittery and unnatural.
Slap on an ND filter and the camera suddenly has the breathing room it needs to use slower, more cinematic shutter speeds. This matters more for drones than for most ground cameras because drone sensors are small, drone lenses usually have a fixed aperture (especially on the DJI Mini series), and the camera is often pointed at bright sky, reflective water, or sunlit terrain that floods the sensor with light.
Without a filter, the camera’s only option in bright light is to crank the shutter speed to 1/1000 or faster, which freezes every frame and produces that harsh, staccato look. With a filter, you can drop back to roughly twice your frame rate — the sweet spot for natural motion blur.
How ND Filters Work: Stops of Light Explained
Every ND filter is rated by how much light it blocks, and that blocking power is measured in “stops.” One stop of light reduction means half as much light reaches the sensor. Two stops means a quarter. Three stops means an eighth, and so on. Each stop cuts the light in half again.
This is the same stop system photographers already use for aperture, ISO, and shutter speed. If adding a filter removes two stops of light, you can compensate by slowing your shutter speed by two stops, opening your aperture by two stops, or raising ISO by two stops — and the exposure will look identical. The filter does not change the picture; it changes the math available to you.
For drone pilots, the compensation usually happens at the shutter. Say you are shooting 30fps video in bright sun and the camera wants to use 1/2000 second. That is roughly six stops too fast for cinematic motion blur, which wants 1/60 second. An ND64 filter removes exactly six stops of light, bringing that 1/2000 back down to roughly 1/30 — close enough that you can fine-tune to land on 1/60.
The f-stop relationship matters too. A wider aperture (lower f-number) gives a shallower depth of field, which on a drone is subtle but real. If your drone has a variable aperture like the Mavic 3 or Air 3, an ND filter lets you open up to f/2.8 in bright conditions instead of being forced to f/8 or f/11, where diffraction starts softening the image.
One important technical note: ND filters do not add anything to the image. They only subtract light. That means a low-quality filter will not just darken the scene — it can soften detail, introduce a color cast, or create vignetting in the corners. Cheap filters are a real problem on small drone sensors, which is why I will cover the budget-versus-premium reality later in this guide.
ND Filter Numbers Explained: ND4, ND8, ND16, ND32, ND64
ND filter numbers tell you exactly how many times they multiply the light reduction. An ND4 reduces light by a factor of 4 (two stops). An ND8 reduces by a factor of 8 (three stops). Each doubling of the number is one more stop of light blocked.
Here is the quick-reference chart I use on every shoot. Print it, screenshot it, or commit it to memory — this single table answers 90 percent of “which filter do I grab?” questions.
- ND4 — Reduces light by 2 stops. Use in low golden hour, heavy overcast, or near sunset. Often the right call for early morning flights when the sun is soft.
- ND8 — Reduces light by 3 stops. The general-purpose daytime filter for partly cloudy conditions, late afternoon, and morning sun.
- ND16 — Reduces light by 4 stops. Bright clear day, mid-morning or mid-afternoon. This is the most-used filter in most pilots’ kits.
- ND32 — Reduces light by 5 stops. Harsh midday sun, snow, beach, or reflective water in full daylight.
- ND64 — Reduces light by 6 stops. Brightest conditions — tropical midday, snowfields at altitude, desert sun, or when you need very long shutter speeds for special effects.
Most pilots flying a DJI Mini 3 Pro, Mini 4 Pro, or Air 3 will reach for ND8, ND16, and ND32 far more than the others. The ND4 sits in the kit for golden hour, and ND64 comes out only on the brightest days or for long-exposure stills.
One common source of confusion: ND filter kits sometimes include ND/PL filters, which combine a neutral density layer with a polarizing layer. The polarizer reduces reflections and boosts sky saturation, but it also rotates — meaning the effect changes depending on camera angle. On a drone that pans and rotates constantly, a PL can introduce inconsistent results. I generally recommend plain ND filters for video and saving the ND/PL for specific stills where you can lock the camera angle.
When You Actually Need ND Filters on a Drone
The honest answer to “do I need ND filters?” is “sometimes.” They are not a universal upgrade. They are essential in specific situations and counterproductive in others.
You need an ND filter when:
- You are shooting video in anything brighter than overcast and want smooth, cinematic motion blur. This is the number one reason pilots buy filters.
- You are flying during midday sun, beach trips, snow, or anywhere the histogram is slammed against the right edge.
- You want long-exposure stills — blurred waterfalls, light trails at dusk, smoothed-out waves from above.
- Your drone has a fixed-aperture lens (most DJI Minis) and you have no other way to control exposure.
- Zebra warnings or overexposure indicators are firing constantly and your footage looks clipped and blown out.
You do NOT need an ND filter when:
- You are shooting still photos only, in normal light, with a fast shutter. For most aerial photography, motion blur is the enemy, not the goal.
- It is dusk, dawn, deep overcast, or night. Adding a filter in low light just forces you to raise ISO and add noise.
- You are flying a fast FPV drone where motion blur from the drone’s own speed already provides the cinematic look.
- You are recording at a high frame rate for slow motion (60fps, 120fps) and you actually want a faster shutter to keep frames crisp.
- Your shutter speed is already where you want it without one.
The biggest mistake I see in forum discussions is pilots who leave an ND filter on in every condition because they heard “ND filters make footage cinematic.” They do — when the light calls for them. In low light, an ND filter just pushes your ISO higher, introduces noise, and produces worse footage than no filter at all.
Forum pilots also consistently point out that beginners do not see improvement from ND filters because they leave the camera in auto mode. The filter only helps when you switch to manual and set the shutter speed yourself. Auto mode will compensate for the filter by raising ISO, defeating the entire purpose.
How to Use ND Filters on a Drone: Step by Step
Here is the exact workflow I use on every flight. Run through these six steps in order and you will get predictable, repeatable results.
Step 1: Read the conditions before takeoff. Look at the sky, not the camera. Is it bright midday sun, soft golden hour, or heavy overcast? Make a first guess at the filter strength based on the chart above — ND32 for bright sun, ND16 for normal daylight, ND8 for cloudy or golden hour.
Step 2: Mount the filter on the ground, not in the air. Snap or screw the filter onto the lens before takeoff. Changing filters in flight means landing anyway, and fumbling with tiny glass discs in a windy field is how filters get dropped, scratched, or lost in tall grass.
Step 3: Switch the camera to manual mode. This is the step most beginners skip. Open your drone app, switch out of Auto, and take control of ISO and shutter speed manually. If you leave Auto on, the camera will see the darker image and just raise ISO — and your footage will look identical or worse.
Step 4: Lock ISO at the lowest setting. For most DJI drones that is ISO 100. This gives the cleanest image and the most dynamic range. The filter is doing the work of cutting light, so you should not need to raise ISO.
Step 5: Set your shutter speed using the 180-degree rule. Double your frame rate. Shooting 24fps? Aim for 1/50 second. Shooting 30fps? Aim for 1/60. Shooting 60fps? Aim for 1/120. Adjust within a stop either way based on what looks right in the histogram.
Step 6: Verify with the histogram and zebra stripes. Turn on both in your drone app. The histogram should sit roughly in the middle with no spike jammed against the right edge. Zebra stripes should not cover large bright areas like sky or water. If the image is still overexposed, swap to a stronger filter. If it is too dark, drop down one strength.
One calibration note worth emphasizing: adding a filter changes the weight on the front of the gimbal. On larger filters or heavier premium glass, this can slightly affect gimbal balance. If you notice drift, horizon tilt, or jerky gimbal movement after mounting a filter, run a gimbal calibration through the drone app before flying. Most modern DJI drones handle small filters fine, but heavier third-party filters can push the gimbal past its self-calibration range.
The 180-Degree Shutter Rule: Why It Matters for Drone Video
The 180-degree shutter rule is the single concept that explains why ND filters exist for video. It says your shutter speed should be roughly twice your frame rate. Shoot at 24fps, use 1/50 second shutter. Shoot at 30fps, use 1/60. Shoot at 60fps, use 1/120.
Why twice? Because that ratio produces the amount of motion blur per frame that the human eye reads as natural. Each frame captures a small smear of motion as the subject moves through the frame, and when those frames play back at speed, the brain stitches them together into smooth motion. Too-fast shutter produces stuttery, Saving Private Ryan-style footage. Too-slow shutter produces smeary, dreamy footage that looks like a phone video shot in low light.
The problem on a drone is that bright light forces the shutter fast. In direct midday sun, even at ISO 100 and the smallest aperture, the camera might want 1/2000 second to expose correctly. That is four to five stops too fast for cinematic motion blur. An ND16 or ND32 filter brings that shutter back down into the right range while keeping the exposure correct.
This is why forums like r/dji and MavicPilots are full of pilots asking “why does my footage look jittery?” The answer, nine times out of ten, is that the shutter speed is too high because no filter is being used. Fix the shutter speed and the footage immediately looks professional.
Note that the 180-degree rule applies to video, not stills. For photography, you usually want the opposite — a fast shutter to freeze motion and avoid blur. ND filters for still photography are used for a different reason entirely: long exposures.
Real-World ND Filter Settings by Scenario
General rules are useful, but real flights do not happen in general conditions. Here are the settings I use in three common drone scenarios, filter included.
Scenario 1: Bright midday urban flight. Conditions: clear sky, midday sun reflecting off glass buildings and concrete. Filter: ND32. Frame rate: 30fps. Shutter: 1/60. ISO: 100. Aperture (if variable): f/4 to f/5.6. The ND32 knocks five stops off the brutal midday light so you can hold that 1/60 shutter for smooth motion blur over buildings and streets.
Scenario 2: Golden hour over a landscape. Conditions: warm low sun, long shadows, lower overall light. Filter: ND8. Frame rate: 24fps. Shutter: 1/50. ISO: 100. Aperture: wide open at f/2.8. Golden hour needs only a mild filter because the light is already soft. An ND16 here would push you into noisy ISO territory.
Scenario 3: Long-exposure waterfall or river still. Conditions: daylight, water feature below, drone hovering still. Filter: ND64 (or stack ND32 with ND16 if your kit allows). Mode: manual photo. Shutter: 1 to 4 seconds. ISO: 100. The heavy ND lets you hold the shutter open long enough to blur moving water into that silky smooth effect, even in full daylight. You will need a perfectly still hover, no wind, and possibly a short delay timer to avoid shake from your finger on the shutter button.
For each of these scenarios, the histogram is the truth-teller. Settings are starting points, not rules. Adjust based on what the histogram and zebra warnings tell you, not based on what a chart says.
Common ND Filter Mistakes (and How to Avoid Them)
Most ND filter frustration I see on drone forums comes from a handful of recurring mistakes. Here are the top ones and how to fix them.
Leaving the camera in auto mode. This is the number one mistake. Auto mode compensates for the darker filter by raising ISO, which means you get all the noise of high ISO and none of the cinematic shutter speed you wanted. Always switch to manual exposure when using an ND filter.
Using the wrong filter strength. An ND32 in golden hour will force your ISO to 1600 or higher, adding noise. An ND8 in midday sun will leave your shutter at 1/500, still too fast for cinematic motion. Match the filter to the conditions using the chart, and verify with the histogram.
Forgetting gimbal calibration after switching filters. Heavier filters shift the gimbal’s center of gravity. If your footage suddenly has horizon tilt or drift after mounting a new filter, run a gimbal calibration before flying. This is especially relevant for premium multi-coated filters that weigh more than the cheap plastic ones.
Stacking cheap filters. Stacking two filters compounds any optical flaws. Cheap glass will soften the image, introduce color casts, and vignette the corners. If you need six stops, use one ND64, not an ND8 stacked on an ND8.
Touching the filter glass. Fingerprints on an ND filter look like smudgy ghosts in your footage and are hard to clean in the field. Handle filters by the edges only, and carry a microfiber cloth and a small blower in your kit.
Using ND filters in low light. If the histogram is already in the middle or left without a filter, adding one will only force higher ISO. Filters are for bright conditions. In low light, take them off.
One forum observation worth highlighting: many beginners report that they “cannot tell the difference” after buying ND filters. In nearly every case, they are either leaving the camera in auto mode, using the wrong strength, or shooting in conditions where a filter is not needed. Get the workflow right and the difference is immediate.
Budget vs Premium ND Filters: Does It Matter?
This is a topic none of the top-ranking competitors address, and it is one of the most common questions on drone forums. The short answer: yes, quality matters more on a drone than on most cameras, because drone sensors are small and unforgiving.
Cheap unbranded ND filter sets sold in bulk on Amazon typically use single-layer coated glass or even resin instead of glass. The light reduction may be approximately correct, but the optical quality is not. Real-world problems pilots report include soft corners, slight color casts that need correction in post, and inconsistent stop ratings between filters in the same set.
Official DJI filters and reputable third-party brands like Freewell, PolarPro, and PGYTech use multi-coated optical glass with tighter tolerances. The color stays neutral, the sharpness holds up across the frame, and the stop ratings are accurate. For a small drone sensor, that difference is visible in the final image.
My practical recommendation: if you shoot video regularly, buy a mid-tier set from a known brand rather than the cheapest kit available. The price difference is usually modest for a three-pack, and the optical quality is meaningfully better. If you only fly occasionally for fun, a budget set will get you 80 percent of the benefit at a fraction of the cost.
One caveat on weight: premium glass filters are heavier than cheap resin ones. On smaller drones like the Mini series, every gram matters for gimbal balance. Check that any filter you buy is rated for your specific drone model, and prefer the snap-on designs DJI now uses over older screw-on types that can stress the lens mount.
FAQs
Are ND filters necessary for drones?
ND filters are necessary for drone video if you want smooth, cinematic motion blur in bright conditions. They are not necessary for casual still photography or for flying in low light where the shutter is already slow.
How to use ND filters for drones?
Mount the filter before takeoff, switch the camera to manual mode, lock ISO at 100, set shutter speed to roughly twice your frame rate (1/60 for 30fps), and verify exposure with the histogram and zebra stripes. Adjust filter strength up or down if the image is over or underexposed.
What is the 180-degree rule for drones?
The 180-degree shutter rule says your shutter speed should be approximately twice your frame rate. Shooting 24fps means using 1/50 second shutter, 30fps means 1/60, and 60fps means 1/120. This ratio produces the natural motion blur that makes video look cinematic rather than jittery.
Do I need ND filters for drone photography or just video?
ND filters are primarily a video tool for controlling shutter speed and motion blur. For still photography, you only need ND filters when doing long exposures like blurred waterfalls or light trails. Most still photographers want faster shutter speeds, not slower ones.
Can an ND filter damage my drone gimbal?
A properly sized ND filter will not damage the gimbal, but heavy filters can affect balance and cause drift or horizon tilt. Run a gimbal calibration after mounting a new filter if you notice any movement issues, and avoid stacking multiple filters on small drones like the DJI Mini series.
Conclusion
Learning how to use ND filters on a drone comes down to three things: knowing when the light actually calls for one, picking the right strength for the conditions, and switching to manual mode so the filter can do its job. Get those three things right and the difference in your footage is immediate — the jittery, harsh look disappears and your video takes on that smooth, professional quality you see in the films you admire.
Start with an ND8, ND16, and ND32, fly the workflow in this guide, and check the histogram on every flight. Within a few sessions the filter choice becomes second nature, and you will wonder how you ever shot drone video without them.