
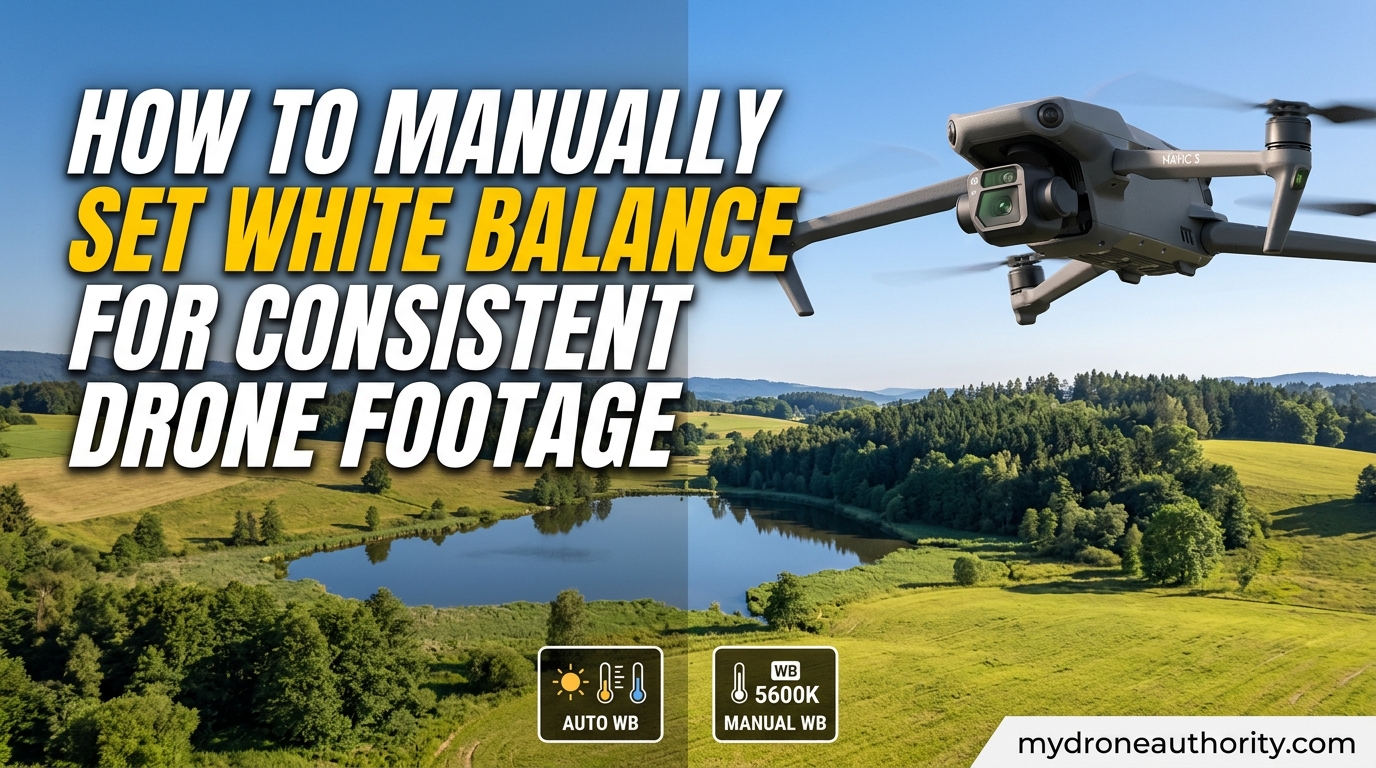
If you have ever filmed what looked like a perfect drone shot only to find the grass shifting from green to blue mid-pan, the culprit is almost always white balance. Learning how to manually set white balance for consistent drone footage is the single fastest way to make aerial video look professional instead of amateur. It also saves hours of color-correction time in post.
In this guide, I walk through exactly what white balance is, why manual beats auto for video, the Kelvin values that work for each lighting condition, and a step-by-step walkthrough for locking white balance in the DJI Fly app. By the end, you will have a repeatable pre-flight routine that produces consistent colors across every clip in a shoot.
Table of Contents
What Is White Balance? (And Why It Matters for Drone Video)
White balance is the camera setting that tells your drone what “neutral white” looks like under the current light, so that colors render accurately instead of carrying an orange or blue tint. Every light source has a color temperature, and your sensor records that color cast unless the camera compensates for it.
For drone pilots the issue shows up most obviously when you pan from a sunlit field into shade, or fly from green foliage out over open sky. Without a locked white balance, the footage visibly shifts color from one frame to the next, and that shift is nearly impossible to fully remove in editing.
The Kelvin Scale Explained
Color temperature is measured in Kelvin (K) on a scale that runs roughly from 2000K (candlelight, deep orange) to 10000K (deep blue sky in shadow). Lower numbers are warmer and more orange; higher numbers are cooler and more blue. This is the opposite of what most people expect, so it is worth memorizing before you touch a slider.
Daylight at midday sits around 5200-5600K. Tungsten bulbs are around 3200K. Open shade on a sunny day can climb past 7000K. When you set white balance manually, you are simply telling the camera the Kelvin value of the light you are flying in, so it can offset that color and render neutral tones as truly neutral.
Kelvin Cheat Sheet for Common Drone Lighting Conditions
Use these starting Kelvin values as a baseline, then fine-tune by 200-400K based on what you see on your phone screen. They are the values most experienced drone pilots on r/dji and MavicPilots report using in real-world flights.
- Midday sun (clear sky): 5200-5600K
- Cloudy / overcast: 6000-6500K
- Open shade (subject in shadow, sky overhead): 7000-7500K
- Golden hour (just after sunrise, before sunset): 3200-4500K
- Sunrise / sunset with warm glow: 2500-3500K
- Snow or water reflecting sky: 6500-7500K (watch for blue cast)
- Mixed sun and shade (most difficult): Pick one value, usually 5600K, and commit
Write these on a small card and tape it to your controller case. It saves guessing in the field.
Why Manual White Balance Beats Auto for Drone Footage
Auto white balance (AWB) reads each frame independently and adjusts continuously. That sounds helpful, but for video it is the source of almost every color consistency problem. As your drone moves, AWB reinterprets the scene, and even small changes produce visible “color pumping” that is distracting and hard to grade out.
Manual white balance locks the camera to one Kelvin value for the entire flight. A green field, a blue lake, and a grey road all get recorded with the same color interpretation, so when you cut between clips they match. The trade-off is that you have to pick the right value up front, but that is exactly what the cheat sheet above is for.
The other reason manual wins is editing. Footage shot with a locked white balance grades cleanly, because every clip starts from the same neutral baseline. Footage shot with AWB requires per-clip correction, which on a long shoot can add hours.
How to Manually Set White Balance for Consistent Drone Footage
The fastest way to lock white balance is to use the Custom WB (Kelvin) mode inside your drone app’s Pro camera settings. The exact menus vary slightly between DJI Fly, DJI GO 4, and AutelSky, but the underlying steps are the same.
- Open the camera settings panel. In DJI Fly, tap the three dots (or gear icon) at the top right of the camera screen to open Settings.
- Switch to Pro (Manual) mode. On the main camera screen, tap the mode icon (usually “Photo” or “Video”) and select “Pro” or “Pro Video.” Auto white balance is not available in true manual mode.
- Find the White Balance setting. Look for the WB icon, usually a small grid or “WB” label with two opposing triangles. Tap it.
- Choose “Custom” or “Kelvin” (the K option). Avoid the presets like Cloudy or Sunny, because they are not as precise as a manual Kelvin value.
- Drag the Kelvin slider to your target value. Use the cheat sheet above as your starting point. Watch a neutral surface in the frame (asphalt, grey roof, white wall) and adjust until it looks neutral, not warm or cool.
- Lock the value and do not touch it for the rest of the shoot. If lighting changes dramatically (a cloud rolls in, the sun drops), land and pick a new value rather than flipping back to AWB.
One popular trick shared on r/dji: if you are unsure what Kelvin to start with, briefly switch the camera to AWB, watch the displayed Kelvin value for a few seconds, note the average, then switch back to Custom and dial that number in. You get the convenience of AWB’s reading without its frame-to-frame drift.
Using a Grey or White Balance Card for Accurate Calibration
A grey or white balance card gives you a true neutral reference, which removes guesswork. An 18% grey card is ideal, but a plain white piece of printer paper or a dedicated white balance card works almost as well for video use.
The process is simple. Hold the card flat under the same light your subject will be in, point the drone camera at it so the card fills most of the frame, then use the app’s Custom WB measurement feature (in DJI Fly, tap the WB icon, choose Custom, then tap the camera icon next to the slider to sample the scene). The app reads the card and sets the Kelvin value automatically.
This is the most reliable method when lighting is tricky, like mixed sun and shade or heavy cloud cover. Grey cards are cheap, take up no space, and remove the single biggest source of color inconsistency in drone footage.
Flat Color Profiles: D-Log and D-Cinelike
Many DJI drones offer flat color profiles like D-Log or D-Cinelike. These profiles record a low-contrast, low-saturation image that preserves more dynamic range for grading. They do not replace white balance, but they pair with it.
The important detail: a flat profile still records whatever white balance you set. Lock the WB first, then enable D-Log. In post, you apply a LUT designed for that profile to restore contrast and color, and because the WB was locked, every clip responds the same way.
If you are new to grading, stick with the Normal color profile and a locked manual white balance. Move to D-Log only once you are comfortable color-matching clips in editing software.
Pre-Flight White Balance Checklist
Run through this short list before every shoot. It takes under a minute and prevents most white balance problems.
- Confirm the drone is in Pro / Manual video mode.
- Set white balance to Custom (Kelvin), not Auto.
- Dial in the Kelvin value for the current lighting using the cheat sheet.
- If lighting is uncertain, take a grey card reading before takeoff.
- Set ISO and shutter speed for the exposure you want.
- If you shoot in D-Log, confirm the profile is on before recording.
- Fly a short test clip, land, and review colors on your phone before the real shoot.
That last step catches more problems than every other step combined. Reviewing one test clip on the ground is far cheaper than discovering a blue cast across a 20-minute shoot.
In-Flight Tips When Lighting Changes
Lighting does not stay constant. Clouds move, the sun drops, and a single shoot can pass through golden hour into dusk. The right approach depends on how fast the light is changing.
For slow changes, like the gradual warming of golden hour, leave the white balance locked at your starting value. The footage will warm naturally as the light warms, which is usually the look you want. Trying to chase the change by re-setting Kelvin every few minutes creates more inconsistency than it solves.
For sudden changes, like a cloud bank rolling in, land and reset the white balance to a new value. Treat each lighting condition as its own shoot, and plan your cuts so clips from each condition stay grouped together in the edit.
The hardest scenario is flying from shade into sun or across mixed terrain (forest to water, city to fields). Pick one Kelvin value, usually a daylight 5600K, accept that one side of the transition will be slightly off, and rely on editing to even things out. This is also where a grey card reading on the boundary between the two zones can help.
Fixing White Balance in Post-Production
Even with locked white balance, small corrections are normal. The workflow is the same in Lightroom, Premiere, DaVinci Resolve, and Final Cut: use the eyedropper on a neutral grey area in the frame, then fine-tune temperature and tint.
In Lightroom, the workflow is to select one clip, click the White Balance eyedropper, click on a neutral grey area (asphalt, cloud shadow, grey clothing), and let Lightroom set the temperature and tint. Sync that setting across all clips shot in the same lighting. This is the batch-processing trick that saves hours on long shoots.
In Premiere and DaVinci, the equivalent is the Lumetri or Resolve color page eyedropper, applied the same way. The key is consistency: one good neutral reading, applied to every clip from that lighting condition.
Shooting in RAW (where supported, like DJI Air 3S or Mavic 3 Pro photo modes) gives the most flexibility, because the original white balance is non-destructive. For most consumer drones shooting H.265 video, you do not get RAW, which is why locking the in-camera value matters so much.
FAQs
How do you set white balance manually on a drone?
Open the camera settings in your drone app (DJI Fly, DJI GO 4, AutelSky), switch to Pro or Manual video mode, tap the WB icon, choose Custom or Kelvin, and drag the slider to the Kelvin value that matches your lighting. Lock that value for the entire shoot.
What is the best Kelvin setting for drone footage?
The best Kelvin value depends on lighting: 5200-5600K for midday sun, 6000-6500K for cloudy skies, 7000-7500K for open shade, and 3200-4500K for golden hour. Start with the value for your condition and fine-tune by 200-400K to taste.
Should I use auto white balance on my drone?
No, not for video. Auto white balance reinterprets color on every frame, which causes visible color shifts when you pan across landscapes or fly between sun and shade. Manual (locked) white balance keeps every clip consistent and easier to edit.
How do I get perfect white balance every time?
Use a grey or white balance card. Hold the card under the same light as your subject, fill the drone camera frame with it, and use the app’s Custom WB measurement feature to read the card. The app sets the correct Kelvin value automatically.
How do I fix bad white balance in drone footage?
Use the white balance eyedropper in Lightroom, Premiere, DaVinci Resolve, or Final Cut. Click on a neutral grey area in the frame to set temperature and tint, then sync that setting across every clip from the same lighting condition.
Conclusion
Manual white balance is the difference between drone footage that looks like a home movie and drone footage that looks like a finished production. Lock the Kelvin value to match your lighting, use a grey card when conditions are tricky, and never touch AWB again during a shoot.
If you take one thing away from this guide on how to manually set white balance for consistent drone footage, make it the pre-flight checklist. Run it before every flight, fly a test clip, and your color problems in post will shrink dramatically. The settings take 30 seconds to dial in; the editing time they save adds up to hours.