
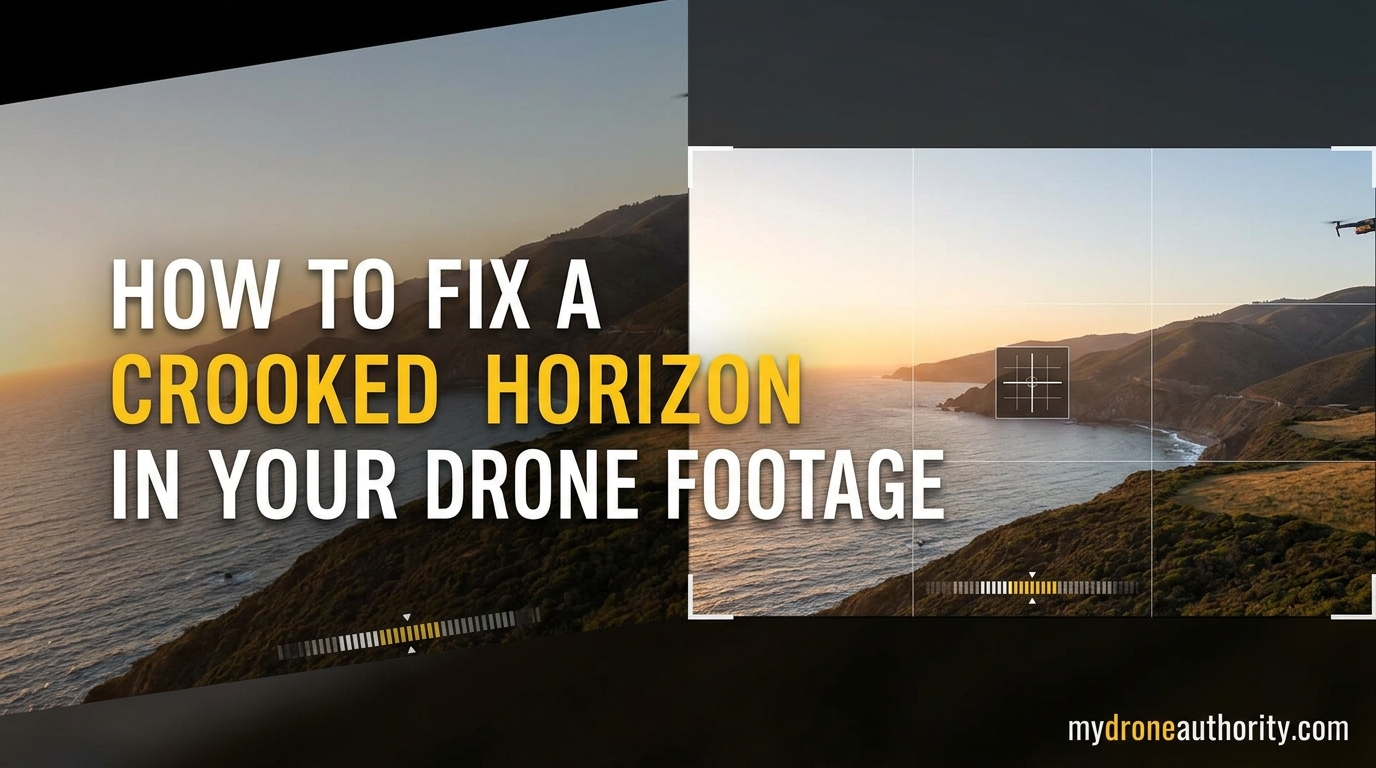
Nothing kills an otherwise perfect drone shot faster than a tilted horizon. I have lost count of how many times I have come home from a flight, opened the footage, and spotted a one-degree slope where the sky meets the land. The good news is that learning how to fix a crooked horizon in your drone footage is a skill you can pick up in an afternoon, and most of the time you do not need expensive software to do it.
This guide walks through the exact methods I use, covering both in-flight prevention and post-production fixes. Whether you fly a DJI Mavic, an Autel Evo, or a Mini-series drone, the workflow below will work for you. By the end, you will have a reliable process for handling tilted horizon drone footage and the confidence to fly knowing you can fix it later.
Table of Contents
Why Drone Horizons Get Crooked in the First Place
Before you can fix a problem, it helps to know why it happens. A tilted horizon in drone footage usually comes from one of three sources: gimbal drift, an uneven takeoff surface, or aggressive in-flight maneuvers.
The gimbal on a modern drone is a three-axis stabilizer that keeps the camera level as the drone moves. It is impressive engineering, but it is not perfect. During long flights, the IMU (inertial measurement unit) can drift slightly, and over a five-minute clip you can easily pick up one or two degrees of roll. One Reddit user on a Mavic 3 actually sent the drone back for replacement after weeks of horizon drift issues.
Sideways flight is another common culprit. When a drone tracks laterally, the gimbal has to compensate for yaw rotation, and some older firmware versions did not handle this well. The horizon tilts, then corrects itself a few seconds later, leaving you with a drifting horizon in post.
Finally, the surface you take off from matters more than most pilots realize. A garage floor that looks flat can easily be a half-degree off, and the gimbal will dutifully lock onto that false level. Calibrating on a kitchen counter with a bubble level, as one Phantom Pilots user recommended, makes a real difference.
How to Fix a Crooked Horizon in Premiere Pro (Step by Step)
Premiere Pro is the most common editor for drone footage, so let me start there. The rotation and scale method below is the fastest way to straighten a tilted horizon in a static shot. If your clip is panning or rotating, jump ahead to the keyframing section.
Step 1: Drop Your Clip on the Timeline and Find the Horizon Line
Import your drone clip and place it on the timeline. Scrub to a frame where the horizon is clearly visible, ideally with a straight reference like a coastline, building roof, or distant treeline.
Step 2: Open the Effects Control Panel
Select your clip and head to Window > Effects Control. If it is already visible, click on the clip to bring up its transform controls. You will see Motion, Position, Scale, and Rotation.
Step 3: Adjust the Rotation Slider
Click and drag the rotation value (or type a number) until the horizon line in your preview is perfectly level. Most pilots only need between -3 and +3 degrees. Take your time here, because this is the foundation of the fix.
Step 4: Scale Up to Eliminate Black Edges
Once you rotate the clip, you will see triangular black gaps appear in the corners. Bump the Scale value up to around 110-130% until the black edges disappear. With 4K footage you can scale this much without visible quality loss, which is one reason I always recommend shooting in 4K when possible.
Step 5: Add Reference Guides (Optional)
For more precision, go to View > Add Guide and drop a horizontal guide in the center of your preview. Align your horizon to that guide as you adjust rotation. It is a small step that makes a big difference on long clips.
Keyframing Rotation to Fix Drifting Horizon in Moving Footage
The basic rotation method works great for static tripod-style drone shots, but most of the time your drone is moving. If the horizon drifts mid-clip, a single rotation value will not cut it. You need keyframes.
When to Use Keyframes for Drone Footage
Use keyframes whenever the horizon tilt changes during the clip. The most common scenario is a drone panning sideways past a horizon line that starts level, then tilts by two degrees, then self-corrects. A single rotation would fix one frame and break the others.
How to Add Keyframes in Premiere Pro
In the Effects Control panel, click the stopwatch icon next to the Rotation value at the start of your clip. This places your first keyframe. Move the playhead to the point where the horizon starts drifting, and enter a new rotation value. Premiere will animate the rotation between the two points automatically.
For longer clips with constant drift, add a new keyframe every three to five seconds. It is tedious, but it works. Community members on Phantom Pilots and the Adobe forums have confirmed this is the standard workaround when warp stabilizer fails on rotating footage, which it often does.
Use an Adjustment Layer for Cleaner Workflows
If you have many clips from the same flight session, apply the rotation fix to an adjustment layer above the clips instead of the clips themselves. You can stack multiple adjustment layers, fine-tune one fix without affecting others, and easily undo changes by toggling layer visibility. This is the approach experienced editors use.
Fix Crooked Horizon in DaVinci Resolve
DaVinci Resolve is free for personal use and handles horizon fixes just as well as Premiere. The workflow is slightly different but the logic is identical.
Step 1: Open the Inspector Panel
Select your clip and click the Inspector tab in the top-right corner. Under the Transform section, you will find Rotation and Zoom controls.
Step 2: Adjust Rotation and Zoom Together
Use the Rotation dial to level the horizon, then bump the Zoom value to 110-130% to remove the black corners. Resolve’s color page also lets you apply this correction across an entire graded clip, which is handy for batch fixes.
Step 3: Add Keyframes for Drifting Shots
Click the diamond icon next to Rotation to set your first keyframe. Move the playhead and change the rotation value to create a new keyframe. Resolve interpolates smoothly between them, which often gives a slightly nicer result than Premiere for organic drift corrections.
Adjust Your Horizon Mid-Flight With the DJI Fly App
Sometimes you spot a tilted horizon while you are still flying. Maybe the gimbal drifted right after takeoff, and you would rather fix it now than worry about it in post. The DJI Fly app has a built-in tool for this, and most pilots never use it.
How to Access the Gimbal Adjustment
While flying, tap the three-dot menu in the DJI Fly app and go to Control > Gimbal. You will see options for Auto, Manual, and Recenter. Switch to Manual mode to take direct control of the gimbal’s roll axis.
Manually Trimming the Horizon
Once in Manual mode, you can use the on-screen gimbal wheel to nudge the camera up, down, left, or right. The left/right adjustment is your horizon correction. Small adjustments of half a degree at a time will get you level without overcorrecting.
When This Beats Post-Production
I use the in-flight method for long cinematic pans where I want a perfectly level horizon throughout the take. Fixing it in post requires keyframes every few seconds, which can introduce micro-jitters if you are not careful. Setting the horizon once in the air is cleaner.
How to Calibrate Your Drone Gimbal to Prevent Crooked Horizons
Calibration is the preventive side of this whole problem. A properly calibrated gimbal produces straighter horizons from the start and gives you less work in post.
Find a True Level Surface
Put your drone on a hard, flat surface with a bubble level on top of it. A kitchen counter, a marble floor, or a concrete patio are good choices. Avoid carpet, grass, or uneven garage floors, even if they look flat. A half-degree slope in your takeoff surface becomes a half-degree error in your horizon line.
Run Auto Calibration
On DJI drones, go to the Fly app settings, find Gimbal Calibration, and run the auto routine. The drone will take a minute or two to check all three axes. Do not move the drone while calibration is running.
Recalibrate After Firmware Updates and Hard Landings
Whenever you update firmware or have a rough landing, recalibrate the gimbal. The IMU can shift slightly during these events, and most pilots do not realize they need to recalibrate until they see a tilted horizon in the next flight.
Manual Calibration for Persistent Drift
For stubborn drift issues, some DJI models let you run a manual calibration through the service menu. This involves rotating the drone through specific positions while the app guides you. Forum users have reported this fixes drift that auto calibration could not, especially on older Mavic Pro and Phantom 4 units.
Prevention Tips to Avoid Crooked Horizon in the First Place
Pre-flight habits save editing time. Here are four things I do on every shoot to keep horizons level before I ever open an editor.
- Shoot in 4K. The extra resolution gives you room to rotate and scale without quality loss.
- Frame wider than you need. A loose horizon in the lower third of the frame is easier to crop and reframe than a tight horizon on a building edge.
- Glance at the horizon before recording. Most DJI drones let you see a level indicator on the live feed. Use it.
- Fly slow during sideways pans. Fast lateral movement is the number one cause of yaw drift in older firmware.
Following these tips will not eliminate crooked horizons entirely, but they will cut them down dramatically. I have gone from fixing every clip in post to fixing maybe one in five, just by shooting 4K and slowing down my pans.
Frequently Asked Questions
How to straighten horizon in video?
Open your editor’s Effects Control panel, select the Rotation slider, and drag it until the horizon line in your preview is level. Then increase the Scale value to 110-130% to remove the black triangular gaps in the corners. This is the fastest way to straighten a horizon in Premiere Pro, DaVinci Resolve, or Final Cut Pro.
How to fix wobbly drone footage?
Wobbly drone footage comes from two main sources: shaky hands from the gimbal and horizon drift from yaw rotation. Apply warp stabilizer for shake, and use keyframed rotation adjustments to fix drift. For the smoothest result, recalibrate the gimbal on a level surface and re-record if conditions allow.
Can I fix a crooked horizon in post production without losing quality?
Yes, if you shoot in 4K. With 4K footage you can rotate the clip a few degrees and scale up to 130% without visible quality loss. With 1080p footage, you have much less room to scale, so plan on staying below 115% to keep the image sharp.
Why is my drone horizon tilted even after calibration?
The most common cause is calibrating on an unlevel surface. Even a half-degree slope gets baked into the gimbal reference. Recalibrate on a hard, flat counter with a bubble level on top of the drone. If the issue persists, run a manual gimbal calibration from the service menu.
Final Thoughts on Fixing a Crooked Horizon in Your Drone Footage
Learning how to fix a crooked horizon in your drone footage comes down to three reliable tools: a quick rotation and scale in your editor, keyframes for moving shots, and a properly calibrated gimbal. Pick the method that matches the shot in front of you, and you will rarely have to scrap footage over a tilted horizon again.
Start with the simple rotation fix on your next clip. Once that feels natural, try the in-flight DJI Fly app adjustment on your next flight. Before long, fixing tilted horizon drone footage becomes a five-second task instead of a 30-minute frustration.