
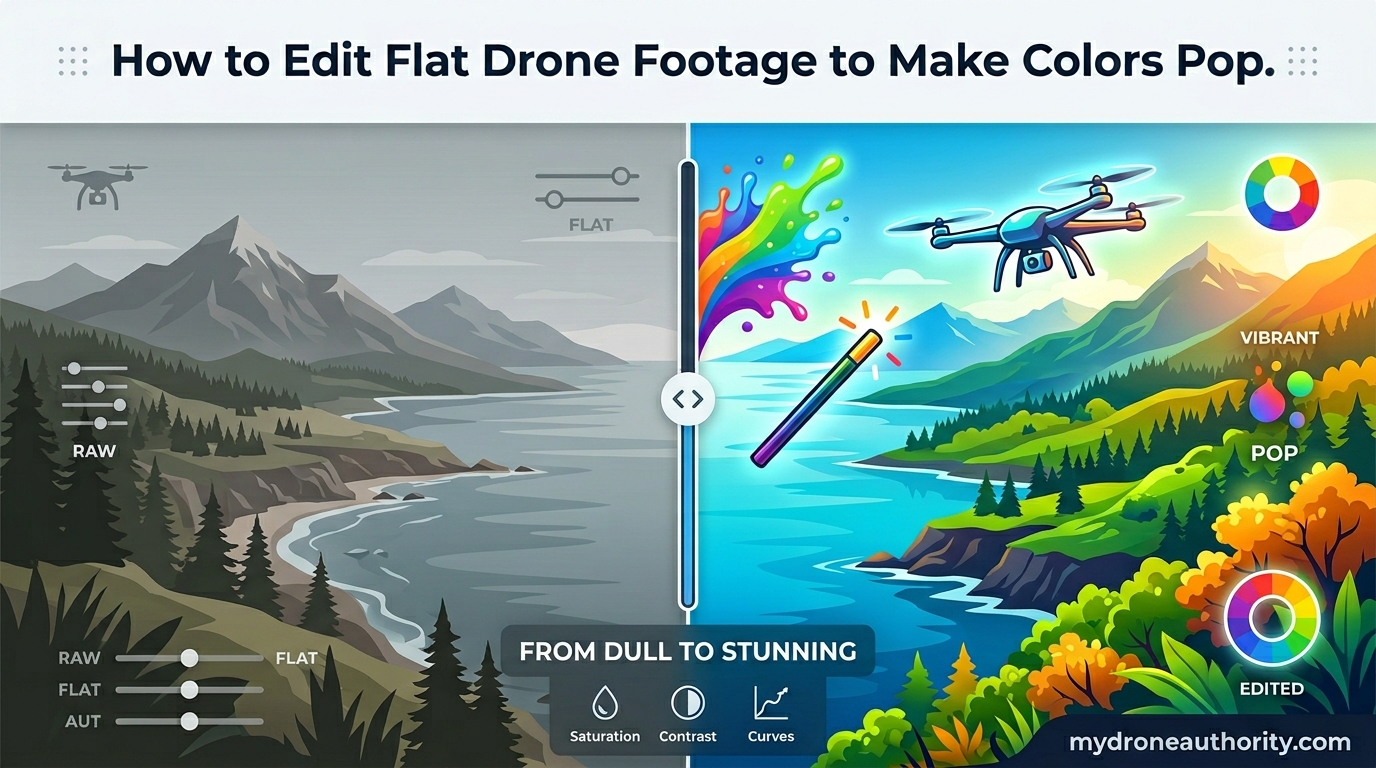
If your drone clips look gray, washed out, and lifeless right off the SD card, you are not doing anything wrong. That flat, low-contrast look is actually intentional, and learning how to edit flat drone footage to make colors pop is the single biggest upgrade you can make to your aerial videos in 2026.
I have spent the last few years grading footage from DJI Mini, Air, Mavic, and FPV rigs, and the workflow I am about to walk you through works whether you are using DaVinci Resolve, Premiere Pro, Final Cut Pro, or even CapCut on a phone. The principles are the same.
Here is the short version: flat footage is shot that way on purpose so you keep more highlight and shadow detail. Your job in post is to convert that flat image back into a normal, vibrant picture, then push it slightly further for a cinematic look. This guide breaks that into eight clear steps, plus software picks, a DJI D-Log M walkthrough, mobile options, and the mistakes that ruin more drone clips than they help.
By the end, you will know exactly which slider to grab first, which one to leave alone, and why your footage keeps turning grainy every time you push the colors.
Table of Contents
What Is Flat Drone Footage (And Why It Looks Washed Out)
Flat drone footage is video recorded using a neutral log or cinelike color profile instead of the standard Rec.709 picture most cameras use. Profiles like DJI D-Log, D-Log M, D-Cinelike, GoPro ProTune, and HLG are designed to capture a wider dynamic range by lowering contrast and saturation in-camera.
The trade-off is that the raw clip looks dull, gray, and low-contrast straight out of the drone. Skies appear washed blue, grass looks muted, and skin tones read flat. That is not a flaw. It is the profile packing more information into the file so you can decide the final look yourself instead of letting the drone bake in a look you cannot change later.
The reason this matters: a standard Rec.709 profile clips highlights and crushes shadows irreversibly. Once a bright sky is blown out, no editor can bring back detail that was never recorded. Flat profiles preserve that headroom, which is why every colorist I have talked to on Reddit communities like r/colorists and r/drones tells new pilots the same thing: shoot flat, grade later.
Common flat profiles you will run into:
D-Log and D-Log M are DJI’s log profiles, with D-Log M being the newer, easier-to-grade version found on the Mini 3 Pro, Mini 4 Pro, Air 3, and Mavic 3 series. D-Cinelike is the older DJI cinelike profile used on the Mini 2 and Mavic Air 2. GoPro uses ProTune with a flat color option. HLG is a hybrid log-gamma format some drones offer for HDR workflows.
The key takeaway: flat footage is not broken footage. It is raw material waiting for you to shape it.
How to Edit Flat Drone Footage to Make Colors Pop: Step-by-Step
This is the exact sequence I use on every drone project, and it is the same order professional colorists recommend because each step builds on the one before it. Skip steps or do them out of order and you will fight your footage the entire way.
Step 1: Set Up Your Project and Apply a Color Space Transform
Before touching a single slider, tell your editor what flat profile you shot in and what output space you want. In DaVinci Resolve this is the Color Space Transform effect, where you set the input to your drone profile (for example DJI D-Log M with D-Gamut) and the output to Rec.709 Gamma 2.4. In Premiere Pro, the Lumetri Color panel has an Input LUT dropdown where you can load the matching camera LUT.
This single step takes your flat gray image and converts it to a normal-looking picture instantly. It is the foundation everything else stacks on. Do this first, every time, on every clip.
Pro tip: if your editor does not have a built-in transform for your exact drone profile, download the official DJI or GoPro LUT pack and use that as your Input LUT. Never eyeball the conversion manually if a calibrated transform exists.
Step 2: Fix White Balance First
White balance is the first creative correction because every other color decision depends on it. If your whites are tinted blue or orange, every saturation boost you apply later will amplify that cast and make the footage look wrong.
Set your white balance using the temperature and tint sliders in Lumetri, Resolve, or Final Cut. Pick a neutral white or gray point in the frame, like a cloud, a white wall, or a gray road, and use the eyedropper tool on it. Aim for a temperature between 5200K and 5600K for daylight drone footage, with tint close to zero.
If you shot with a fixed white balance in-camera instead of auto, this step is fast. If you let the drone auto-balance, check every clip because the camera may have shifted between shots.
Pro tip: shoot with a manual white balance locked at 5500K for daylight flights. This guarantees every clip from a single shoot matches and saves you hours in post.
Step 3: Correct Exposure Using Scopes
Do not trust your eyes or your laptop screen for exposure. They lie. Use scopes, specifically the waveform monitor, which shows you exactly where your highlights, midtones, and shadows sit on a 0 to 100 scale.
For most outdoor drone footage, you want your brightest highlights (sky, sunlit clouds) to peak around 85 to 90 on the waveform, and your deepest shadows to bottom out around 5 to 10. Skin tones and faces, when visible, should land in the 50 to 70 range.
Adjust the exposure slider or the gain wheel to bring highlights below clipping. Then lift the shadows wheel slightly to open up dark areas like tree canopies or building shadows. The goal at this stage is not a finished look. The goal is a clean, properly exposed base image.
Pro tip: if your waveform shows anything touching 100 on the top or 0 on the bottom, you are losing detail permanently. Pull exposure back until there is a small gap on both ends.
Step 4: Add Contrast and Punch Up the Midtones
Flat profiles are low-contrast by design, so this is where the image starts to come alive. Increase the contrast slider gradually, watching the waveform as your midtones spread out. Stop before deep shadows crush to pure black or highlights blow out.
A more controlled approach is to use the lift, gamma, and gain wheels. Lower the lift slightly to deepen blacks, pull gamma down a touch to add richness to midtones, and nudge gain up for highlight brightness. This three-wheel method gives you a filmic contrast curve instead of the harsh S-curve you get from a single contrast slider.
The pivot or contrast pivot control, if your editor has one, lets you choose where the contrast centers. Set it around 50 for most daytime footage.
Pro tip: an S-curve on the curves panel gives the cleanest contrast increase. Add two points on the curve, push the top one up slightly and pull the bottom one down slightly, leaving the midpoint untouched.
Step 5: Boost Saturation and Vibrance Without Going Neon
This is the step most people overdo, and it is the number one complaint I see on drone forums: footage that looks radioactive after grading. The fix is understanding the difference between saturation and vibrance.
Saturation boosts every color in the image equally. Vibrance boosts only the muted colors while protecting already-saturated ones and preserving skin tones. For drone footage, vibrance is almost always the better tool because it makes skies bluer and grass greener without turning already-bright areas neon.
Start with a vibrance increase of 10 to 20, then add a small saturation bump of 5 to 10 if the image still reads flat. Use the hue-saturation curve to target specific colors, like boosting the blues in a sky without affecting the rest of the frame.
Pro tip: if grass looks neon green or skies look electric blue, you have gone too far. Pull saturation back 10 percent and the footage will look natural again while still vibrant.
Step 6: Use LUTs for a Cinematic Starting Point
A LUT, or look-up table, is a preset that applies a specific color grade to your footage in one click. Think of it as a filter, but built from mathematical color values rather than a quick Instagram-style overlay.
Apply a LUT after you have done steps 1 through 5. The LUT refines the look you already built, it does not replace basic correction. Drop a cinematic LUT onto an adjustment layer, then dial its intensity down to 40 to 60 percent so it enhances rather than dominates.
Popular LUT choices for drone footage include teal-and-orange looks for landscapes, warm film emulation LUTs for golden hour clips, and clean natural LUTs for real estate tours. The community on r/drones and mavicpilots.com regularly shares free, tested LUT packs for DJI footage.
Pro tip: build your own LUT after grading a clip you love. Most editors let you export a grade as a .cube file you can reuse across an entire project for a consistent look.
Step 7: Match Colors Across Multiple Shots
If your final video cuts between clips shot at different times of day, different angles, or different white balances, the color jumps will distract viewers. Color matching fixes this.
In DaVinci Resolve, use the Shot Match feature to automatically align one clip’s color to another. In Premiere Pro, use the Comparison View and Lumetri’s Color Match feature with a reference frame. In Final Cut Pro, use the Match Color tool under the Enhancements menu.
Auto-matching gets you 80 percent of the way there. Finish the job manually by checking skin tones, skies, and any neutral surfaces across all clips on your timeline. They should read consistently.
Pro tip: real estate drone tours are the toughest matching challenge because you cut between bright exteriors and dim interiors. Match the interior clips to the exterior reference, not the other way around, so the tour feels like one continuous walkthrough.
Step 8: Add Final Polish (Vignette, Sharpness, Grain)
Once color is locked, add the finishing touches that sell the cinematic look. A subtle vignette darkens the corners slightly and draws the eye to the center of the frame. Keep it light, around 10 to 15 percent opacity, so it feels natural rather than obvious.
Add a small amount of sharpening, especially if you shot in 4K and are delivering in 1080p. Use a value between 20 and 40 on the sharpening slider, never higher, or you will introduce halos around edges and noise in flat areas like skies.
Film grain is optional but adds texture that many colorists love. Apply it on a separate layer at very low intensity, around 5 to 10 percent, using a grain plugin or a grain overlay blend mode. Too much grain ruins drone footage. A whisper of it makes the image feel finished.
Pro tip: always do your final review on a calibrated monitor or a properly profiled screen. A cheap uncalibrated laptop screen will mislead you on both color and contrast.
Best Software for Color Grading Drone Footage
You can grade drone footage in almost any modern editor, but the depth of control varies significantly. Here is how the main options stack up for 2026.
DaVinci Resolve is the gold standard for color work and the tool I recommend most often. The free version includes the industry-leading Color page with the full lift-gamma-gain wheel set, curves, scopes, qualifiers, and node-based grading. The paid Studio version unlocks noise reduction and certain AI tools. If you want to learn real color grading, start here.
Adobe Premiere Pro has the Lumetri Color panel, which is more than enough for most drone footage. It offers basic corrections, creative LUTs, curves, color wheels, and HSL secondary controls inside a single panel. Premiere is the right pick if you already pay for the Creative Cloud suite or need tight integration with After Effects.
Final Cut Pro is the Mac-only option and is fast, intuitive, and well-suited to drone footage. The Color Wheels and Color Curves tools cover everything in this guide. Final Cut’s magnetic timeline and rendering speed make it a favorite for content creators publishing frequently.
For mobile editing, CapCut is free and handles basic color correction, LUTs, and saturation well for social media clips. LumaFusion on iOS and iPadOS is more powerful and supports scopes and multiple layers for serious mobile grading. Both are good for quick turnarounds but cannot match the precision of a desktop editor.
Pro tip: do not switch editors mid-project. Pick one, learn its color tools, and stick with it for at least a few months. Switching slows you down more than any single feature limitation.
DJI D-Log M Workflow: A Closer Look
D-Log M is DJI’s current log profile for consumer drones like the Mini 3 Pro, Mini 4 Pro, and Air 3, and it deserves its own walkthrough because so many pilots shoot it without knowing the correct conversion. The key step most beginners miss is the color space transform.
In DaVinci Resolve, drop a Color Space Transform effect on each clip. Set Input Color Space to DJI D-Gamut and Input Gamma to D-Log M. Set Output Color Space to Rec.709 and Output Gamma to Rec.709-A or Gamma 2.4. This converts the flat D-Log M image into a standard Rec.709 picture cleanly and accurately, without guesswork.
In Premiere Pro, use the Input LUT dropdown in Lumetri and select a DJI D-Log M to Rec.709 LUT, then fine-tune from there. If you cannot find the official DJI LUT pack, it is a free download from DJI’s website under the support page for your drone model.
Once converted, follow steps 2 through 8 above. The transform does the heavy lifting, and the rest of the workflow is the same as any other footage.
Mobile Editing Workflow for Drone Footage
Not everyone wants to sit at a desktop to grade drone footage. If you publish straight to social media from your phone, a streamlined mobile workflow can get you 90 percent of the way to a polished look in minutes.
Start in CapCut by importing your clip and opening the Adjust panel. Set the Input LUT if you shot in D-Log or D-Cinelike, since CapCut includes basic DJI conversions. Then adjust exposure, contrast, and saturation using the sliders, keeping each adjustment modest. Apply a built-in filter at low intensity for a quick cinematic look, then export at the highest bitrate the app offers.
LumaFusion gives you more control. It supports custom LUTs, scopes via the built-in monitor view, and multiple tracks for layering corrections. If you shoot on a Mini 4 Pro and grade on an iPad, LumaFusion is the closest mobile app to a desktop experience.
For Android, PowerDirector and KineMaster both handle basic color correction and LUTs. None of these mobile apps match DaVinci Resolve for precision, but for quick Instagram or YouTube Shorts deliverables, they work well.
Pro tip: always export mobile edits at the original resolution and frame rate of your source footage. Upscaling or changing frame rates on a phone introduces compression artifacts that no amount of color grading can hide.
Common Mistakes That Ruin Drone Colors
These are the mistakes I see repeatedly on r/dji, mavicpilots.com, and in footage pilots send me to review. Avoid them and your grades will instantly look more professional.
Over-saturating is the most common sin. If you boost saturation past 30 or rely on it instead of vibrance, greens go neon, skies turn electric blue, and skin tones read orange. Pull it back and use vibrance plus targeted hue-saturation curves instead.
Shooting flat at high ISO introduces noise that grading makes worse. Flat profiles already look soft and grainy, and pushing them in post amplifies any noise from the sensor. Keep ISO at 100 whenever possible and only shoot flat when there is enough light to support it.
Exporting with the wrong color space is a silent killer. If you grade in Rec.709 but export with a Rec.2020 tag or no tag at all, your footage will look washed out or overly saturated on different screens. Always export Rec.709 for web delivery and tag the file correctly in your export settings.
Skipping the color space transform and grading flat footage by eye will get you close but never accurate. The math in a transform or Input LUT is calibrated. Your eye is not. Use the tool first, then refine.
Grading on an uncalibrated screen leads to results that look great on your laptop and wrong everywhere else. If you cannot calibrate, at least grade in a dim, neutral room and check your final export on multiple devices before publishing.
How to make drone footage look better?
Shoot in a flat color profile like D-Log M, then in post apply a color space transform to Rec.709, fix white balance, correct exposure using the waveform monitor, add contrast with an S-curve, boost vibrance over saturation, and apply a cinematic LUT at reduced intensity. These steps turn flat footage into vibrant, cinematic drone video.
How do I edit the colors of a video?
Start by setting the correct input color profile so the editor reads the footage accurately. Then adjust white balance, fix exposure using scopes, add contrast with curves or the lift-gamma-gain wheels, boost vibrance for muted colors, and finish with a LUT. Always grade on a calibrated screen and export with the correct color space tag.
What is the best software for color grading drone footage?
DaVinci Resolve is the best overall tool for color grading drone footage because its Color page offers professional-grade wheels, curves, scopes, and node-based grading for free. Premiere Pro and Final Cut Pro are strong alternatives if you prefer their editing workflows. For mobile, CapCut and LumaFusion handle basic drone color correction well.
What is the difference between flat and color graded?
Flat footage is video shot in a low-contrast, low-saturation log or cinelike profile that preserves maximum dynamic range but looks gray and washed out straight from the camera. Color graded footage is that same video after exposure, contrast, white balance, and saturation have been adjusted to produce a finished, vibrant, cinematic image.
Why does my drone footage look grainy after editing?
Grain usually appears because the footage was shot at a high ISO, in a flat profile that already looks soft, or because pushing exposure and saturation in post amplified sensor noise. Shoot at ISO 100 in daylight, expose correctly in-camera so you barely lift shadows in post, and apply noise reduction before grading if the source is noisy.
How do I make my drone footage look cinematic?
After basic color correction, apply a teal-and-orange or film-emulation LUT at 40 to 60 percent intensity, add a subtle vignette around 10 percent, introduce a whisper of film grain on a separate layer, and keep sharpening between 20 and 40. Match colors across every clip so cuts feel continuous. Restraint is what makes footage look cinematic rather than over-processed.
Conclusion
Learning how to edit flat drone footage to make colors pop comes down to a repeatable eight-step sequence: apply a color space transform, fix white balance, correct exposure with scopes, add contrast, boost vibrance over saturation, layer in a LUT, match shots, and finish with subtle polish. Run through it on every clip and the workflow becomes second nature within a few projects.
The two biggest wins for most pilots are using the correct color space transform instead of eyeballing the conversion, and choosing vibrance over raw saturation. Get those right and your footage will instantly look more professional than 90 percent of drone videos published this year.
Pick your editor, lock your white balance in-camera on the next flight, and run the full workflow end to end on a single clip before moving on to a full project. Once you see the difference between flat source footage and a properly graded final cut, you will never publish an ungraded drone clip again.