
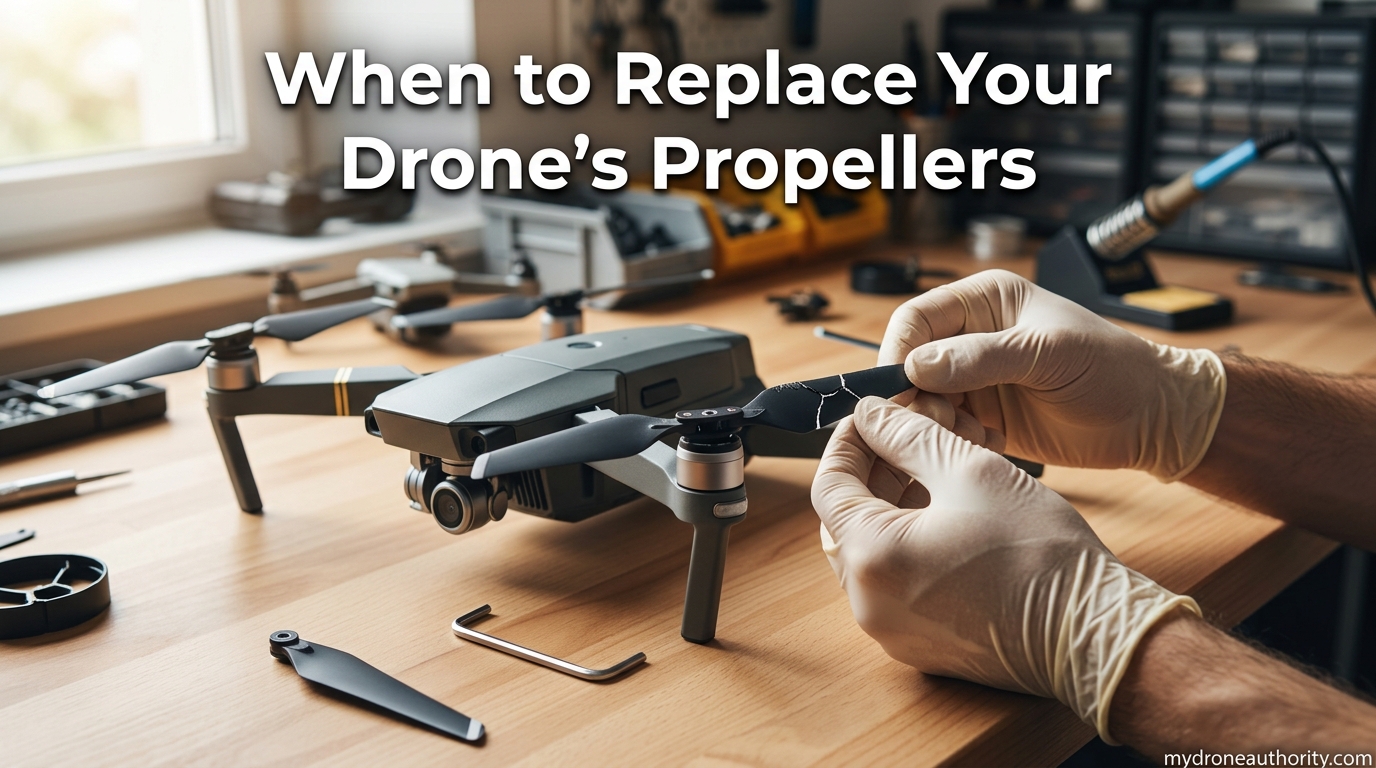
If you fly drones regularly, you probably only think about your propellers when one cracks or shatters mid-flight. That instinct is wrong, and it is one of the most common mistakes I see new pilots make. I have watched a perfectly good drone plummet into a lake because the owner ignored small signs of wear for months. The truth is, knowing when to replace drone propellers is a preventive skill, not a reactive one.
Most pilots treat propellers like brake pads: they wait until something goes wrong. But propellers work more like the tires on your car. They wear down gradually, and by the time you feel something is off, the damage is already done. In this guide, I will walk you through the seven clear signals that tell you it is time to swap your blades, plus the inspection habits that keep you flying safely in 2026.
Table of Contents
When to Replace Drone Propellers Based on Flight Hours
Every propeller has a flight-hour lifespan, and ignoring it is asking for trouble. Most manufacturers publish guidelines that range from 25 to 300 hours depending on the brand and prop material. Skydio officially recommends replacing propellers every 25 flight hours or sooner if damage is visible. Other brands, including many DJI models, suggest 200 to 300 hours under normal conditions.
I keep a simple log in my phone after every session, and it has saved me from guessing. You can track hours through your drone app, by reviewing SD card flight logs, or by noting video file lengths. Without tracking, you are flying blind. The 200-hour mark is a solid baseline for hobbyists, while commercial pilots should lean toward the conservative end.
Visible Damage Signs That Mean Replacement Now
Visible damage is the most obvious sign that propellers need replacing, but you need to know what counts as serious. A small scuff on the leading edge is normal wear. A chip, crack, nick, or bend is not. Here is the checklist I run through before every flight.
- Chips or nicks larger than 3mm on any blade edge reduce aerodynamic efficiency and create stress points.
- Hairline cracks anywhere on the blade, even tiny ones, mean immediate replacement.
- Bends or warping along the blade profile throw off propeller balance and strain your motors.
- Splintering or fraying on plastic or composite props signals material fatigue.
If you spot any of these, do not even attempt the next flight. I learned this the hard way after taking off with a tiny chip and watching the prop disintegrate 40 feet in the air. The drone survived, but my confidence did not.
Post-Crash Inspection Protocol
Replace your propellers after every significant crash. This is non-negotiable, regardless of how the blades look. The forces involved in even a small impact can cause micro-cracking beneath the surface that is invisible to the eye.
Here is the protocol I follow after any incident, no matter how minor. First, remove the props and inspect them under bright light, rotating slowly to check both sides. Second, run your fingernail gently along the edges to feel for raised edges or splinters. Third, check the hub and hinge mechanism for play or looseness. Fourth, examine the motor mounts to confirm nothing shifted. If the drone tumbled, hit branches, or landed hard, replace all four props. A $20 propeller set is cheaper than a $400 motor replacement.
For frequent flyers, a 25-hour replacement cycle or post-every-incident rule will save you money in the long run. Do not be the pilot who flies on “just one more flight” with damaged props.
Sound and Vibration Warning Signs
Your drone tells you when something is wrong, and the first language it speaks is vibration. If you notice new shaking, wobbling, or a high-pitched whine that was not there before, your propellers are likely the culprit. Even a tiny imbalance creates measurable vibration that travels into the motors, flight controller, and camera gimbal.
Listen to the sound of your drone during a normal hover. That baseline hum is your reference point. When the pitch changes, when you hear a clicking, or when the drone seems to “shudder” in a way it never did before, land immediately and inspect. Propeller imbalance forces your motors to work harder, shortening their lifespan dramatically. In extreme cases, motor bearings can fail mid-flight, and at that point you are looking at a complete loss.
I tell new pilots to record a 30-second audio clip of their drone hovering normally. That clip becomes your diagnostic tool. If the sound drifts, you have a propeller problem.
UV and Sun Damage Indicators
Sunlight destroys drone propellers faster than most people realize. UV radiation breaks down the polymer chains in plastic and composite blades, making them brittle over time. If you fly often in bright conditions or store your drone near a window, this matters to you.
The visible signs of UV damage include discoloration (yellowing, fading, or unusual sheen changes), surface brittleness that causes small flakes to chip off, and a dull, chalky appearance on what was once a glossy blade. I have seen props that looked fine in the air but snapped like twigs when flexed. That is UV damage.
Pilots in sunny climates like Arizona, Florida, or Southern California should replace propellers more aggressively. A good rule of thumb is 1 to 2 years maximum, even with low flight hours, if the drone lives outdoors. Store your drone in a case, away from direct sunlight, and you will extend prop life significantly.
Propeller Balance and Why It Matters
Here is a topic almost no one covers: propeller balance testing. A balanced prop spins smoothly, with weight distributed evenly across each blade. An unbalanced prop wobbles, even if you cannot see it. This is not just about smoothness. Imbalance sends shockwaves through your entire drone, and over time those vibrations loosen screws, fatigue solder joints, and wear out motor bearings.
You can do a basic balance test at home with a needle, pencil, or knife edge. Lay the propeller across the edge so the hub balances on it. A well-balanced prop will sit level. If one side dips, that blade is heavier, and the prop needs replacement. Some hobbyists sand the heavier blade to compensate, but I do not recommend it. Sanding changes the airfoil shape and creates more problems than it solves.
For commercial operators or anyone running high-value camera equipment, a propeller balancer is a small investment that pays off. It is the kind of tool that separates casual flyers from serious ones.
Cost vs Crash Risk: Why Preventive Replacement Pays Off
Let me do the math for you. A set of replacement propellers for most consumer drones runs between $15 and $40. A replacement motor costs $80 to $150 installed. A replacement gimbal or flight controller can run $200 or more. A crashed drone, depending on the model, can cost the full retail price.
Replacing propellers on schedule is the single cheapest insurance policy you can buy. If you fly 100 hours a year and replace props every 200 hours, you spend roughly $30 to $80 per year. That same budget covers a single motor replacement if you skip the prop swaps and end up with bearing damage.
More importantly, an in-flight propeller failure often means total drone loss. The aircraft rarely survives a high-speed prop separation. I have met pilots who saved thousands by spending tens of dollars on timely replacements. Treat propellers as consumables, not investments. The economics strongly favor prevention.
Manufacturer-Specific Recommendations
Different brands have different standards, and it helps to know what yours expects. DJI generally suggests replacing props after visible damage and recommends visual inspection before every flight. Skydio’s 25-hour guideline is the most aggressive in the industry, designed for commercial reliability. Autel Robotics sits in the middle, with recommendations around 100 to 200 hours depending on the model.
For racing drones and FPV setups, replacement is even more frequent because pilots push props harder and crash more often. Many FPV pilots replace props after every 5 to 10 flights as a baseline. The higher the performance demand, the faster props wear.
Whatever brand you fly, check the manual. Manufacturers update their guidance regularly, and your specific model may have unique requirements.
Quick Pre-Flight Inspection Checklist
Save this checklist or print it out and tape it to your flight case. I run through it every single time I fly, and it has caught dozens of issues before they became crashes.
- Remove props and inspect under bright light for chips, cracks, or nicks.
- Run your fingernail along both edges of each blade to feel for splinters.
- Check blade profile for bends or warping by sighting along the edge.
- Inspect the hub, hinge, and attachment mechanism for play or wear.
- Spin the prop manually and listen for grinding or roughness in the motor.
- Confirm prop screws are tight and not stripped (replace screws, do not reuse).
- Look for discoloration, fading, or chalkiness indicating UV damage.
- Log your flight hours and compare against manufacturer recommendations.
Two minutes of inspection before each flight is the difference between a fun day and an expensive lesson. Make it a habit.
Common Mistakes to Avoid
I have seen pilots make the same handful of propeller mistakes again and again. Replacing only one prop after a crash is a big one. If one blade failed in flight, the others absorbed extra stress and may be compromised. Always replace as a full set after a significant impact.
Reusing propeller screws is another common error. The threads stretch slightly with each removal, and a stripped screw means the prop can fly off mid-flight. Use new screws every time, or at minimum, inspect them carefully.
Storing props loosely in a bag where they rub against each other causes micro-abrasions you cannot see. Keep spare props in their original case or a soft pouch.
Finally, do not ignore that little voice telling you something feels off. If the drone sounds different, vibrates more, or behaves strangely, land and inspect. Your instincts are usually right.
FAQ’s
How do I know when to replace drone propellers?
Replace drone propellers when you see visible chips, cracks, nicks, or bends, after any significant crash, when you notice new vibration or sound changes, when UV damage causes discoloration or brittleness, and at the manufacturer-recommended flight hour interval (25 hours for Skydio, 200-300 hours for most DJI models).
What is the lifespan of a drone propeller?
Most drone propellers last between 25 and 300 flight hours depending on the manufacturer, material, and flying conditions. Skydio recommends replacement every 25 hours, while DJI models typically last 200-300 hours. UV exposure and crash history shorten this lifespan significantly.
Should I replace propellers after a minor crash?
Yes, replace propellers after any crash, even minor ones. Impacts cause micro-cracking that may not be visible to the eye, and a prop that looks fine can fail in flight. Always replace all four props as a set after any significant impact.
How often should drone propellers be replaced?
Drone propellers should be replaced at the manufacturer-recommended flight hour interval, after any crash or significant impact, when visible damage appears, or every 1-2 years if stored in sunlight. Skydio recommends every 25 hours, while DJI suggests 200-300 hours for most models.
What are signs of bad drone propellers?
Signs of bad drone propellers include chips or nicks on blade edges, hairline cracks, bends or warping, discoloration from UV damage, brittleness or flaking material, new vibration during flight, and unusual sounds like clicking or high-pitched whining. Any of these signs mean immediate replacement is needed.
Final Thoughts on Propeller Replacement
Knowing when to replace drone propellers is one of the most underrated skills in the hobby. The pilots who fly safely for years are not the ones with the newest gear. They are the ones who inspect, track, and replace on a schedule. Build the habit now, and your drone will last longer, your flights will be smoother, and your wallet will thank you.
Start with the pre-flight checklist. Track your hours. Replace when in doubt. That is the entire philosophy in three sentences, and it works.