
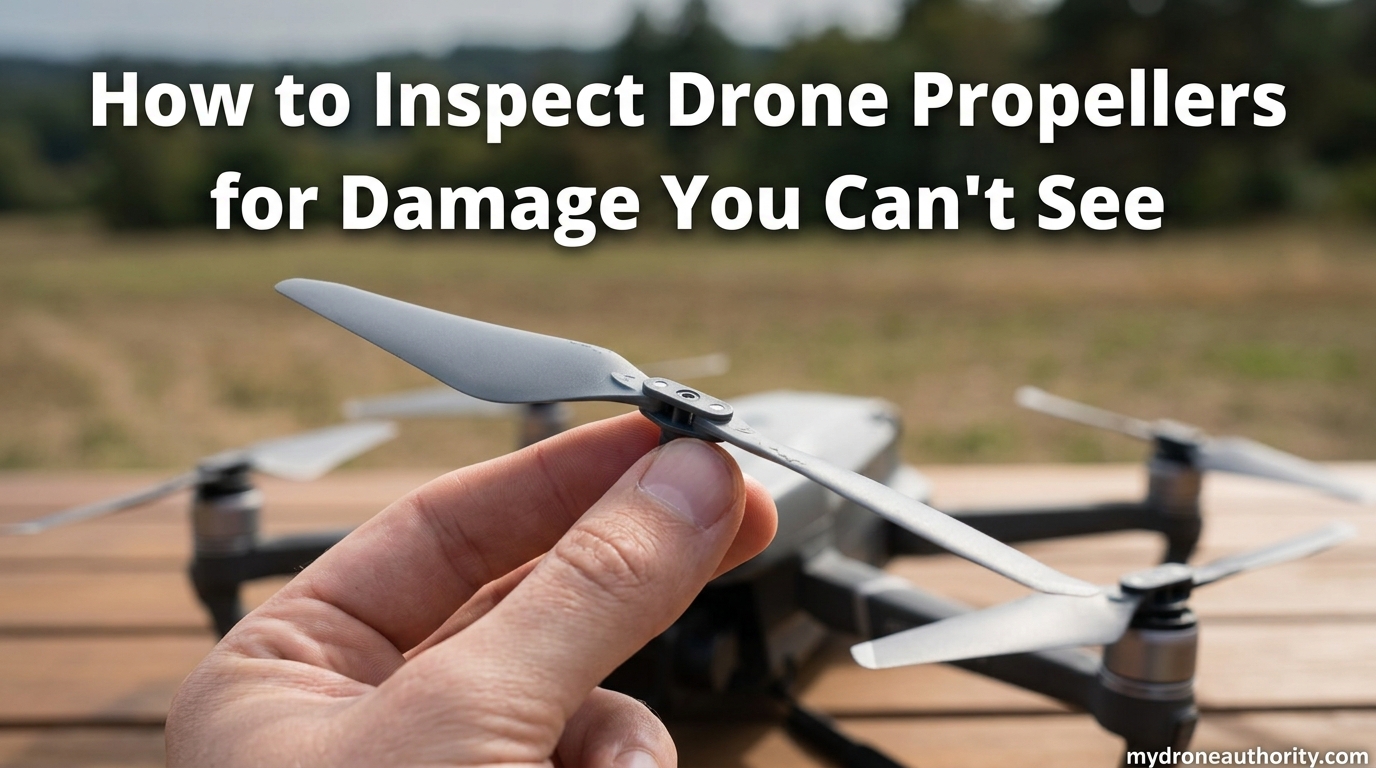
Learning how to inspect drone propellers for damage you can’t see is one of the most important habits any pilot can build. Visible chips and cracks get all the attention, but the real threats are usually invisible. Micro-fractures, stress marks, and internal delamination can lurk inside a prop that looks perfectly fine on the surface, waiting for the right moment to fail mid-flight. I’ve personally seen drones lose a prop at 200 feet because of damage the pilot swore wasn’t there. In this guide, our team will walk you through the exact inspection process we use on every preflight, including the techniques that catch damage the eye alone will miss.
Table of Contents
Why Inspecting Drone Propellers Matters More Than You Think
Drone propeller inspection is the single most overlooked safety check in the hobby. A prop that looks fine can be hiding hairline fractures, soft spots, and balance issues that cause vibration, motor strain, and poor camera footage. Over time, that vibration works its way into your IMU, your gimbals, and your flight controller, shortening the life of expensive components.
I’ve watched pilots lose an entire drone because a 2mm chip on the leading edge turned into a crack that split the blade at full throttle. The scary part is that this kind of failure rarely gives a warning. There’s no slow decline. The prop just gives up, and your drone drops. If you want to know how to tell if a drone prop is damaged before it becomes a problem, regular inspection is the only reliable answer.
What Tools You Need for a Proper Propeller Inspection
You don’t need a full workshop to inspect a propeller well, but a few simple tools make a huge difference. Here’s what I keep in my preflight kit:
- A bright, focused light source: A phone flashlight works in a pinch, but a small LED work light reveals surface detail much better.
- A magnifying loupe or 10x magnifier: This is the secret weapon for spotting micro-cracks and stress marks that are invisible to the naked eye.
- A clean microfiber cloth: Dirt and oil hide damage. Wipe the blade clean before inspecting.
- Your fingertips: Your fingers can feel soft spots, warping, and edge irregularities that your eyes miss.
- A flat reference surface: A glass table or smartphone screen helps you check for warping and pitch consistency.
None of these are expensive. Most pilots already own them. The difference between guessing and knowing is having the right light and the right angle.
How to Inspect Drone Propellers for Damage Step by Step
Here’s the exact process our team uses before every flight. It takes about three minutes per prop and has caught issues we would have otherwise missed:
- Remove the propellers. Always inspect off the drone. Trying to check props while mounted is asking to miss something.
- Clean each blade thoroughly. Oil, dust, and grass residue hide scratches and cracks. Wipe with a microfiber cloth.
- Hold the prop under a bright, angled light. Tilt the blade slowly. Light moving across the surface will reveal dents, warping, and stress lines that direct light won’t show.
- Run a fingertip along both edges. Start at the hub and move outward. Feel for nicks, raised edges, soft spots, or any place the surface feels “off.”
- Inspect the leading edge first. This is the side that takes the most abuse from collisions and debris. Even a tiny chip here is worth a closer look.
- Check the trailing edge for splits. Hairline cracks love to start at the trailing edge and run toward the hub.
- Look at the hub and blade root. Stress concentrates where the blade meets the hub. Look for white stress lines or any sign of separation.
- Lay the prop flat on a glass surface. If it rocks or has gaps, it’s warped. Replace it.
- Spin the motor briefly with the prop on (if reinstalling) and listen for unusual buzzing or ticking. Sounds that change between props indicate imbalance or damage.
This is the core of how to inspect drone propellers for damage. If you do nothing else, do these nine steps before every flight.
Spotting the Damage You Can’t See: Micro-Cracks and Stress Marks
Most guides stop at visible nicks and chips, but the topic you’re searching for is specifically about damage you can’t see. Here’s where that magnifying loupe earns its place. Stress marks are thin, whitish lines that appear on the surface of a blade, usually running from the hub outward. They look like faint scratches but are actually microscopic fractures in the plastic. They form from repeated high-RPM stress, hard landings, and temperature swings.
To spot them, hold the blade at a low angle to your light source. Stress marks reflect light differently than the surrounding plastic and will show up as bright, sharp lines. If you find them, the prop is done. Internal delamination is harder. It happens when the layers of composite or plastic start separating inside the blade, leaving the outside looking fine. You’ll usually notice it through symptoms first: sudden vibration that wasn’t there before, reduced flight time, or a buzzing motor.
A quick field test for delamination: gently flex the blade between your thumb and forefinger. A healthy blade has a slight, even flex. A delaminated blade feels soft in one spot, almost squishy, or you may hear a faint creak. If you feel that, ground the drone and replace the prop immediately.
Special Checks for Folding Drone Propellers
Folding propellers, common on DJI Mavic, Mini, and Air series drones, add one more failure point: the hinge. A folding drone propeller inspection must include the locking tabs, the spring mechanism, and the plastic at the base of the hinge. The orange tip on DJI Mini props is notorious for taking damage on wall collisions. Check that area first.
Fold and unfold the prop several times. It should snap into place with a firm click and stay locked under light finger pressure. If the hinge feels loose, the prop wobbles when unfolded, or the locking tab won’t fully engage, that prop is unsafe. Also check inside the hinge for small cracks where the two halves of the plastic meet. These cracks are easy to miss but will cause the prop to fold mid-flight, which is exactly the kind of failure that ends a drone permanently.
Signs a Propeller Needs Immediate Replacement
Not sure whether the damage you found is serious? Here’s a clear list of replacement triggers. If you see any of these, don’t fly:
- Any visible crack, no matter how small
- Nicks or chips deeper than 1mm on the leading edge
- Visible stress marks or whitening on the blade surface
- Warping that prevents the prop from sitting flat
- Soft spots or unusual flex when you gently bend the blade
- Loose, cracked, or damaged hub or blade root
- Discoloration that wasn’t there before (often a sign of heat stress)
- Any propeller involved in a crash, even if it looks fine
- Strange vibration or motor noise that started suddenly
The community rule of thumb is simple: when in doubt, replace. A propeller costs a few dollars. Your drone costs hundreds or thousands. Props are cheap insurance.
How Often Should You Inspect Drone Propellers?
Our team recommends inspecting your propellers before every single flight, even if it’s a quick hover in the backyard. A full visual and tactile inspection takes only a few minutes and is the only way to catch new damage before it becomes a problem. For pilots who log many flight hours, a deeper inspection with a magnifier should happen every 10 to 15 hours of flight time.
Some pilots also track total flight hours per propeller set. As a general guideline, props should be replaced every 200 to 300 flight hours for routine use. After any crash, hard landing, or contact with branches, walls, or wire, replace the props immediately even if no damage is visible. The internal stress from impact often creates problems the surface doesn’t show.
Common Mistakes Pilots Make During Propeller Inspection
After reading thousands of forum posts and talking with other pilots, I’ve seen the same mistakes repeated over and over. Here are the big ones to avoid:
- Skipping inspection on familiar drones. Just because you flew yesterday doesn’t mean today’s prop is fine.
- Trusting the DJI app warning as your only check. The app catches serious issues but won’t catch micro-cracks or early-stage damage.
- Reusing props after a “minor” crash. If you hit anything, replace them. Period.
- Assuming a small chip is harmless. Even a small chip changes the aerodynamic profile and stresses the motor.
- Forcing stuck propeller screws. On the DJI Mini series especially, screws strip easily. Use the right tool and steady pressure, not force.
Final Inspection Checklist You Can Save
Before you head to the field, run through this quick list. It’s everything covered in this article, condensed into a single block you can screenshot or print:
- Props removed, cleaned, and inspected under bright angled light
- Leading and trailing edges checked for nicks, cracks, splits
- Hub and blade root inspected for stress lines
- Blade flex tested for soft spots or creaking
- Prop laid flat to confirm no warping
- Folding hinges tested for firm lock and no wobble
- Any damage found? Replace before flying
- Props reattached with screws fully tightened, not forced
FAQ’s
How to tell if a prop is damaged?
Run your finger along both edges and inspect the blade under bright angled light. Look for nicks, cracks, splits, soft spots, warping, stress marks, or hub damage. Any visible damage or unusual flex means the prop should be replaced immediately.
What are the most critical items to look for when inspecting the propeller?
Focus on the leading edge, trailing edge, blade root, and hub. These areas take the most stress and are where cracks and stress lines tend to form first. White stress marks, hairline fractures, and any soft spot during a gentle flex test are all red flags.
Can I repair a damaged drone propeller?
No. Drone propellers are made of layered composite or molded plastic, and repairs rarely restore the original strength. A repaired prop is unpredictable and dangerous. Replace damaged props instead of trying to fix them.
What can cause direct propeller damage to a UAS?
Common causes include collisions with walls, branches, or wire, hard or off-center landings, debris kicked up during takeoff or landing, repeated high-RPM stress, and prolonged exposure to UV light or temperature extremes.
How often should I inspect drone propellers?
Inspect your propellers before every flight with a quick visual and tactile check. Perform a deeper inspection with a magnifier every 10 to 15 flight hours, and always replace props after any crash, hard landing, or contact with an object.
Final Thoughts on Drone Propeller Safety
Knowing how to inspect drone propellers for damage you can’t see is what separates casual pilots from careful ones. The tools are simple, the steps are quick, and the payoff is a drone that lasts longer and flies safer. Build the habit now. Inspect before every flight, replace at the first sign of trouble, and don’t trust your eyes alone. The cracks you can’t see today are the failures you’ll remember tomorrow.