
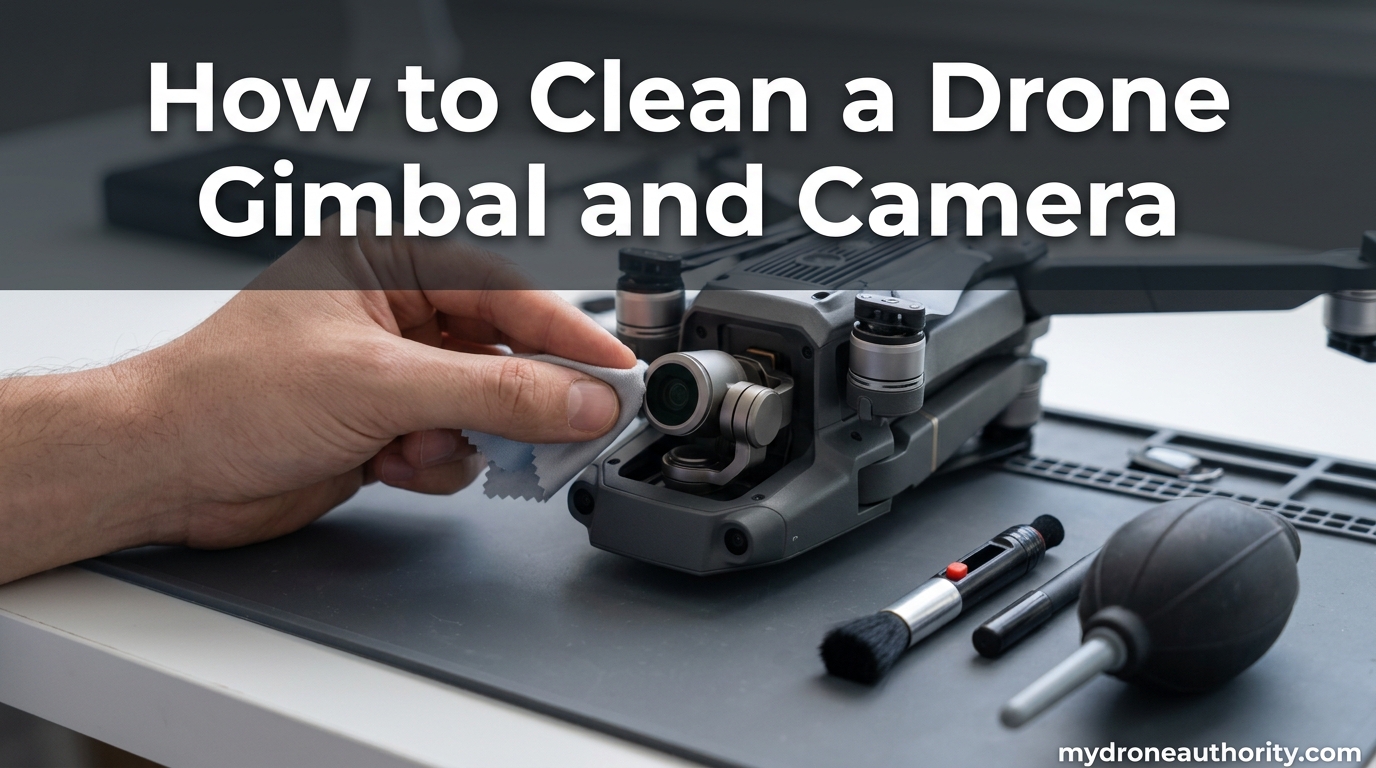
If you have ever pulled your drone out of a dusty field or a salty coastal shoot only to find footage covered in smudges and strange streaks, you already know why learning how to clean a drone gimbal and camera without damaging it is so important. The gimbal is the most fragile system on your aircraft, and one wrong move with the wrong cloth or chemical can send you straight to a repair shop.
I have been flying drones for over six years and have cleaned hundreds of gimbals on everything from the DJI Mini series to Autel Evo and Parrot Anafi units. In this guide, I will walk you through the exact process I use after every flight in dirty conditions, the tools that actually work, and the mistakes I have personally made so you do not have to repeat them.
Table of Contents
Understanding Your Drone Gimbal and Camera
Your drone gimbal is a motorized stabilization system that keeps your camera level during flight. It uses three precision brushless motors to rotate the camera on the pitch, roll, and yaw axes, all controlled by an IMU sensor that detects drone movement and sends corrections in real time. This entire assembly is delicate by design, and the components do not tolerate rough handling.
The camera lens and image sensor are equally sensitive. The lens typically has a multi-coated glass surface that can scratch easily, and the sensor behind it can be damaged by static, liquid, or pressure. Together, the gimbal and camera form the part of your drone most prone to dirty-environment damage, and also the part most expensive to repair or replace.
Knowing why gimbals fail helps you understand the cleaning rules. Most gimbal issues come from three sources: debris that gets pushed into the motor housing, ribbon cable damage from crashes, and calibration drift after physical disturbance. Cleaning addresses the first one, and a careful approach prevents the other two from happening in the first place.
Tools and Materials You Will Need
You only need a small set of items to do the job properly. I keep mine in a single zippered case that travels with my drone kit.
- Microfiber cloth (lint-free): The single most important tool. Use only clean, high-quality microfiber, never paper towels, tissues, or your shirt.
- Air blower (rocket blower): A rubber bulb blower pushes a strong stream of air without propellant. I prefer this over compressed air cans for gimbals because it is gentler.
- Soft-bristle brush: A clean, new makeup brush or anti-static camera brush works well to loosen particles around the gimbal motors.
- 99% isopropyl alcohol: The standard recommendation from camera and drone manufacturers. Higher purity evaporates faster and leaves no residue.
- Lens cleaning solution or lens wipes (individually sealed): Only use products specifically labeled for camera lenses. Avoid generic household wipes.
- Cotton swabs (high-quality, low-lint): Acceptable for external housing and motor vent areas. Never use them inside the lens or on the sensor.
- Gimbal cover or clamp: The protective cover that came with your drone, used during transport and storage.
What can I use to clean my drone camera lens? The short answer is a clean microfiber cloth lightly dampened with 99% isopropyl alcohol or a proper lens cleaning solution. Anything else, including eyeglass cleaner, glass cleaner, or household sprays, risks stripping the anti-reflective coatings on your lens.
Pro tip: Replace your microfiber cloth regularly. Once a cloth picks up grit, every wipe becomes a potential scratch. I rotate between three cloths and wash them in a fragrance-free, dye-free soap.
Step-by-Step Guide: How to Clean a Drone Gimbal and Camera
Follow these steps in order. Skipping ahead is how most damage happens during cleaning.
Step 1: Power Off and Remove the Battery
Always start with the drone fully powered down and the battery removed. This eliminates the risk of the gimbal calibrating or moving mid-clean, and it prevents any electrical short from cleaning fluids. Wait at least 30 seconds after shutdown for any residual charge to dissipate.
Step 2: Remove the Gimbal Cover and Lock
Most modern drones ship with a plastic gimbal clamp or cover. Slide it off gently and set it aside. The gimbal is now exposed and you can see the camera, lens, and motor housings clearly. Do not force anything; if the cover feels stuck, check your manual for the correct release motion.
Step 3: Blow Off Loose Debris
Use the rocket blower to remove loose dust, sand, and grit. Hold the camera housing steady with one hand and aim short, controlled bursts of air across the lens, around the gimbal arms, and at any visible vent openings. Never blow with your mouth; saliva droplets will land on the lens and create new smudges.
Step 4: Brush the Motor and Hinge Areas
With the soft brush, gently sweep along the edges of the gimbal arms and around the motor housings. The goal is to dislodge particles without pushing them deeper. Light, short strokes work better than firm, long ones. A vacuum cleaner on low suction with a narrow attachment can also help for stubborn sand, but keep it well away from the lens and sensors.
Step 5: Clean the Lens With a Microfiber Cloth
This is the most delicate step. If you see a smudge or fingerprint on the lens, breathe lightly on it to fog the surface, then immediately wipe with a clean microfiber cloth using a slow, circular motion from the center outward. For tougher residue, lightly dampen a corner of the cloth with 99% isopropyl alcohol. Never apply liquid directly to the lens.
Step 6: Wipe the Camera Housing
Use a fresh area of the microfiber cloth, again lightly dampened with alcohol, to wipe the plastic or metal housing around the camera. A high-quality cotton swab works well for tight corners around the lens barrel. This is one of the few areas where a Q-tip is genuinely useful, but only on the exterior.
Step 7: Reattach the Gimbal Cover
Once everything is clean and dry, replace the gimbal cover before storing or transporting the drone. This is the single best thing you can do to keep the gimbal clean between flights. A drone in a case with the cover on rarely needs more than a quick brush before the next session.
Warning: Never spray any liquid directly onto the gimbal or camera. Aerosol pressure can push fluid past seals and into the motors, where it will cause corrosion or short circuits.
What NOT to Do: Common Cleaning Mistakes
Most gimbal damage I have seen came from well-intentioned but incorrect cleaning. Here are the mistakes to avoid at all costs.
- Do not use paper towels, tissues, or your shirt. These materials feel soft but contain fibers that scratch lens coatings. The scratch may be invisible at first but shows up in backlight situations within a few flights.
- Do not use household cleaners. Windex, glass cleaner, all-purpose sprays, and even eyeglass cleaner can damage anti-reflective coatings or leave residue that attracts more dust.
- Do not use compressed air cans at close range. The propellant can spit cold liquid onto the lens, and the pressure can drive debris into motor bearings. If you must use a can, hold it upright and at least 12 inches away.
- Do not use WD-40 anywhere near a drone gimbal. WD-40 is a solvent and water-displacer, not a lubricant for precision motors. It can seep into motor windings, dissolve factory lubricants, and cause more grinding than it solves. There is no safe way to use WD-40 on drone motors.
- Do not pry at stuck particles. If grit will not come off with a blower and brush, leave it. Forcing it will likely scratch the lens or bend a delicate gimbal arm.
- Do not touch the lens with bare fingers. Skin oils bond to coatings and become harder to remove over time. They also create hotspots in direct sunlight that can affect footage.
Can you use alcohol wipes on my camera lens? Pre-packaged 70% isopropyl alcohol wipes are acceptable in a pinch, but they are not ideal because the lower alcohol concentration leaves more water behind. 99% alcohol is the photographer’s standard and evaporates cleanly.
Special Circumstances: Sand, Saltwater, and Dust
Some environments are harsher than others. The cleaning approach changes slightly depending on what your drone has been through.
After a Beach or Saltwater Flight
Salt is corrosive and will damage metal contacts and motor parts within hours if not removed. After a beach flight, wipe down the entire drone, including the gimbal housing, with a microfiber cloth lightly dampened with fresh water, then immediately follow with a dry cloth. Avoid getting water near the lens or motor vents. For the lens itself, use only alcohol, never water directly.
After a Sandy or Desert Flight
Sand gets everywhere, and it is the number one cause of gimbal overload errors. Use the blower aggressively before you even touch the drone with a cloth, since wiping sand across a surface is a guaranteed scratch. A vacuum with a brush attachment is your friend here. The Mavic Pilots community has discussed this trick at length, and it works.
After a Dusty or Industrial Flight
Construction sites, quarries, and agricultural fields produce fine dust that combines with moisture to form a paste. For this kind of mess, start with a blower, then use a brush to loosen packed particles, and only then use the microfiber cloth. Cleaning in stages prevents smearing.
Gimbal Calibration After Cleaning
Any time you physically touch the gimbal, there is a small chance you have nudged it out of alignment. After reassembly, run a gimbal calibration through your drone’s app. On DJI drones this is under Settings, Advanced, and Sensors. On Autel, it is in the camera settings menu.
The process typically takes 30 to 90 seconds. Place the drone on a flat, level surface and do not touch it until the app confirms the calibration is complete. If the gimbal drifts, jitters, or makes clicking sounds after calibration, power down and inspect for debris you may have missed before flying again.
You should also calibrate the IMU periodically, especially after hard landings or temperature changes. The two calibrations are different: gimbal calibration adjusts the camera mount, while IMU calibration adjusts the motion sensors that tell the gimbal how to react.
When to Seek Professional Help
Some problems are beyond the scope of at-home cleaning. Stop and contact the manufacturer or a certified repair shop if you notice any of the following.
- The gimbal will not calibrate after multiple attempts
- There is visible damage to the ribbon cable connecting the camera to the body
- You hear grinding, clicking, or scraping sounds from the motors
- The camera image has lines, dead pixels, or color shifts that cleaning did not fix
- The drone suffered a crash or hard landing, even if the gimbal looks fine
A factory repair often costs less than a full gimbal replacement, and most manufacturers offer flat-rate service for out-of-warranty drones. Trying to fix these issues at home usually makes them worse and may void any remaining coverage.
Frequently Asked Questions
How to clean a drone gimbal?
How to clean a drone camera?
Can you use WD-40 on drone motors?
Can I use alcohol wipes on my camera lens?
Can I use a QTIP to clean a camera sensor?
Can I use 70% alcohol to clean a camera lens?
What are common problems with gimbal cameras and how to troubleshoot them?
Conclusion
Learning how to clean a drone gimbal and camera without damaging it is one of the highest-value skills a drone owner can develop. The process is short, the tools are inexpensive, and the payoff is years of clean footage and a gimbal that survives the way it was designed to.
Build the habit: a quick blower sweep and lens wipe after every flight in less-than-pristine conditions, the gimbal cover back on before storage, and a calibration check once a month. If something feels off, do not push through. Power down, inspect, and reach out to a certified repair shop. Your drone, and your footage, will thank you for it.