
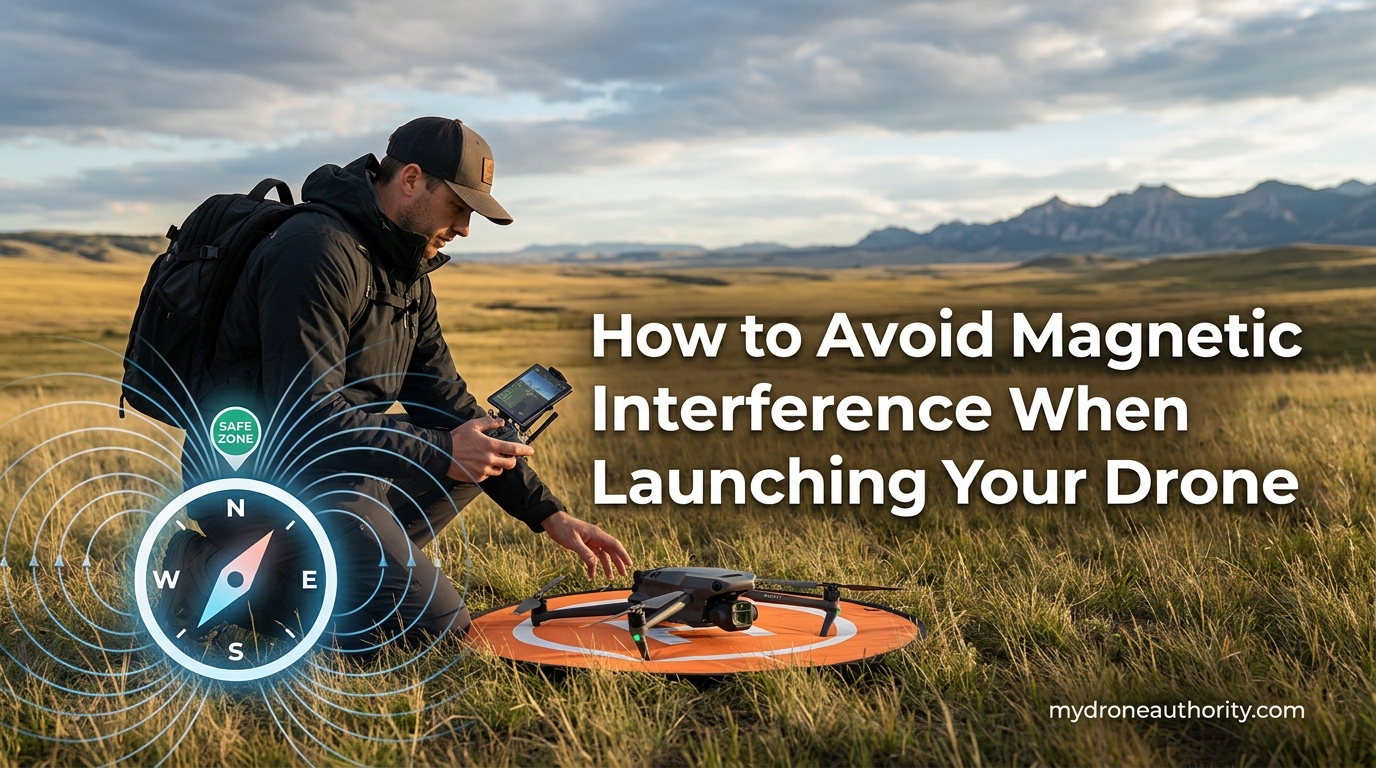
Learning how to avoid magnetic interference when launching your drone is one of the most important skills any pilot can master. I have watched too many fellow flyers lose equipment to flyaways that started with a single ignored compass warning. The good news is that almost every interference-related incident is preventable when you understand what is happening inside your drone before the props even spin up.
In this guide, our team walks through everything from the science behind compass errors to the exact pre-launch checklist we use on every flight. You will learn how to identify interference sources, calibrate your compass correctly, choose a safe launch surface, and recover from in-flight warnings. Whether you fly a DJI Mini, a Mavic 3, or an industrial platform, these principles apply across the board.
By the end, you will have a repeatable routine that keeps your drone locked to its GPS position and flying the heading you actually commanded. Let us get into the details so your next launch is clean, calm, and interference-free.
Table of Contents
What Is Magnetic Interference and Why It Matters for Drones
Magnetic interference is what happens when an external electromagnetic field overpowers or distorts the Earth’s natural magnetic field that your drone relies on for orientation. Inside nearly every modern drone is a magnetometer, also called a compass module, that measures the strength and direction of magnetic fields around it. When a stronger local field is present, that module feeds bad heading data to the flight controller.
Your drone uses three systems together to hold position: the GPS receiver, the inertial measurement unit (IMU), and the compass. If the compass reports a heading that is 40 degrees off because of nearby rebar, the flight controller tries to correct for drift that does not actually exist. The result is real drift, hovering instability, or in the worst case, a full flyaway.
This matters most during launch and landing because that is when your drone is closest to interference sources on the ground. Concrete, vehicles, metal tables, and even your own phone can throw off the compass before takeoff. A bad calibration at launch means every automated flight mode, including Return to Home, is working from corrupted data.
Common Sources of Magnetic Interference
Knowing what creates competing magnetic fields is half the battle. Our team has logged interference events across urban rooftops, rural fields, and industrial sites, and the same culprits show up every time.
Reinforced concrete with steel rebar is the number one source pilots encounter. The steel mesh embedded in sidewalks, parking decks, and rooftop pads creates a dense field that confuses the compass the moment you set the drone down. This is the most common explanation when a drone gives a magnetic interference warning on a surface that looks completely harmless.
High-voltage power lines and transformers generate electromagnetic fields that extend well beyond the visible wires. Flying within 50 to 100 feet of transmission lines can cause both compass drift and GPS signal degradation. The interference is strongest directly beneath the lines and decreases with distance and altitude.
Vehicles, metal fences, and steel structures act as large magnetic masses that distort the local field. Setting your drone on a truck bed, a metal railing, or near a chain-link fence almost guarantees a compass warning. Even parked cars radiate enough field to affect calibration if you are within a few feet.
Personal electronics are a sneaky source many pilots overlook. Your smartphone, smartwatch, radio controller with internal magnets, and even keys in your pocket can shift the compass during the calibration dance. Forum reports on mavicpilots and reddit consistently flag phones placed too close to the drone during compass calibration as a cause of failed calibrations.
Industrial equipment including generators, welding gear, motors, and HVAC units on rooftops all emit strong fields. Construction sites are notorious for layered interference from rebar in fresh pours plus heavy machinery operating nearby. If you fly commercially, assume every industrial site is hot until you prove otherwise.
How to Avoid Magnetic Interference When Launching Your Drone
The core of how to avoid magnetic interference when launching your drone comes down to a short, repeatable sequence you run before every single takeoff. Our team treats this as non-negotiable, the same way a pilot runs through a pre-flight checklist.
Step 1: Scout the launch area visually. Look for concrete pads, metal grates, vehicles, power equipment, and anything with a steel frame. If you see rebar-heavy surfaces, plan to launch from grass, dirt, or a non-metallic platform instead.
Step 2: Use a magnetometer app to verify the area. Free apps like Sensor Box or Physics Toolbox Magnetometer turn your phone into a quick field detector. Hold your phone flat at launch height and watch the reading. If the numbers spike or swing wildly as you move across the spot, pick a new location.
Step 3: Move at least 10 feet away from any metal object. This includes your controller case, a parked car, metal fence posts, and air conditioning units on rooftops. The DroneU team recommends treating 10 feet as the absolute minimum clearance, with more distance always being better.
Step 4: Power on the drone and watch for warnings before motors arm. Most DJI and Autel models display a compass status icon in the app. If you see a yellow or red warning, do not override it. Power down, relocate, and re-check.
Step 5: Launch to a hover at 8 to 10 feet and hold position for 10 seconds. Watch for drift, yaw rotation, or GPS position jumps. If the drone holds steady with the nose pointing where you left it, the launch was clean. If it rotates or drifts, land immediately and recalibrate.
This five-step sequence takes under two minutes and has prevented more flyaways than any other habit in our workflow. The pilots who skip it are the ones posting recovery requests in drone forums.
How to Calibrate Your Drone Compass Away from Interference
Compass calibration is where most interference problems actually begin. If you calibrate on a surface full of rebar, you are teaching the drone that the corrupted local field is normal. Every flight after that calibration inherits the error.
The DroneU team recommends calibrating at least 10 miles away from urban development, in an open area free of metal structures. Our team follows this rule for any calibration, not just the first one. A grassy field, a dirt trail, or a beach with no metal nearby all work well.
Calibrate only when the app prompts you or after any of the following events: traveling more than 200 miles from your last calibration, replacing the compass module, after a firmware update, or after a crash. Calibrating too often actually increases the chance of a bad calibration if conditions are not ideal.
Before you start the calibration dance, remove your phone from any metal-cased holder, take keys and watches out of your pockets, and step away from vehicles and metal fences. Hold the drone at arm’s length during the rotation so your own body and controller stay clear of the module. Complete both rotations smoothly and steadily, and wait for the success confirmation before setting the drone down.
Choosing a Safe Launch Location
Where you set the drone down for takeoff matters as much as where you calibrate. The launch surface is in direct contact with or very close to the compass module, so a bad surface can corrupt a clean calibration in seconds.
The best launch surfaces are grass, dirt, sand, or wood. These materials have essentially no magnetic signature, so the compass reads the Earth’s field cleanly. When those are not available, the next best option is a dedicated plastic or carbon-fiber landing pad.
One of the most effective hacks shared across mavicpilots and reddit is launching from a plastic storage box or non-metallic platform elevated a foot or two off the concrete. Getting the drone just 12 to 24 inches above a rebar-filled surface is often enough to drop the interference reading back into the safe range. Our team carries a folded plastic landing pad specifically for rooftop and parking-deck launches.
Avoid launching from metal tables, vehicle hoods, concrete benches with embedded rebar, and any surface with visible steel reinforcement. If you have no choice but to launch from a problem surface, use the elevated plastic pad trick and verify with a magnetometer app before arming.
For rooftop launches, also account for HVAC units, satellite dishes, and metal flashing along parapets. Move to the most open corner of the roof, away from any mechanical equipment, and verify GPS satellite count is above 10 before takeoff.
Warning Signs of Magnetic Interference During Flight
Magnetic interference does not always show up at launch. Sometimes the drone flies into a corrupted field mid-flight, especially near power lines, steel-framed buildings, or industrial sites. Recognizing the symptoms early gives you time to react before a flyaway develops.
The most common warning is an in-app compass error banner. DJI apps typically show “Compass Error, fly with caution” or a red pulsing compass icon. If you see this, stop moving forward immediately and climb to gain clearance from whatever is causing the field.
Physical symptoms include uncommanded yaw rotation, where the drone slowly spins even though you are not touching the sticks. You may also see the drone drift in a consistent direction that does not match wind, or watch the nose heading indicator in the app disagree with where the camera is actually pointing.
GPS position jumps are another red flag. If the map dot suddenly teleports or the drone reports a position change that does not match its actual movement, the compass and GPS are disagreeing. Switch to ATTI mode if your drone supports it, fly home manually, and land as soon as possible.
Flying in Urban Areas with Heavy Signal Interference
City environments stack multiple interference types at once. You get magnetic interference from rebar and steel frames, radio frequency interference from cell towers and Wi-Fi saturation, and GPS multipath errors from signals bouncing off glass towers. Urban flying demands more discipline than any other environment.
Pilot Institute’s guide on heavy interference recommends keeping flights under 800 feet of distance in dense urban areas. Our team treats that as a hard ceiling for any city flight, even with a Mavic 3 or Mini 4 Pro that nominally supports longer range. The risk is not just signal loss, it is the combination of signal loss plus corrupted compass data leading to a flyaway.
Learn to fly in ATTI (Attitude) mode before you need it. ATTI disables GPS positioning and flies the drone on stick input plus the IMU only, which means a corrupted compass will not cause uncommanded movement. Most DJI drones drop into ATTI automatically when GPS is lost, but if you have never flown in that mode, the sudden loss of position hold is disorienting.
Practice ATTI in an open field first, with no wind, so you understand how the drone handles without GPS lock. Then, when you are flying between skyscrapers and the GPS drops out, you can keep flying calmly instead of panicking.
Set your controller to alert you at 50 percent battery instead of the default low-battery warning. Urban interference drains batteries faster because the drone works harder to hold position, and the last thing you want is a forced landing on a rooftop you cannot reach.
Setting Your RTH Altitude Above MOCA
Return to Home (RTH) is your backup when signal is lost or the mission is aborted, but it only works if the RTH altitude is set above every obstacle between the drone and home. That is where MOCA, or Minimum Obstacle Clearance Altitude, comes in.
MOCA is the height of the tallest object in your flight path plus a safety buffer. If you are flying in a neighborhood with 40-foot trees and two-story homes, your MOCA might be 60 feet. In a downtown area with 300-foot towers, MOCA could be 350 feet or higher. Set your RTH altitude to at least MOCA plus 20 feet before takeoff.
If RTH triggers at an altitude below MOCA, the drone flies a straight line home at an altitude that puts it into buildings, power lines, or trees. Combined with a corrupted compass from interference, the drone may not even fly the correct direction home, which is how most urban flyaways end in a crash.
Check local regulations before setting high RTH altitudes. In the United States, recreational and Part 107 flights are limited to 400 feet above ground level unless you have a waiver. If your MOCA calculation exceeds 400 feet, you should not be flying RTH through that area at all. Plan a manual return route that stays below the ceiling and clears obstacles visually.
What to Do When Your Drone Shows a Magnetic Interference Error
Even with perfect preparation, you may still see a magnetic interference warning on launch day. The key is knowing exactly how to respond without making the situation worse.
Do not dismiss the warning. Many pilots tap past the alert and take off anyway, which is the single most common precursor to a flyaway. The warning exists because the flight controller has detected compass data it cannot trust.
Power down the drone fully. Land if you are airborne, or just power off if you are still on the ground. This clears any cached compass state and forces a fresh reading when you restart.
Relocate at least 20 feet in any direction. Pick up the drone, walk away from the current surface, and find a spot with less metal nearby. Grass, bare dirt, or an elevated plastic pad all work.
Power back on and re-check the warning. If the alert clears, proceed with the hover test described earlier. If the warning persists, the issue may be the compass module itself rather than the environment.
Recalibrate only if needed. If relocation does not resolve the warning and you have not calibrated recently, do a fresh compass calibration in an open area free of metal. Never calibrate on the same surface that triggered the warning.
Check Airdata logs after the flight. Upload your flight log to Airdata to review compass interference percentage, magnetometer health, and GPS accuracy. Patterns in the logs help you identify problem locations to avoid in the future.
FAQs
Why is my drone saying magnetic interference?
Your drone is detecting a local magnetic field stronger than the Earth’s natural field, which means the compass module cannot calculate a reliable heading. Common causes include rebar in concrete, nearby vehicles, power lines, or personal electronics like your phone. Relocate to a non-metallic surface at least 10 feet from any metal object and re-check the warning before takeoff.
What causes magnetic interference in drones?
The most common causes are steel rebar embedded in concrete, parked vehicles, metal fences, high-voltage power lines, transformers, industrial equipment, and personal electronics. Any large metal mass or active electromagnetic source near the drone’s compass module can distort the local magnetic field and trigger interference warnings.
How do I prevent my drone from flying away?
To prevent flyaways, calibrate your compass in an open area at least 10 miles from urban development, launch from a non-metallic surface, set RTH altitude above MOCA, keep flights under 800 feet in urban areas, and never dismiss compass warnings. Practice ATTI mode flying so you can maintain control if GPS drops out mid-flight.
What happens if a drone is not calibrated?
An uncalibrated compass feeds incorrect heading data to the flight controller, which causes drift, hover instability, incorrect automated flight paths, and potential flyaways. Return to Home relies on an accurate compass to fly back to the launch point, so a bad compass can send the drone in the wrong direction during an emergency.
How far away from metal should I calibrate my drone compass?
Stay at least 10 feet away from any metal object during calibration, including vehicles, fences, and metal-framed structures. For the calibration itself, the DroneU team recommends performing it in an open area at least 10 miles from urban development to guarantee a clean magnetic environment free of rebar, power lines, and industrial interference.
Can a drone take off with magnetic interference?
Some drones will let you override the warning and take off, but doing so is extremely risky. The drone will be flying with corrupted compass data, which means position hold, automated flight modes, and Return to Home may all fail. Always resolve the warning by relocating or recalibrating before arming the motors.
Conclusion
Mastering how to avoid magnetic interference when launching your drone comes down to a few simple habits done consistently. Scout your launch area, calibrate in a clean environment, launch from a non-metallic surface, set RTH altitude above MOCA, and never ignore a compass warning. Run through the five-step pre-launch sequence before every flight, and you will eliminate the vast majority of interference-related flyaways before they ever start.
Keep a plastic landing pad in your kit for rooftop and parking-deck launches, practice ATTI mode in open air before you need it in the city, and review your flight logs in Airdata after every session. Build these routines now, and your drone will still be in your hands at the end of every flight.