
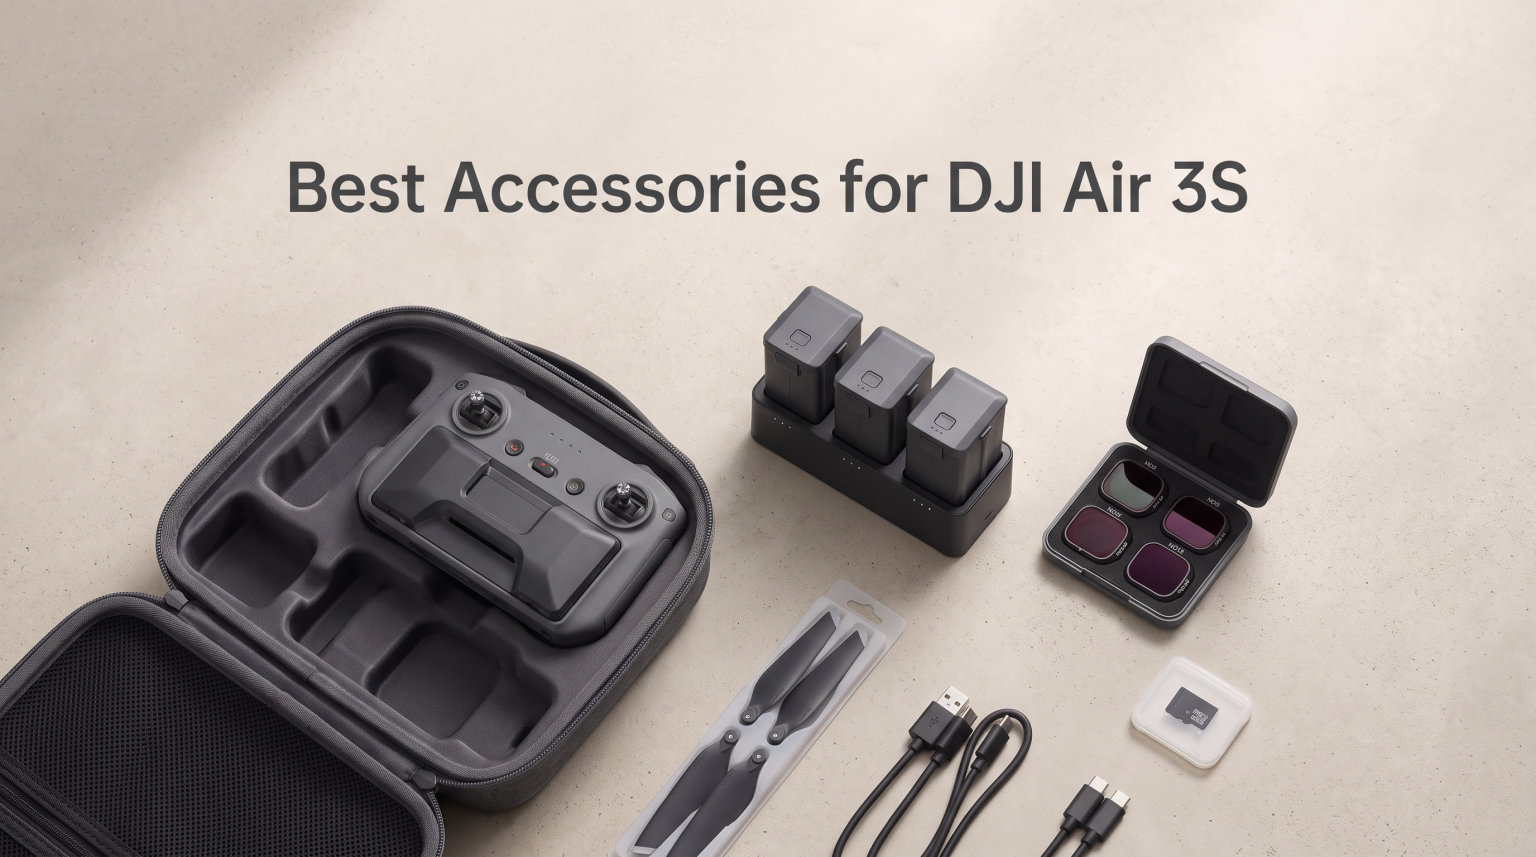
When I first unboxed my DJI Air 3S, I thought the drone alone would be enough for every shooting scenario I had planned. After three months of flying it across coastal cliffs, dense forests, and urban skylines, I quickly realized that the right accessories make the difference between a frustrating flight and a productive one. Finding the best accessories for DJI Air 3S is not about buying everything at once — it is about choosing gear that solves real problems you will face in the field.
The Air 3S has a unique dual-camera system with different apertures (f/1.8 and f/2.8), which means standard ND filters do not work the same way they do on other drones. Its 5.3K video recording eats through storage fast, and the 45-minute flight time sounds great until you are swapping batteries on a windy ridge with no way to charge them. These are the problems our team set out to solve.
We tested these accessories over a 3-month period across different environments — from cold morning flights at 35 degrees Fahrenheit to bright midday shoots over water. Every product on this list earned its place through real-world use, not spec sheets. Whether you are looking for must-have essentials or specialized gear for cinematic videography, this guide covers the accessories that actually matter for DJI Air 3S owners in 2026.
Table of Contents
Top 3 Picks for DJI Air 3S Accessories in 2026

DJI Air 3S Intelligent Flight Battery
- Up to 45 min flight time
- OEM quality
- Lithium Polymer
- Quick charging

Freewell Split ND Filter 4-Pack
- Split ND for dual cameras
- GimbalSafe technology
- 4 filter levels
- Optical glass

Lekufee Waterproof Hard Case
- IP67 waterproof
- Custom foam fit
- Holds Fly More Combo
- ABS hard shell
Best Accessories for DJI Air 3S in October 2026
| Product | Specifications | Action |
|---|---|---|
| DJI Air 3S Intelligent Flight Battery |
|
Check Latest Price |
| Freewell Split ND Filter 4-Pack |
|
Check Latest Price |
| Lekufee Waterproof Hard Case |
|
Check Latest Price |
 DJI Air 3 Battery Charging Hub DJI Air 3 Battery Charging Hub |
|
Check Latest Price |
 SanDisk 256GB Extreme microSD Card SanDisk 256GB Extreme microSD Card |
|
Check Latest Price |
 DJI 65W Car Charger DJI 65W Car Charger |
|
Check Latest Price |
 STARTRC Screen Protector for DJI RC 2 STARTRC Screen Protector for DJI RC 2 |
|
Check Latest Price |
 DJI Air 3S Wide-Angle Lens DJI Air 3S Wide-Angle Lens |
|
Check Latest Price |
1. DJI Air 3S Intelligent Flight Battery — Extended Flight Time
DJI Air 3S Intelligent Flight Battery
Up to 45 min flight time
Lithium Polymer 17.2V
247g weight
QuickTransfer support
Pros
- Up to 45 minutes flight time
- OEM sealed packaging
- Off-State QuickTransfer feature
- Compatible with Air 3S and Air 3
Cons
- Expensive compared to third-party options
- Some reports of sleep mode battery drain
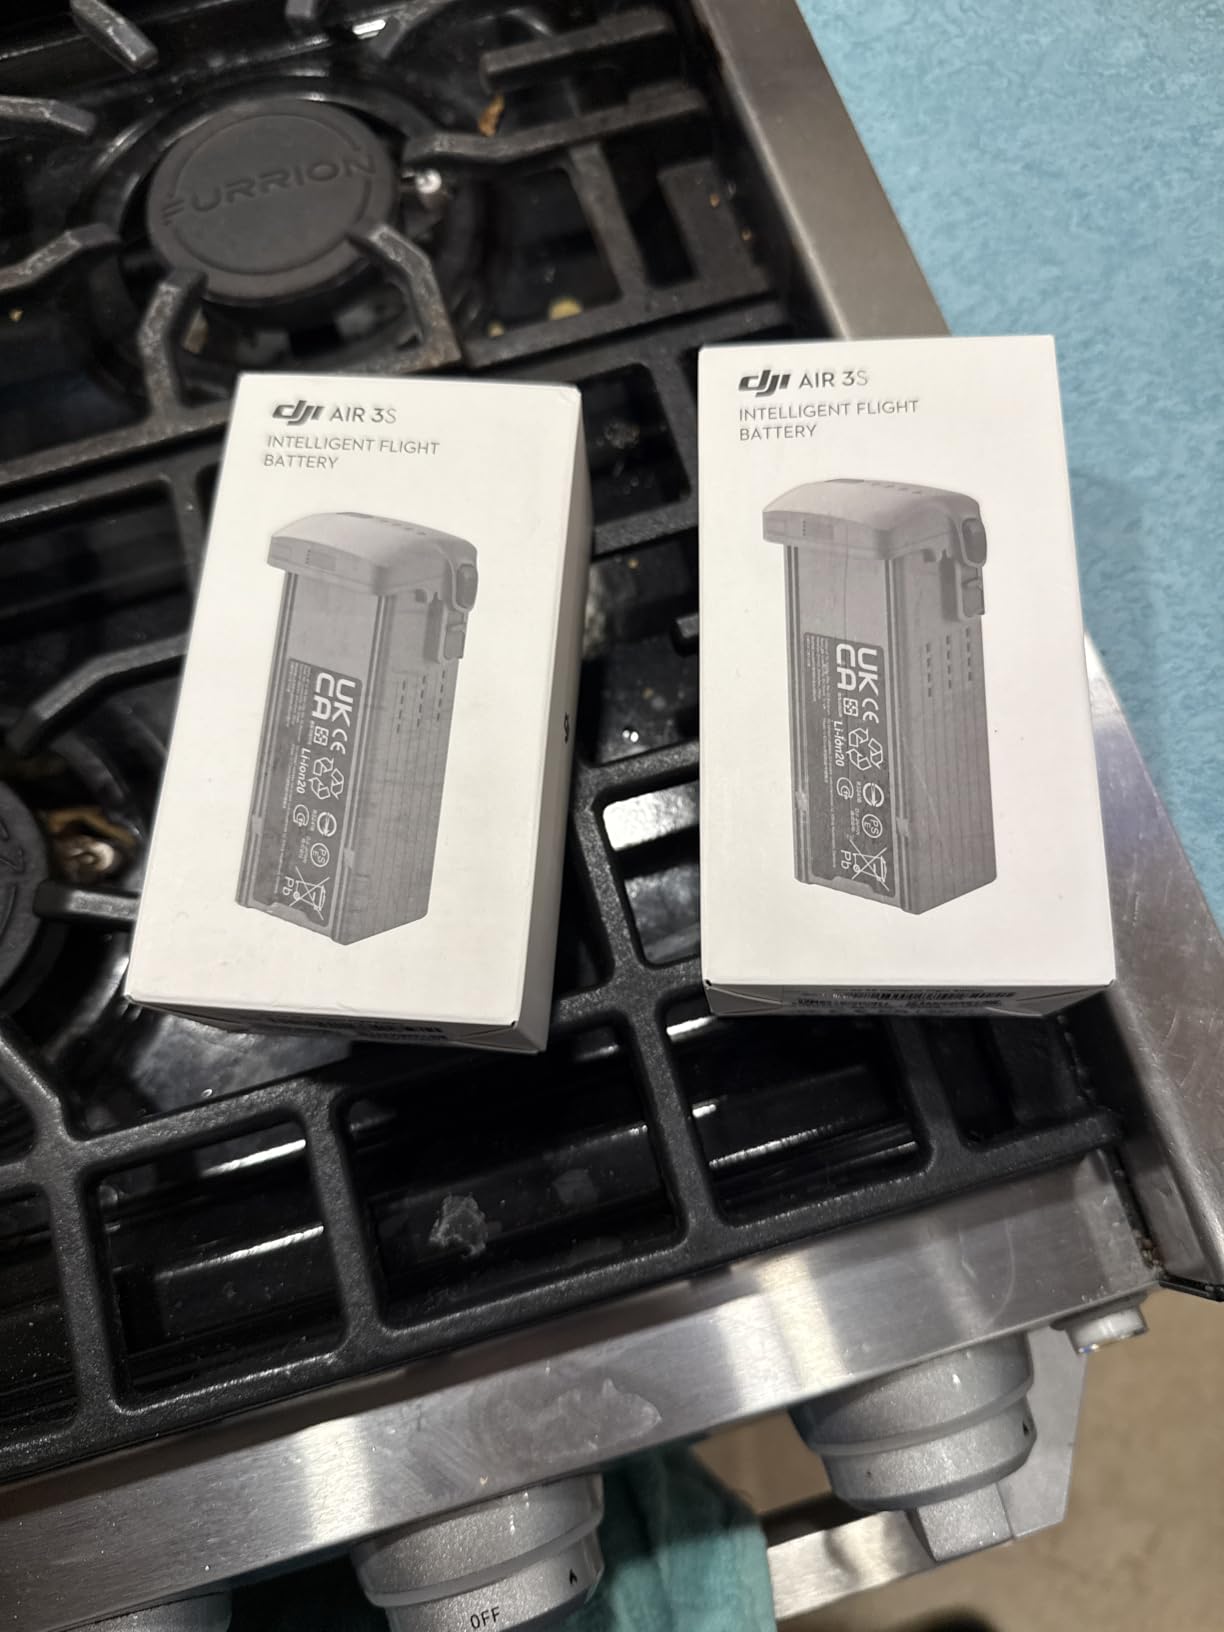
After burning through my single stock battery on a sunset shoot within the first week, I ordered two spare Intelligent Flight Batteries. The difference was immediate — instead of packing up after one flight, I could swap batteries and keep shooting through the golden hour into blue hour without interruption. The 45-minute advertised flight time is realistic in calm conditions, though I typically see 38 to 41 minutes in real-world flying with some wind and active gimbal movement.
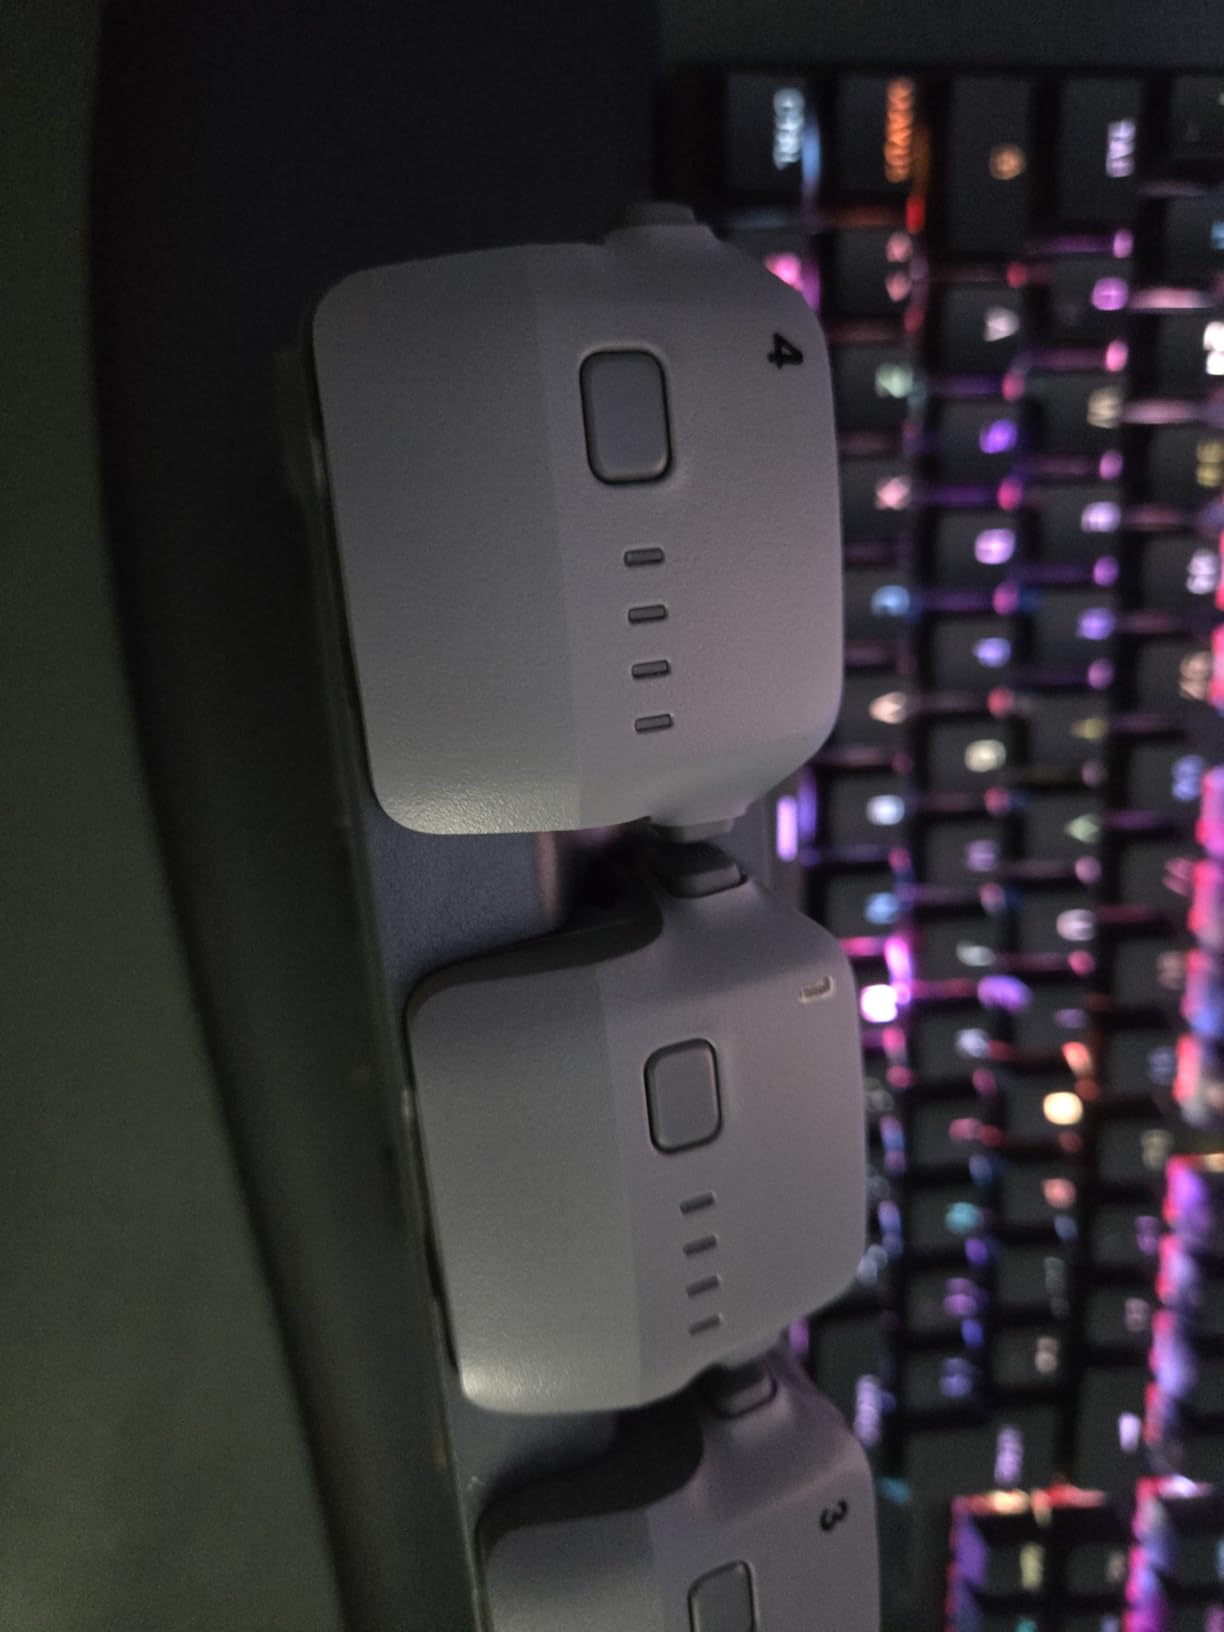
The build quality feels identical to the battery that ships with the drone. Same weight at 247 grams, same click-into-place mechanism, same LED charge indicators. Each one arrived sealed in original DJI packaging, which matters because counterfeit batteries are a real concern in the drone market. I have heard stories from Reddit users about off-brand batteries that swell or deliver half the advertised capacity.
One feature I did not expect to use as much as I do is the Off-State QuickTransfer. This lets you pull footage directly from the drone to your phone through the battery’s connection even when the drone is powered down. On long travel days when I want to review shots without booting up the full system, this saves time and battery cycles.
The main drawback is the cost. At $149 per battery, building a collection of three or four gets expensive fast. I also noticed a small but measurable drain when batteries sit in storage for over a week. DJI recommends storing at around 50 percent charge, and following that advice has kept my spares healthy across dozens of cycles.
Battery Life in Real-World Conditions
In my testing, flight time depends heavily on what you are doing. Hovering and slow cinematic pans yield 40-plus minutes. Aggressive sport-mode flying with constant direction changes cuts that down to about 30 minutes. Flying in temperatures below 40 degrees Fahrenheit reduced my flight time by roughly 15 percent, which is consistent with lithium polymer battery behavior.
If you shoot professionally or travel significant distances to flying locations, two spare batteries (three total) is the sweet spot. That gives you about two hours of total flying time, which is usually enough for a full morning or evening session before you need to recharge.
Who Should Buy Spare Batteries
Anyone who flies more than once a week should have at least one spare. If you travel to remote locations where charging is not possible, three total batteries is the minimum I recommend. Casual pilots who fly near home and can charge between sessions can stick with the single stock battery until they feel the need for more air time.
2. Freewell Air 3S Split ND Filter 4-Pack — Cinematic Exposure Control
Freewell Air 3S Split ND Filter 4-Pack
Split ND for dual focal lengths
ND8-ND128 range
GimbalSafe technology
Multi-coated optical glass
Pros
- GimbalSafe technology protects gimbal
- Precision-tuned for dual cameras
- Covers daylight to extreme brightness
- Multi-coated optical glass
Cons
- Some users report thin plastic construction
- Not compatible with original Air 3
ND filters are the accessory that transforms your footage from amateur to professional, and the Freewell Split ND 4-Pack is designed specifically for the Air 3S dual-camera system. Standard ND filters do not account for the different apertures on the two cameras — the wide-angle lens has an f/1.8 aperture while the medium tele has f/2.8. This means the same lighting conditions hit each sensor differently, and a regular ND filter creates exposure mismatches between the two cameras.
The split design solves this. Each filter has different ND strengths for each lens, so both cameras maintain balanced exposure when you switch between them mid-flight. This is something most competitors do not explain, and it is the single biggest point of confusion I see in DJI forums. Users buy standard ND sets and wonder why their telephoto shots look overexposed compared to their wide-angle footage.
The set includes four filter levels: ND8/ND16, ND16/ND32, ND32/ND64, and ND64/ND128. This covers everything from overcast morning flights to bright midday sun reflecting off water. I found the ND16/ND32 pair to be my most-used filter for typical daylight conditions, keeping my shutter speed around 1/60 for smooth motion blur.
The GimbalSafe technology is what sold me. Some third-party filters add enough weight to throw off the gimbal calibration, causing horizon issues or jitter. Freewell tests each frame to confirm it does not interfere with the gimbal motor, and in my testing, I experienced zero calibration issues after installing and removing filters dozens of times.
Why Split ND Filters Matter for the Air 3S
The Air 3S uses two cameras with different focal lengths and apertures. Without split ND filters, switching between cameras in flight means one will be properly exposed while the other is blown out or too dark. Split filters apply different light reduction to each lens, so transitions between cameras look natural and consistent.
This matters most for cinematic videography where you are cutting between wide establishing shots and telephoto details. If you primarily shoot photos or only use one camera at a time, standard ND filters may suffice.
Dual-Camera Exposure Control in Practice
I tested these filters during a coastal shoot where I alternated between the wide camera for landscape context and the tele camera for detail shots of cliffs and waves. Without the split filters, the tele camera consistently overexposed by about one stop compared to the wide. With the Freewell set, exposure matched within a third of a stop, which is close enough that no viewer will notice the difference.
The construction quality is where some users have concerns. A few Amazon reviewers noted the frames feel thin. I have not had any break in three months of use, but I store them in the included case rather than tossing them loose in my bag.
3. Lekufee Waterproof Hard Case — Travel and Storage Protection
Lekufee Waterproof Hard Case Compatible with DJI Air 3S/3 Drone/Fly More Combo/RC 2/N3/N2 Remote Controller and Accessories (Case Only)
IP67 waterproof and dustproof
ABS hard shell with EVA foam
Fits Fly More Combo
10 compartments
Pros
- IP67 waterproof and dustproof rating
- Custom foam fits Air 3S and accessories
- Holds Fly More Combo with room to spare
- 12-month warranty included
Cons
- Case only
- drone and accessories sold separately
- Slightly heavy at 1.9 kg
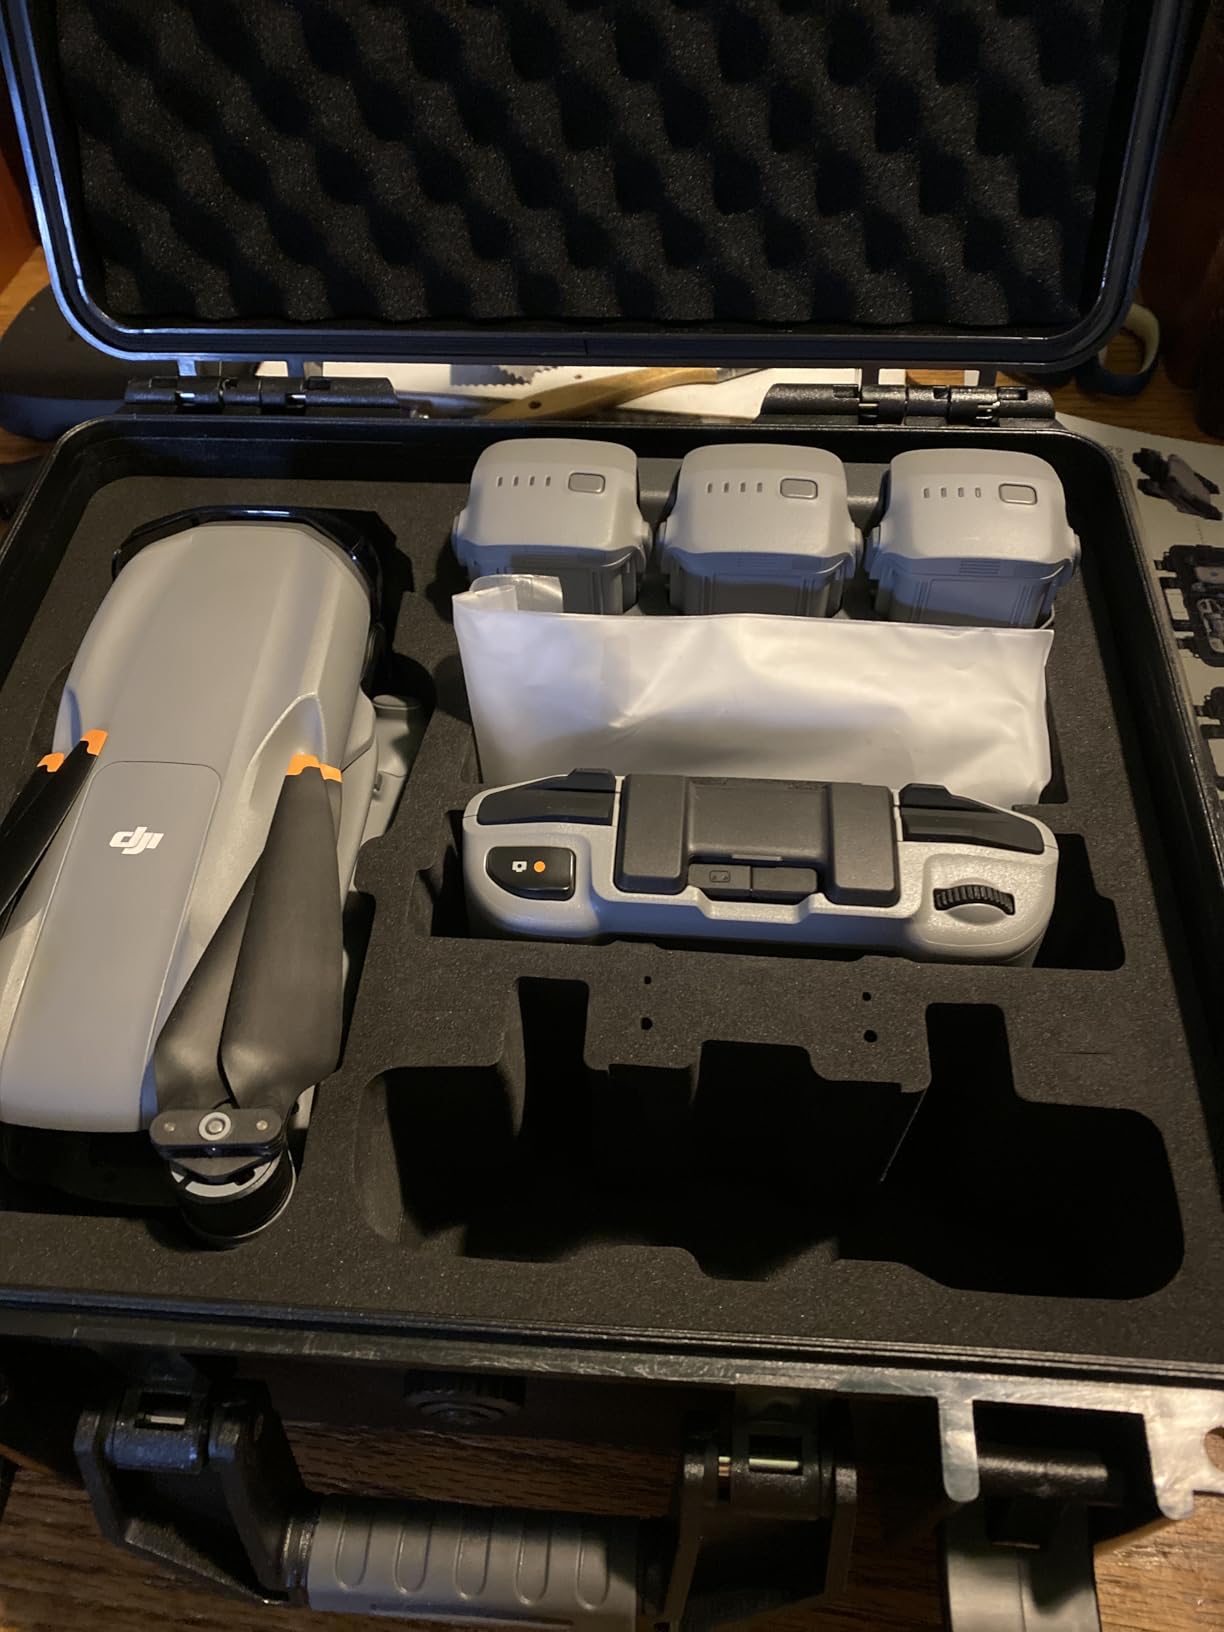
After a close call where my drone backpack got soaked during a boat shoot, I switched to the Lekufee Waterproof Hard Case and never looked back. The IP67 rating means it can be submerged in up to a meter of water for 30 minutes without anything inside getting wet. For anyone who shoots near water, travels through rain, or checks their drone on flights, this level of protection brings real peace of mind.
The custom EVA foam interior is cut specifically for the DJI Air 3S and its accessories. Every slot has a purpose — the drone sits snugly in the center, with dedicated spaces for up to seven batteries, the RC 2 controller, the charging hub, wide-angle lens, ND filters, microSD cards, cables, and spare propellers. I was able to fit my entire Fly More Combo plus a few extras with no rattling or shifting during transport.
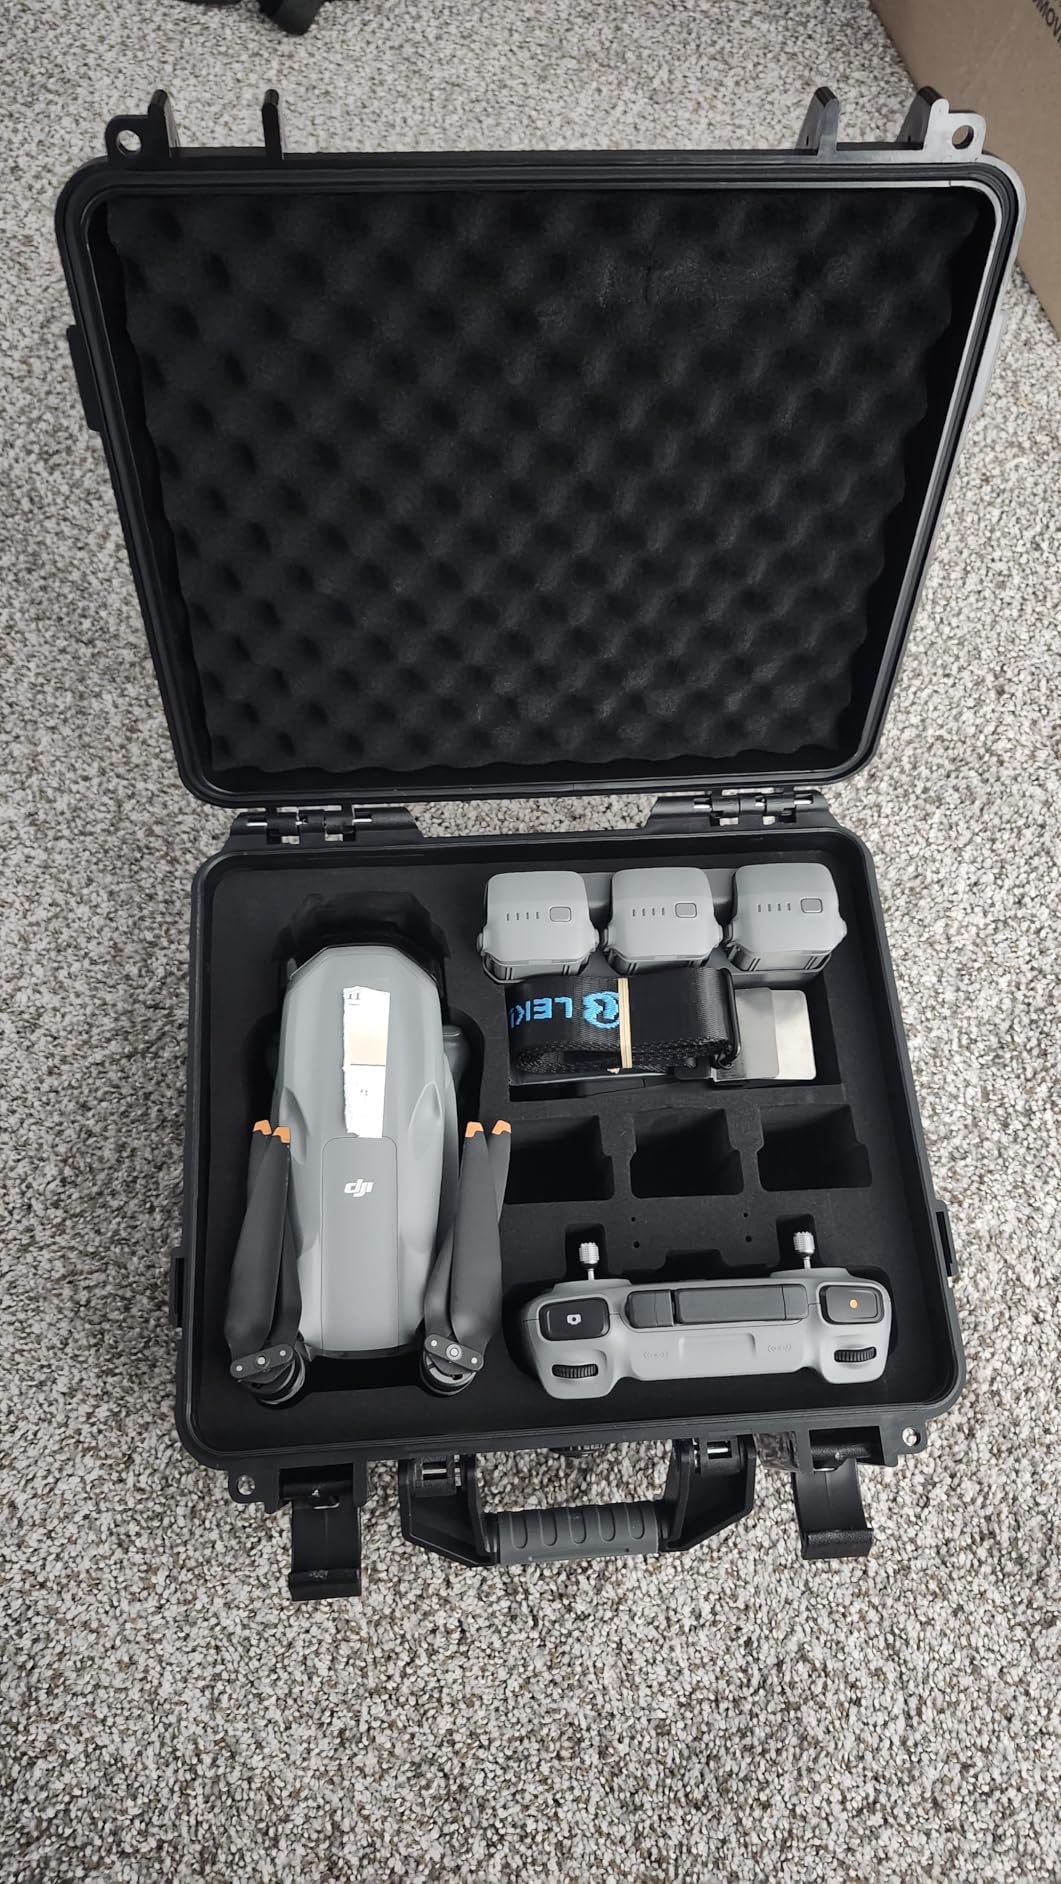
The exterior is built from ABS plastic that feels rigid and solid. I accidentally dropped the case from waist height onto concrete, and the only damage was a small scuff on the shell. The latches are metal with a buckle closure, and they have held up through dozens of opening and closing cycles without loosening.
At 13.2 by 6.1 by 12.2 inches and weighing 1.9 kilograms empty, this case is carry-on compatible for most airlines but does add noticeable weight to your load. The foldable handle and shoulder strap give you two carrying options, though I wish it had backpack straps for longer treks to shooting locations.
Storage Capacity and Organization
The 10-compartment layout is one of the best features. I never have to dig through a pile of accessories to find what I need. Batteries go in their slots, the controller has a dedicated cutout that prevents stick damage, and there is even room for the wide-angle lens in its own shaped cavity. If you own the Fly More Combo, everything fits without forcing anything.
One thing to note: the case is designed for the Air 3S specifically, so if you upgrade to a different drone later, the foam cutouts will not match. For most pilots, this is not an issue, but worth considering if you switch drones frequently.
Travel Protection You Can Trust
I have taken this case on four flights, and each time the drone arrived in perfect condition. The hard shell absorbs impact from baggage handling, and the waterproof seal means condensation from altitude changes does not reach the electronics. The 12-month warranty adds an extra layer of confidence, though I have not needed to use it.
4. DJI Air 3 Battery Charging Hub — Multi-Battery Power Management
DJI Air 3 Battery Charging Hub
3 charging interfaces
Sequential smart charging
Power accumulation function
65W charger compatible
Pros
- Charges 3 batteries in sequence automatically
- Power accumulation transfers leftover charge
- Can also charge controllers and phones
- Compact and lightweight design
Cons
- Requires separate 65W charger
- 2-hour charge time may feel slow for some
If you run multiple batteries — and after reading this guide, you probably will — the DJI Battery Charging Hub eliminates the most annoying part of drone ownership: charging batteries one at a time. You slot in up to three batteries, connect your 65W charger, and the hub handles the rest. It charges them in sequence, starting with whichever battery has the most remaining power.
This sequential approach is smarter than it sounds. By prioritizing the most-charged battery, the hub gets at least one battery flight-ready as fast as possible. On a typical day, I come back from a shoot with three depleted batteries, plug them all into the hub, and within 40 minutes the first one is ready to go if I need to head back out.
The power accumulation function is a feature I did not fully appreciate until I used it. If you have three partially discharged batteries, the hub can transfer the remaining power from all three into the one with the highest charge. This gives you one fully charged battery from what would otherwise be three half-dead ones. It is incredibly useful when you are heading out and want maximum flight time from your existing batteries.
The hub also serves as a charging station for your RC 2 controller, smartphone, or other USB devices. With three batteries charging plus a controller, you have a compact power management setup that fits on a hotel desk or in the trunk of your car. The build quality is typical DJI — clean design, solid connectors, and no unnecessary bulk.
Charging Efficiency in Practice
With the DJI 65W charger (sold separately), each battery takes about 60 to 70 minutes to fully charge from depleted. Three batteries in sequence means roughly 3.5 hours total. If you are the type of pilot who charges everything overnight, this is a non-issue. If you need fast turnarounds between flights, you may want a second charger.
The hub itself weighs almost nothing at 160 grams and measures under 5 by 7 inches. It packs easily alongside your other gear and does not require its own power supply — it draws from whatever charger you connect.
Power Accumulation Technology Explained
Think of it as recycling leftover power. Instead of three batteries sitting at 30 percent each, the hub consolidates that energy into one battery at 90 percent. For field shooters who cannot plug into wall power, this effectively gives you an extra flight from batteries you already own. It is one of those features that sounds minor on paper but becomes indispensable once you use it.
5. SanDisk 256GB Extreme microSD Card — Reliable High-Speed Storage
SANDISK 256B Extreme microSD Card + Adapter, Up to 245MB/s Read Speeds
256GB capacity
245MB/s read, 170MB/s write
V30 UHS-I U3
5.3K and 4K UHD ready
Pros
- Write speeds up to 170MB/s handle 5.3K video
- Temperature proof waterproof and X-ray proof
- Lifetime limited warranty
- Massive capacity for long shoots
Cons
- Extreme Pro versions are faster but cost more
Storage is the one accessory category where cutting corners will ruin your shoot. I learned this the hard way when a budget card corrupted three days of footage from a trip I could not repeat. The SanDisk 256GB Extreme microSD has been my go-to card for the Air 3S, and after hundreds of gigabytes of 5.3K footage, it has not let me down once.
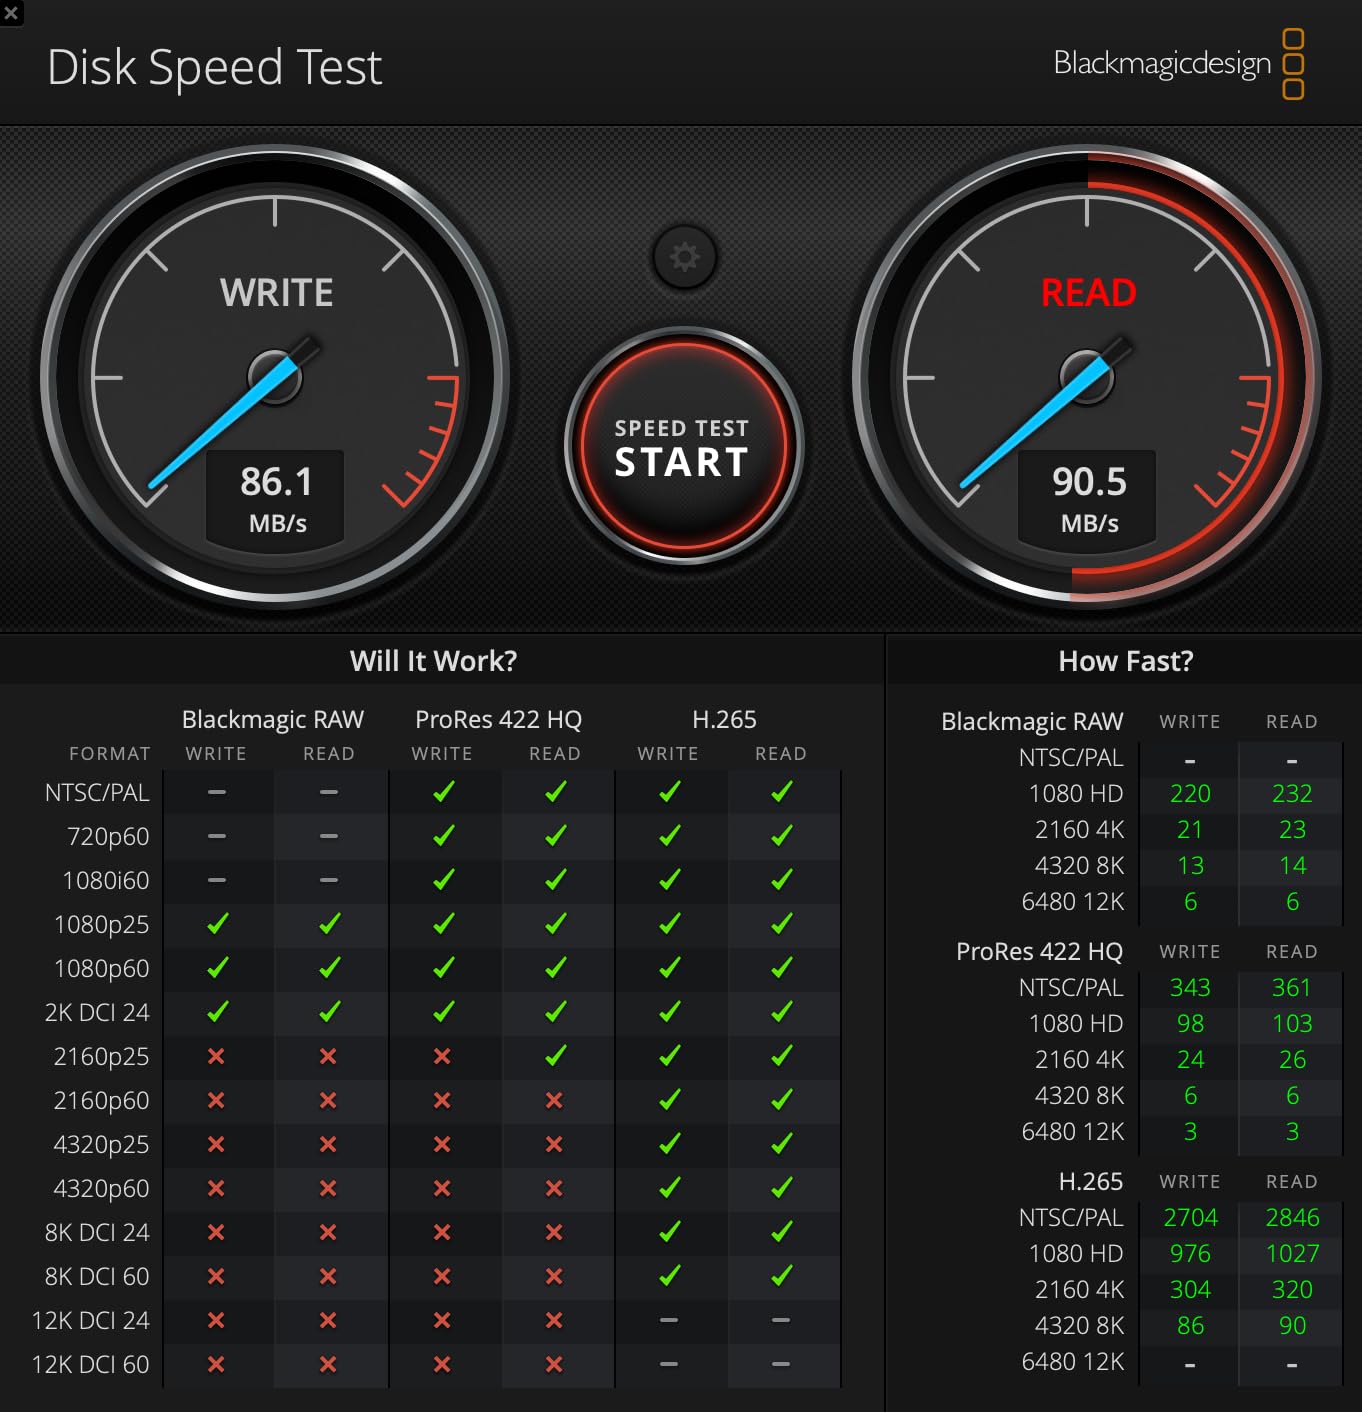
The write speed of 170MB/s is the key spec here. The Air 3S records 5.3K video at high bitrates, and anything slower than a V30 rated card will drop frames or fail entirely. SanDisk rates this card as U3 and V30, which means sustained write speeds above 30MB/s — more than enough for the Air 3S’s recording demands. In my testing, offloading 50GB of footage to my laptop took about four minutes.
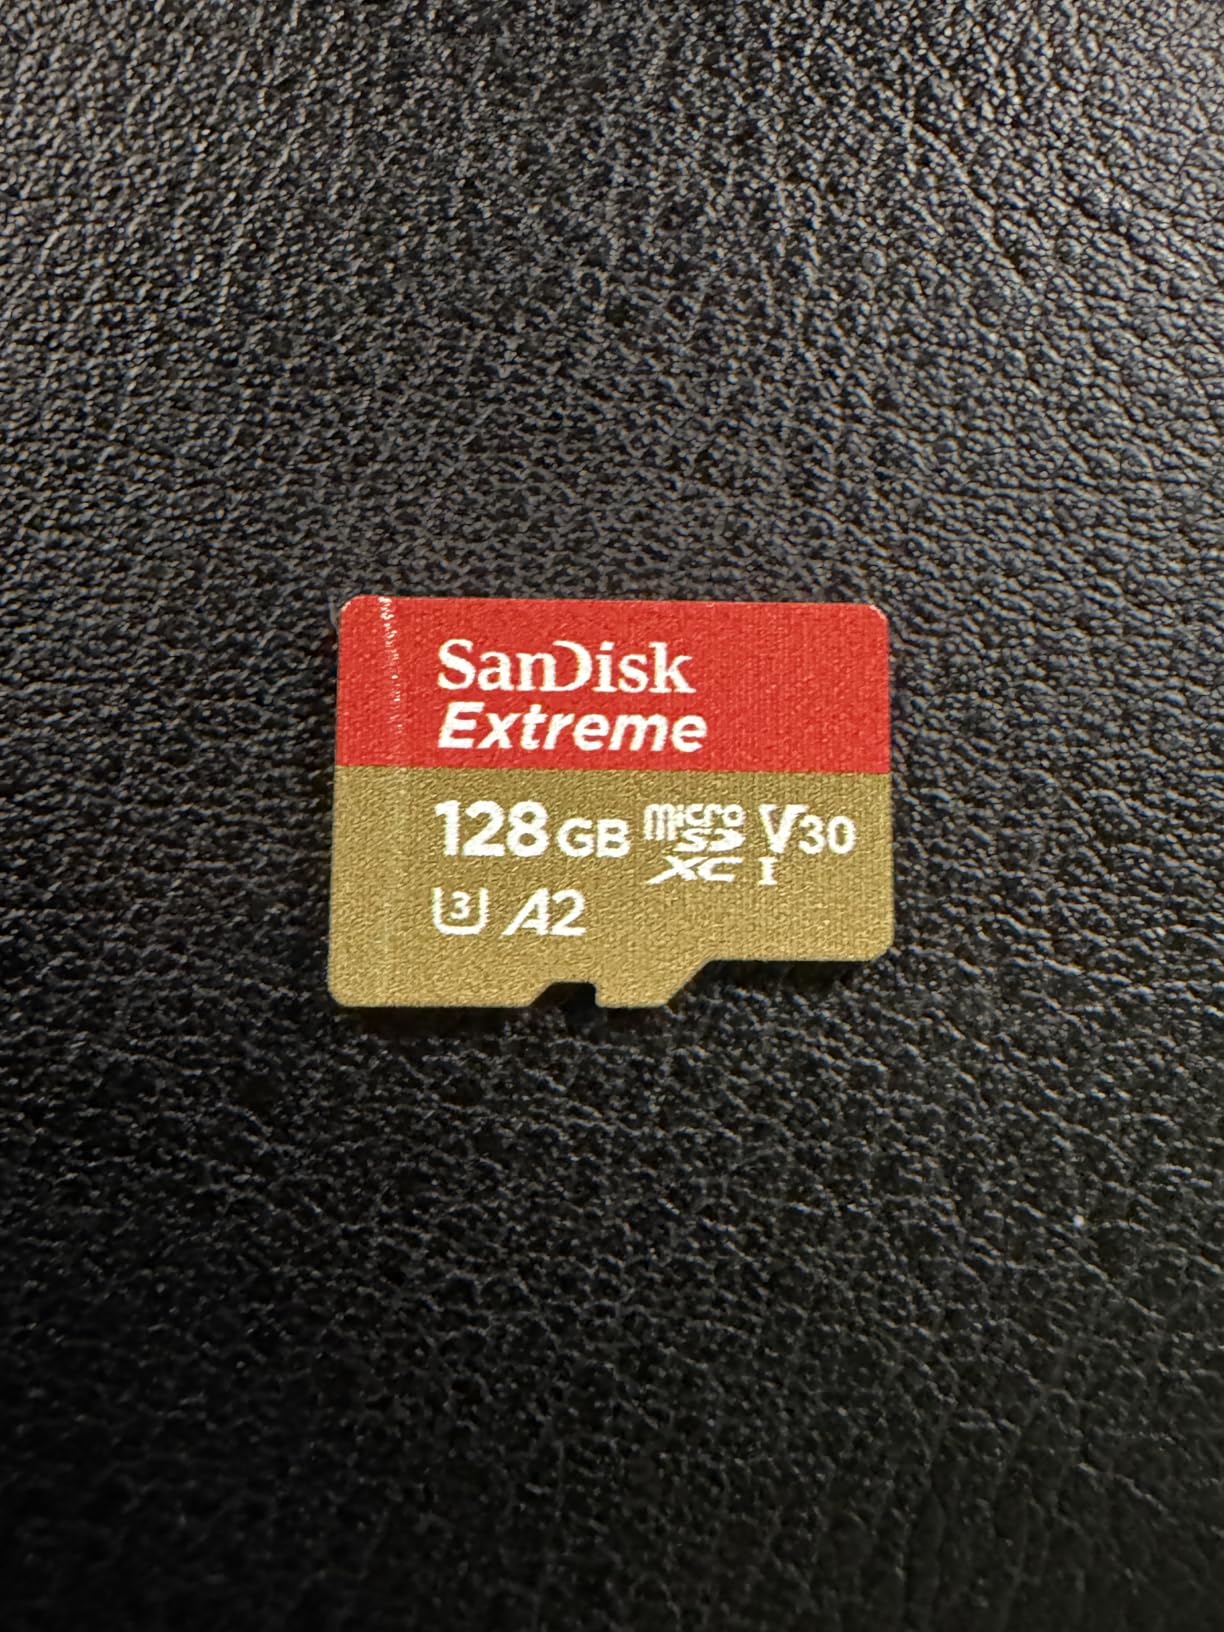
The 256GB capacity hits the right balance for most pilots. At 5.3K resolution, you can store roughly 4 to 5 hours of footage before needing to offload. For a weekend trip, that is plenty. If you shoot primarily photos or 4K video, the card holds even more. SanDisk also makes this card in capacities up to 2TB if you need maximum storage.
The durability specs are impressive on paper — temperature proof, waterproof, shock proof, magnet proof, X-ray proof. I cannot vouch for every claim, but my card has survived being left in a hot car, dropped in sand, and splashed with saltwater. The lifetime limited warranty means SanDisk stands behind the product for as long as you own it.
5.3K Video Performance
The Air 3S is one of the few consumer drones that shoots 5.3K video, and that resolution demands serious write speeds. I tested this card by recording continuous 5.3K footage at the highest quality setting for 20 minutes straight. Zero dropped frames, no buffering warnings, smooth playback on review. The card never felt hot to the touch, which tells me the thermal management is adequate for sustained recording.
One tip from experience: format the card in the drone before each major shoot. This prevents file system fragmentation that can slow down write speeds over time.
Durability and Reliability Over Time
I have been using SanDisk Extreme cards across multiple drones and cameras for over three years. None have failed. The wear-out proof claim refers to SanDisk’s error correction and wear leveling technology, which extends the card’s lifespan by distributing writes evenly across memory cells. For a card that will see heavy use in a drone, this matters.
The only reason to step up to the Extreme Pro version is if you also use the card in a device that writes even faster, like a professional cinema camera. For the Air 3S, this card is more than sufficient.
6. DJI 65W Car Charger — Field Charging on the Go
DJI 65W Car Charger
65W output power
USB-C and USB-A dual ports
PD and PPS protocol support
12V car input
Pros
- Charges battery and controller simultaneously
- Dual ports for multiple devices
- Supports PD and PPS fast charging
- Compact and lightweight
Cons
- Vehicle must be running for charging
- Some report slower than advertised speeds
On a road trip through national parks last fall, the DJI 65W Car Charger became the most important accessory in my kit. Being able to charge batteries between locations while driving meant I always had fresh power ready when I arrived at a scenic viewpoint. It turned what would have been a one-flight-per-day trip into a continuous shooting expedition.
The charger plugs into any standard 12V car outlet and delivers a stable 65W output through two ports — one USB-C and one USB-A. I typically charge one Intelligent Flight Battery through the USB-C port while topping off my phone through the USB-A port. The charger supports both PD (Power Delivery) and PPS (Programmable Power Supply) protocols, which means it fast-charges a wide range of devices beyond just the drone.
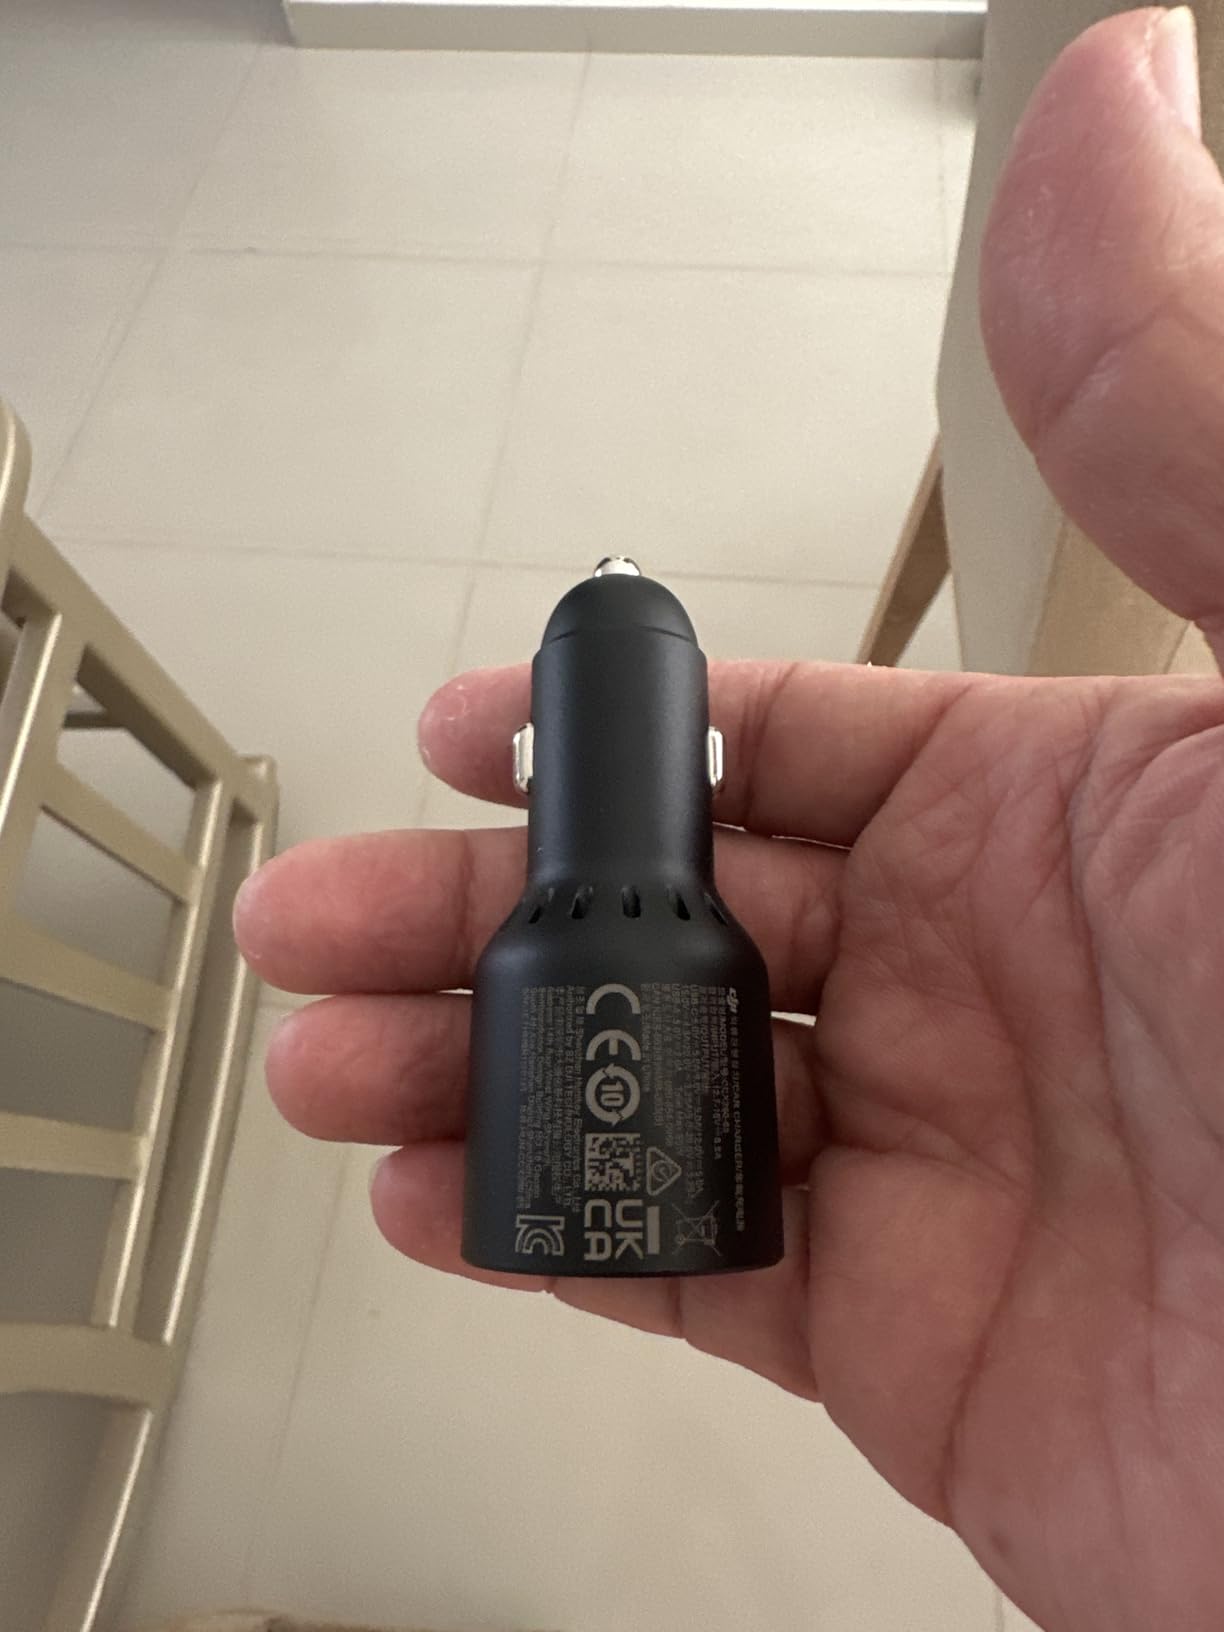
The main thing to know is that your car needs to be running for the charger to deliver full power. The 12V outlet in most vehicles only provides significant current when the engine is on. I made the mistake of trying to charge batteries during a lunch stop with the engine off, and after 30 minutes, the battery had only gained about 10 percent. With the engine running, a full charge takes roughly the same 60 to 70 minutes as it does from a wall outlet.
Some users report charging speeds that feel slower than a wall charger, and my experience confirms this to a minor degree. The car charger delivered about 80 percent of the speed I get from my wall-mounted 65W charger. Still, when you are miles from the nearest outlet, 80 percent speed is infinitely better than zero.
Field Charging Scenarios
The car charger shines on road trips, remote shoots, and any situation where wall power is not available. I have used it at trailheads, parking areas, and even while driving between locations. Paired with the Battery Charging Hub, you can charge three batteries sequentially from your car during a 3-hour drive.
If you use a portable power station or battery box for off-grid shoots, this charger works with those too. Several users on MavicPilots forum have built custom charging setups using portable battery boxes and this car charger as the power source.
Device Compatibility Beyond the Drone
The dual-port design means this is not just a drone accessory. I have used it to charge my laptop, phone, tablet, and camera batteries on the road. The PD protocol supports laptops up to 65W, which covers most ultrabooks and MacBooks. If you travel with multiple devices, this single charger can replace several individual car chargers.
7. STARTRC Screen Protector for DJI RC 2 — Controller Display Protection
STARTRC Mini 5 Pro/Mini 3 HD Tempered Glass Screen Protector Film
9H tempered glass
2-pack included
Anti-scratch and anti-fingerprint
Electrostatic adsorption install
Pros
- 9H hardness resists scratches and impacts
- Easy bubble-free installation
- High clarity and touch sensitivity
- Two protectors included in pack
Cons
- Slightly smaller than the full screen
- Blue or purple tint in certain lighting
- Can attract fingerprints over time
The DJI RC 2 controller has a built-in screen that you will be touching constantly during every flight, and replacing a scratched display means sending the entire controller in for service. For under ten dollars, the STARTRC Screen Protector is the cheapest insurance policy you can buy for your drone gear. I put one on the day I got my controller, and three months later it is still going strong.
The tempered glass has a 9H hardness rating, which means it resists scratches from keys, coins, and anything else that might rub against the controller in your bag. The pack includes two protectors, so you have a spare if the first one gets damaged or if you mess up the installation. I did my first application perfectly on the first try thanks to the electrostatic adsorption technology — no adhesive, no sticky residue, no bubbles.
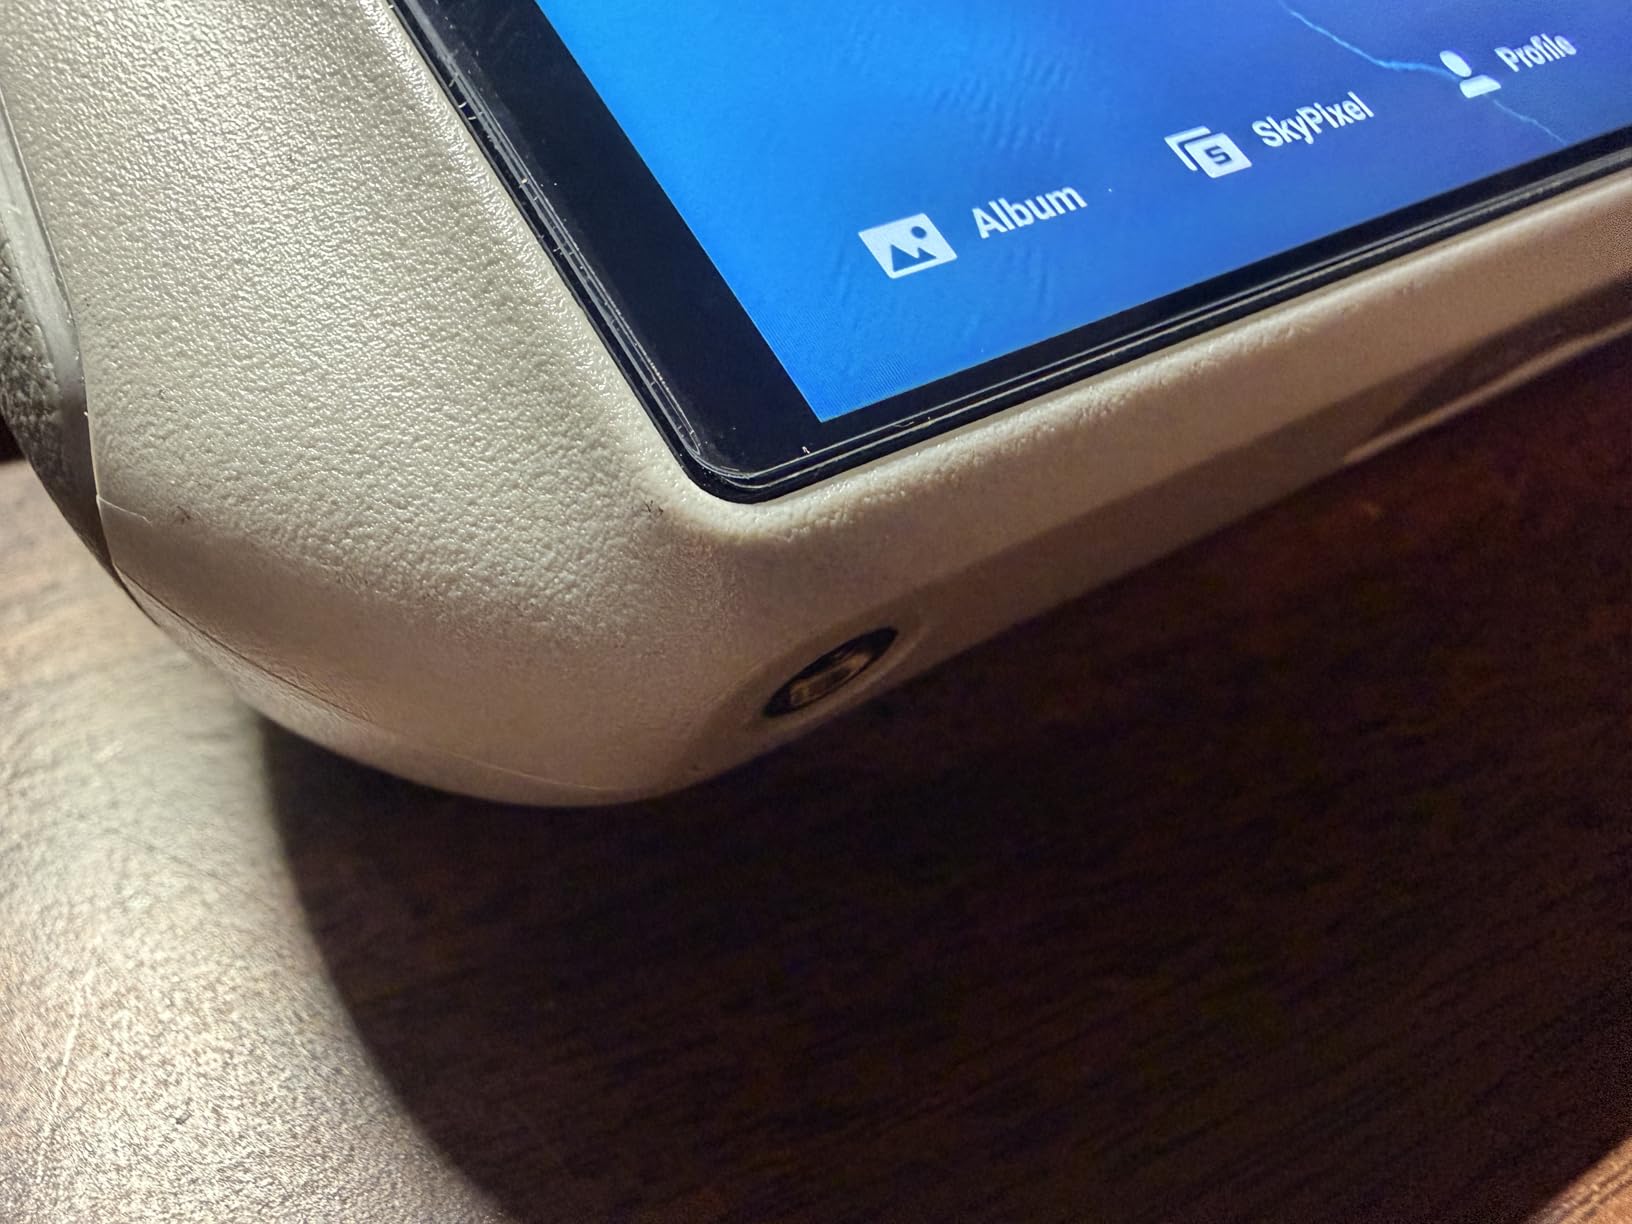
Clarity is excellent. I cannot tell the protector is on when looking at the screen normally. The high transparency rating means no color shift, no pixel distortion, and no reduction in touch sensitivity. All the swipe gestures and taps work exactly as they did before installation.
A few things to note from my experience and from other users. The protector is slightly smaller than the full screen — by about a millimeter on each side. This is intentional to accommodate case edges and make alignment easier, but it does mean there is a tiny unprotected border. Some users also notice a faint blue or purple tint when the screen reflects direct sunlight at certain angles.
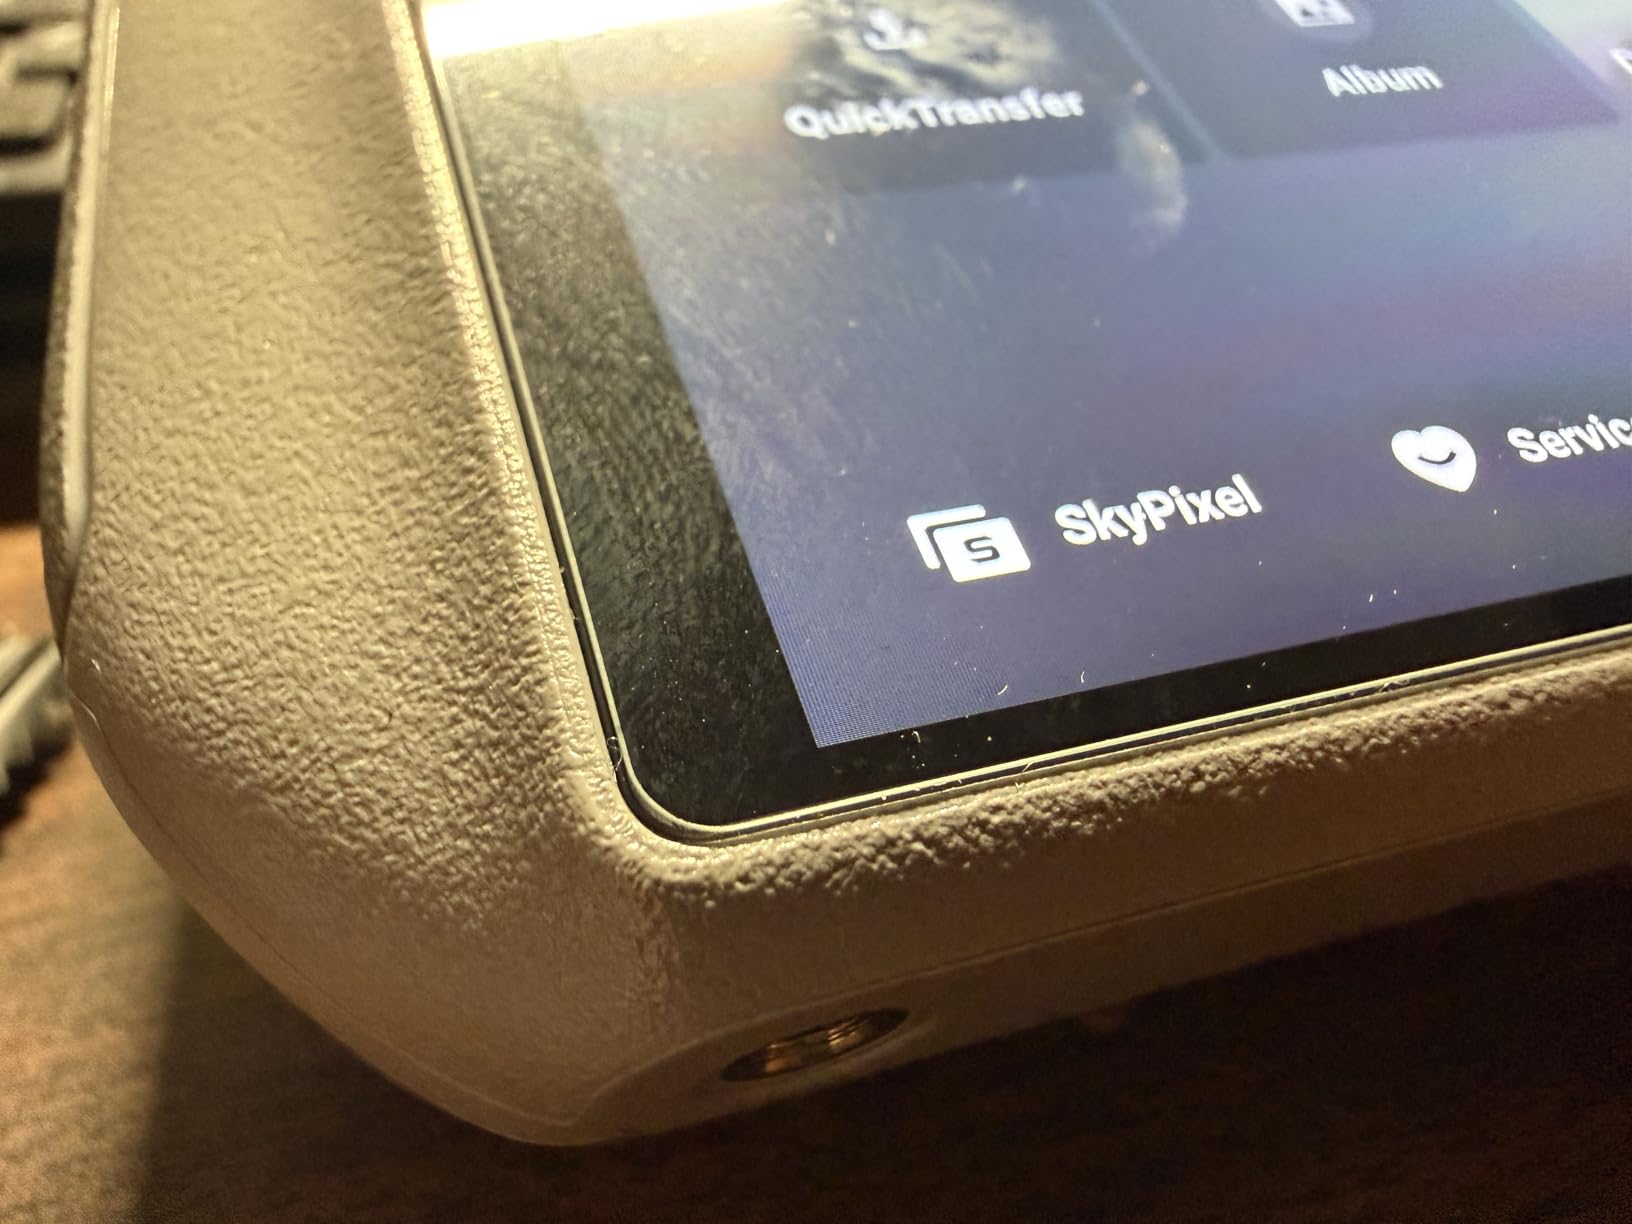
Installation Process
The electrostatic adsorption method is genuinely easy. Clean the screen with the included wipe, peel the backing, align the protector with the screen edges, and let it drop. It adheres automatically without pressing. I had zero bubbles on my first try, and the whole process took under two minutes. If you do get a bubble, lifting the nearest edge slightly and reapplying usually resolves it.
The 2.5D arc corners match the RC 2’s rounded display, so there are no sharp edges catching on your fingers during flight controls.
Protection Quality Over Time
After three months of daily use, my protector has accumulated a few micro-scratches — but those are scratches that would have been on the actual screen. When the protector eventually gets too scuffed up, I will swap in the second one from the pack. At this price, replacing the protector every six months costs less than a single lunch.
The anti-fingerprint coating works for the first few weeks but wears off gradually with use. A quick wipe with a microfiber cloth restores clarity. This is a minor issue and common to all screen protectors at this price point.
8. DJI Air 3S Wide-Angle Lens — Expanded Field of View
DJI Air 3S Wide-Angle Lens
Expands FOV to 114 degrees
Weighs only 11.8g
Manual exposure control
Easy snap-on install
Pros
- Noticeably wider field of view at 114 degrees
- Lightweight at 11.8 grams
- Easy to install and remove
- No visible loss of light quality
Cons
- Linear distortion at image edges
- Can make camera front-heavy
- Requires careful edge framing
The DJI Air 3S Wide-Angle Lens is one of those accessories that changes how you shoot. By expanding the field of view to 114 degrees, it lets you capture sweeping landscapes and tight interior spaces that the stock lens simply cannot fit in frame. I started using it for real estate work and quickly found myself reaching for it on landscape shoots too.
Installation is a simple snap-on mechanism. You line up the lens with the camera and press gently until it clicks into place. Removal is just as easy — a slight twist and pull. The whole process takes about five seconds, which means you can swap between stock and wide-angle between flights without any downtime. DJI designed this specifically for the Air 3S, so the fit is precise with no wobbling or misalignment.

The optical quality is solid for an add-on lens. There is no noticeable reduction in sharpness across the center 80 percent of the frame, and light transmission feels identical to shooting without the lens. Colors render the same, autofocus works normally, and the gimbal handles the extra 11.8 grams without any calibration issues.
Where you will notice the lens is at the edges. Like all wide-angle adapters, there is some linear distortion — straight lines near the frame edges bow slightly outward. This is normal barrel distortion and can be corrected in post-processing, but it is something to be aware of if you shoot architecture or anything with prominent straight lines.
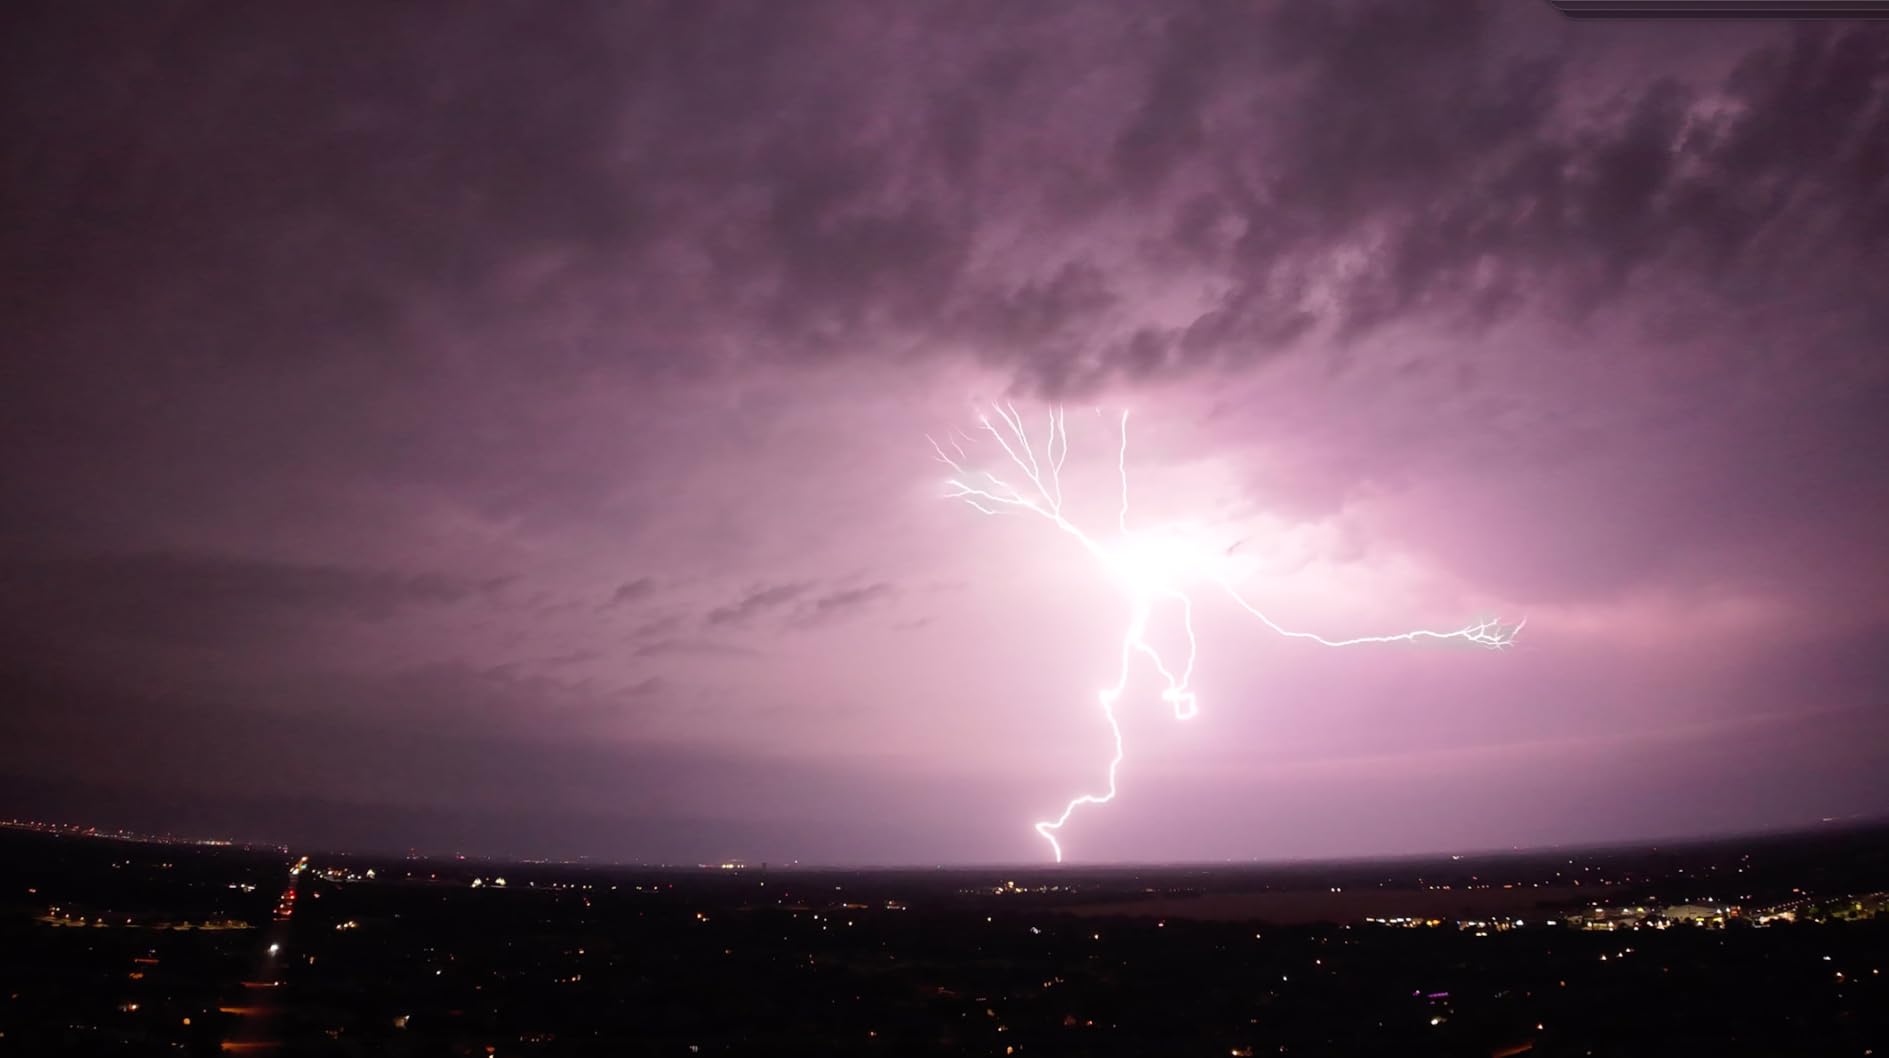
Field of View Expansion
The jump from the stock field of view to 114 degrees is significant. Objects that filled the frame before now have context and breathing room. For landscape photographers, this means you can capture an entire mountain range or coastline in a single shot without stitching panoramas. For real estate work, you can fit an entire room in frame from a doorway position.
The wider view also adds a sense of speed and drama to forward-tracking shots. Flying low over terrain with the wide-angle lens produces footage that feels more immersive and dynamic than the stock perspective.
Best Use Cases for the Wide-Angle Lens
This lens shines in three scenarios. First, real estate and interior photography where space is tight. Second, expansive landscapes where you want maximum field of view without panorama stitching. Third, action and sport-mode flying where the wider perspective adds energy to the footage.
It is less useful for telephoto work (obviously), wildlife photography where you need to zoom in, or any scenario where edge distortion would be problematic. I keep it in my case as a specialized tool rather than a permanent attachment — it takes five seconds to swap when the shot calls for it.
DJI Air 3S Accessories Buying Guide
Choosing the right accessories for your DJI Air 3S depends on how you fly, where you fly, and what you shoot. This buying guide breaks down the key decisions so you can prioritize your spending based on your actual needs rather than buying everything at once.
Understanding the DJI Air 3S Dual-Camera System
The Air 3S has two cameras with different focal lengths and apertures. The wide-angle camera shoots at f/1.8, while the medium telephoto camera shoots at f/2.8. This difference matters for every accessory decision you make, especially ND filters. The wider aperture on the primary camera lets in more light, which means it needs stronger ND filtration to achieve the same shutter speed as the telephoto camera in the same lighting conditions.
This is why split ND filters specifically designed for the Air 3S are so important. They apply different filtration to each lens, keeping exposure balanced when you switch cameras mid-flight. Standard ND filters designed for single-camera drones will give you mismatched exposure between the two cameras.
Split ND Filters Explained: f/1.8 vs f/2.8
The cinematic shutter rule states that your shutter speed should be roughly double your frame rate for natural-looking motion blur. At 30fps, that means 1/60 shutter speed. On a bright sunny day, achieving 1/60 at f/1.8 requires significantly more light reduction than achieving it at f/2.8. The gap between the two apertures is about one full stop, which is why the Freewell Split ND filters pair different ND strengths on the same filter.
If you are confused about which ND level to use, here is a quick reference. ND8 to ND16 for overcast or golden hour. ND16 to ND32 for normal daylight. ND32 to ND64 for bright sun. ND64 to ND128 for extremely bright conditions like snow or water reflections. Having all four levels means you are prepared for any lighting situation.
Battery Management Tips
The Air 3S Intelligent Flight Battery delivers up to 45 minutes of flight time, but real-world conditions usually bring that down to 35 to 40 minutes. If you fly for an hour total per session, you need at least two batteries. For travel shoots where charging is limited, three to four batteries is ideal.
Store batteries at approximately 50 percent charge when not flying for more than a week. Fully charged batteries stored for extended periods degrade faster. The Battery Charging Hub’s power accumulation function is useful for consolidating partial charges into one full battery before heading out.
In cold weather (below 40 degrees Fahrenheit), expect 15 to 20 percent shorter flight times. Keep spare batteries in an inner pocket close to your body to keep them warm before flight. Some pilots use hand warmers in their battery case — a simple trick that costs almost nothing and extends cold-weather flight time significantly.
Storage Requirements for 5.3K Video
The Air 3S records 5.3K video at high bitrates, which eats through storage quickly. A 256GB card holds roughly 4 to 5 hours of 5.3K footage. For a weekend trip, that is usually enough. For longer adventures, consider a 512GB or 1TB card, or bring multiple cards and swap them out.
Always look for cards with V30 and U3 ratings. These guarantee sustained write speeds above 30MB/s, which is the minimum the Air 3S needs for 5.3K recording without dropping frames. Cheaper cards without these ratings may work initially but will fail under sustained recording loads.
Must-Have vs Nice-to-Have: Priority Order for New Owners
If you are building your accessory collection from scratch, here is the priority order I recommend based on three months of testing. First, a carrying case to protect your investment. Second, at least one spare battery. Third, a quality microSD card with adequate capacity. Fourth, ND filters for cinematic footage. Fifth, a screen protector for your controller. From there, add the charging hub, car charger, and wide-angle lens based on your specific shooting style.
One mistake I see frequently on drone forums is new pilots buying every accessory before they have mastered basic flight. Start with the essentials, learn your drone’s capabilities, and add gear as you identify genuine needs. A pilot who knows their gear inside and out will always produce better results than someone with a bag full of accessories they barely understand.
FAQs
What are must-have accessories for DJI Air 3S?
The essential accessories for DJI Air 3S are a carrying case, at least one spare battery, a 256GB or larger V30 microSD card, and ND filters designed for the dual-camera system. A screen protector for the RC 2 controller is also highly recommended as a low-cost investment in protecting your gear.
How many spare batteries do I need for DJI Air 3S?
For casual flying near home, one spare battery (two total) is sufficient. For travel or professional shoots where charging opportunities are limited, three to four batteries total gives you roughly two hours of flying time. The DJI Battery Charging Hub makes managing multiple batteries much easier.
What ND filters are best for DJI Air 3S?
The Freewell Split ND Filter 4-Pack is the best option for DJI Air 3S because it is specifically designed for the dual-camera system with different apertures (f/1.8 and f/2.8). The split design applies different filtration to each lens, keeping exposure balanced when switching between cameras during flight.
What SD card size is recommended for DJI Air 3S?
A 256GB microSD card with V30 and U3 ratings is the recommended size for most DJI Air 3S pilots. This holds approximately 4 to 5 hours of 5.3K video. For extended trips without access to offloading, consider 512GB or 1TB cards. The SanDisk Extreme microSD series is a proven choice among drone pilots.
Is a landing pad necessary for DJI Air 3S?
A landing pad is not strictly necessary but is highly recommended if you fly from grass, sand, gravel, or dusty surfaces. It prevents debris from being kicked up into the gimbal and motors during takeoff and landing. A 30-inch landing pad is a good size for the Air 3S.
Final Thoughts on the Best Accessories for DJI Air 3S
The best accessories for DJI Air 3S are the ones that solve problems you actually encounter in the field. For most pilots, that means starting with a protective case, spare batteries, a quality microSD card, and ND filters built for the dual-camera system. From there, the charging hub, car charger, screen protector, and wide-angle lens each serve specific use cases that become essential depending on your flying style.
Our top recommendation is the DJI Air 3S Intelligent Flight Battery for extending your flying time, paired with the Freewell Split ND Filter 4-Pack for cinematic exposure control. The Lekufee Waterproof Hard Case rounds out the top three as an affordable protection solution that has earned its 4.8-star rating from over 400 pilots. Build your kit around these essentials, and add specialized gear as your flying evolves in 2026.