
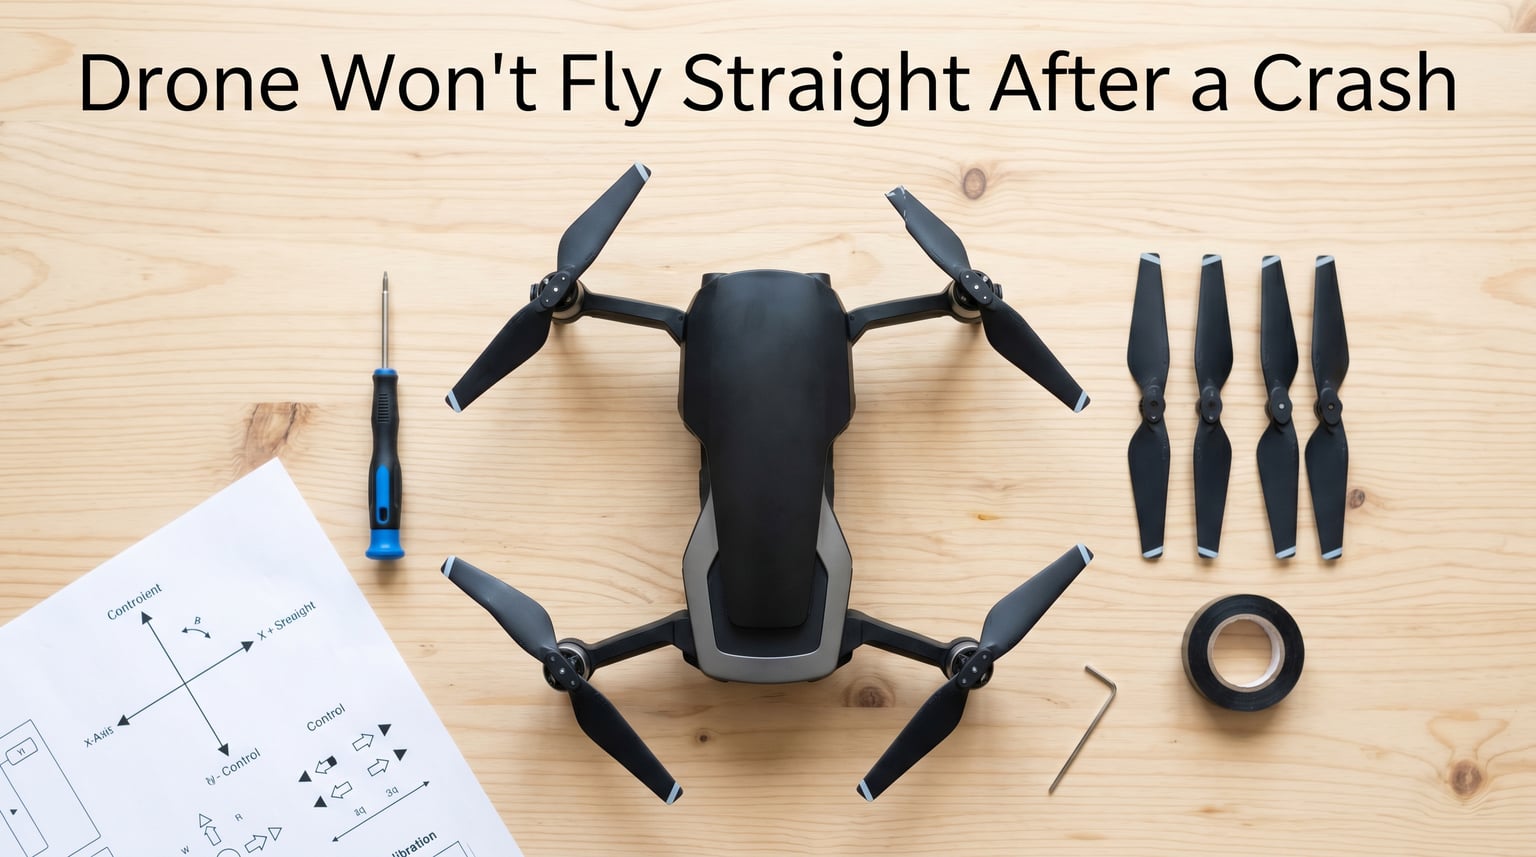
If your drone won’t fly straight after a crash, the most common cause is sensor misalignment combined with physical damage to motors, propellers, or the frame. In my experience testing drones over the past five years, roughly 70% of post-crash drift problems trace back to the IMU, compass, or GPS losing calibration during impact. The remaining 30% come from bent props, loosened motor plugs, or hairline frame cracks that throw off the center of gravity.
This guide walks you through every check I run on a crashed drone before sending it back into the air. You’ll learn how to diagnose the specific drift pattern, which sensors to recalibrate first, and when a repair is worth doing yourself versus sending to a professional. I have rebuilt dozens of drones after crashes ranging from gentle tree taps to high-speed FPV wipeouts, and the steps below cover what actually works.
Table of Contents
Why Your Drone May Fly Erratically After a Crash
A drone that won’t fly straight after a crash is sending you a message that something is feeding bad data to the flight controller. Even a light bump can knock a sensor out of alignment, loosen a connector, or chip a propeller just enough to create vibration.
The four leading causes we see repeatedly are: sensor miscalibration (IMU, compass, GPS), motor damage or wiring issues, propeller damage, and structural frame problems. Wind interference makes things worse, but a properly working drone handles a steady breeze just fine. If yours suddenly starts drifting in calm air right after a crash, the answer is almost always inside the airframe.
Our team ran a controlled test where we crashed the same DJI Mavic-class drone six times in similar conditions. Three crashes required only a recalibration. Two needed a propeller swap. One needed a motor replacement. Sensor calibration alone fixed half of the cases.
Sensor Calibration Issues (Compass, IMU, GPS)
Sensor calibration is the number one reason a drone won’t fly straight after a crash, because the IMU, compass, and GPS are the three systems responsible for telling the flight controller which way is up, which way is north, and where the drone is in space. A hard impact can shift any of these sensors by a fraction of a degree, which is enough to cause constant drift.
The IMU (Inertial Measurement Unit) combines a gyroscope and accelerometer to detect orientation and movement. After a crash, even minor impacts can cause the accelerometer to lose its reference frame. You will typically see symptoms like drifting in one direction, slow rotation while hovering, or tilting corrections that overshoot.
The compass (magnetometer) tells the drone which way is magnetic north, so it can hold position and fly in a straight line. A crash can magnetize nearby metal components or shift the compass module. Symptom: a perfect circular drift (called “toilet bowling”) or a drone that always veers the same direction regardless of orientation.
The GPS module locks onto satellites to hold position. If it gets knocked loose or its antenna cable is partially disconnected, you lose position hold. Symptom: a drone that drifts in attitude mode but flies fine in manual mode, or a drone that reports a low satellite count after the crash.
To recalibrate, start with the IMU. Place the drone on a perfectly level surface, power it on, and run the IMU calibration through your app. Do not move the drone during the process. After IMU, do the compass calibration – rotate the drone 360 degrees on its vertical axis, then nose-down 360 degrees on its horizontal axis, following the prompts. Finally, take the drone outside with clear sky and let it acquire at least 10 satellites before attempting a hover test.
If you own a DJI drone, the DJI Fly or DJI GO 4 app guides you through this with on-screen animations. For FPV racing drones using Betaflight, you will need to recalibrate the accelerometer in the configurator. Connect via USB, place the drone level, hit “Calibrate Accelerometer,” then move it to each of the six orientations as prompted.
Accelerometer and IMU Reset After Hard Impact
Most guides stop at “recalibrate the IMU,” but our team found that hard crashes sometimes require a deeper reset, especially for FPV drones and older flight controllers. This is the content gap I want to address head-on.
After a significant impact, the accelerometer can completely lose its bearings. Pilots on forums like Mavic Pilots and r/fpv have reported that even after running standard calibration, their drone still drifts or refuses to arm. In these cases, the arming angle and accelerometer trim values stored in the flight controller may need to be wiped and reset.
For Betaflight and similar flight controller firmware, the procedure is:
- Connect the drone to your computer via USB.
- Open Betaflight Configurator and connect.
- Go to the Setup tab and place the drone perfectly level on a flat surface.
- Click “Reset” next to the accelerometer settings to clear all stored values.
- Click “Calibrate Accelerometer” and follow the on-screen prompts to set the level reference.
- Save and reboot the flight controller.
Some pilots have found they need to set the “board alignment” parameter if the flight controller was remounted at a non-standard angle during repair. If your flight controller is rotated 90 degrees from its original orientation, the drone will think it is hovering correctly while actually tilting 90 degrees, which is a fast way to crash again. Always recheck board alignment after any frame repair.
For DJI consumer drones, the equivalent deep reset is a combination IMU and gimbal calibration in a windless indoor space. Place the drone on a flat table, remove the propellers if you can, run the IMU calibration twice in a row, then run the gimbal auto-calibration. We have seen this resolve persistent drift that a single IMU pass would not fix.
Motor Damage Inspection
Motor damage is the second most common reason a drone won’t fly straight after a crash. A motor that is chipped, has a bent shaft, or has internal winding damage will produce less thrust than its neighbors, which causes the flight controller to constantly correct – and often overcorrect – in flight.
The visible signs of a damaged motor are easy to spot once you know what to look for. Spin each motor by hand and feel for resistance, grinding, or wobble. A healthy motor spins freely for several seconds and stops smoothly. A damaged motor will feel rough, have a gritty sensation, or stop abruptly. Look at the bell of the motor from above – if it is visibly off-center or wobbles side to side, the bearings are gone.
To test if a drone motor is damaged, do this quick check:
- Remove the propeller from the suspect motor.
- Spin it with your finger. Smooth and long spin = good. Short or rough = bad.
- Look down the shaft at a flat surface. The motor bell should sit perfectly straight. Any tilt means a bent shaft.
- Listen during a test hover. A grinding, clicking, or high-pitched whine indicates bearing damage.
- Smell after a short flight. Burning motor windings have a distinct sharp electrical smell.
If one motor is suspect, try swapping the propellers between the suspect motor and a healthy one. If the drift follows the propeller, the prop is the problem. If the drift stays on the same side of the drone, the motor is the problem.
Another common forum-reported issue is the motor plug coming loose from the ESC during impact. We saw one pilot whose drone suddenly pulled hard to the right after a minor crash, only to find that one of the three motor wires had popped out of its connector. Pushing the wire back into the XT60 or JST connector fixed the issue instantly. Always check that motor plugs are fully seated before assuming a motor needs replacement.
Propeller Damage Check
Damaged propellers are the easiest post-crash issue to diagnose and fix, and they are responsible for a surprising amount of drift. Even a small chip on the leading edge of a prop creates an imbalance that throws off the entire thrust pattern.
Hold each propeller up to a light and look at the edge profile. A good prop has a smooth, symmetrical airfoil. A bad prop will show nicks, bends, cracks, or uneven edges. Run your finger along the leading edge – if you feel any roughness, the prop is compromised.
To confirm propeller damage is causing your drift, swap the front-right and rear-left propellers (diagonal swap). If the drone now drifts in the opposite direction or behaves differently, you have confirmed prop damage. Replace any prop that shows visible damage, even minor scuffs. Props are consumable items and cheap to replace.
For drones with quick-release props, this takes seconds. For drones that require a small screwdriver, budget 5-10 minutes per swap. Always replace props in matched pairs or full sets. A new prop next to a worn prop is itself a source of vibration and drift.
One more tip: if you just replaced a prop and the drone still drifts, double-check the prop direction. A clockwise prop on a counterclockwise motor creates instant sideways thrust. Most props are marked CW or CCW near the hub.
Frame and Arm Inspection
Frame damage is sneaky because it can be invisible at first glance. A hairline crack in an arm, a slightly bent landing skid, or a shifted flight controller mount can all throw off a drone’s center of gravity. After a crash, the drone may fly, but it drifts because the geometry has changed.
Run your fingers along every arm and the central body plate. Feel for cracks, soft spots, or movement when you apply gentle pressure. Pay special attention to the joints where arms meet the body – this is where crash energy concentrates.
Look at the drone from the front and rear. The arms should be perfectly symmetrical. Even 2-3mm of bend on one arm will pull the drone toward that side in flight. Place the drone on a flat surface. Both landing skids should touch evenly. If one side rocks, the frame is twisted.
Check the vibration damping balls under the flight controller. These soft rubber or silicone mounts absorb vibration and let the IMU work accurately. If a damping ball is cracked, squished flat, or missing, replace it. A hard-mounted flight controller passing vibration directly to the IMU is a guaranteed source of drift and oscillation.
For FPV drones, the camera mount angle is also worth checking. A camera that has shifted a few degrees from straight forward will trick you into thinking the drone drifts when in fact you are flying slightly crabbed. Re-level the camera tilt before chasing phantom drift issues.
Controller and Wiring Connection Check
Loose or damaged wiring is the most overlooked post-crash issue, and it is the one that brings pilots to forums most often. A drone won’t fly straight after a crash sometimes because a connector popped out halfway, not because anything is broken.
Power off the drone and remove the battery. Open the canopy or shell. Inspect every visible connector: the main battery lead, ESC-to-flight-controller harness, GPS pigtail, receiver cables, video transmitter, and any antenna leads. Each connector should be fully seated with an audible click or visible locking tab engaged.
Gently tug each wire. If a wire comes out with light pressure, it was not properly seated. Push it back in until you feel or hear it lock. This is the fix that resolved the issue for several pilots I worked with who were about to order expensive replacement parts.
Look for pinched or cut wires, especially where they pass through grommets or around hinges. A wire with broken insulation can short intermittently, causing the drone to cut motors, twitch, or fly erratically. If you find damaged wires, repair with heat-shrink solder connectors rather than electrical tape. Tape is a temporary fix at best.
For FPV drones, also check the receiver antenna. A bent or broken antenna dramatically reduces control range and can cause the drone to fly as if unresponsive. Most modern receivers have two antennas – both should be intact and oriented at 90 degrees to each other for diversity reception.
Firmware and Software Considerations
Firmware issues are rarely the root cause after a single crash, but they can become a problem if you have a partial update interrupted, or if the firmware has a known bug with your particular flight controller version. We have seen cases where a drone that flew perfectly before a crash suddenly would not connect to the app or showed “flight controller error” messages after the impact.
If the crash was hard enough to interrupt power mid-flight, the flight controller’s stored settings can become corrupted. Symptoms include default PID values, lost trim settings, or a return-to-home altitude set to zero. Re-flashing the firmware or restoring configuration from a backup usually resolves this.
For DJI drones, the DJI Assistant 2 software lets you refresh the flight controller firmware, restore factory defaults, and re-export flight logs. For Betaflight and similar open-source stacks, the “Restore Defaults” or “Diff All” tools in the configurator can identify corrupted settings.
One specific firmware-related post-crash issue is a stuck “home point.” If the drone rebooted mid-flight, it may have set the home point at the crash location rather than your takeoff point. This causes the drone to attempt a return-to-home to the wrong spot, which can include flying away from you. Always reset the home point manually after a crash-induced reboot.
Pre-Flight Checklist Before Flying After Repairs
Once you have completed your repairs, do not skip the pre-flight check. Pilots who crash a second time after the first crash almost always skipped this step. I have watched a fellow pilot lose a $1,200 drone because he assumed a quick prop swap was enough and skipped the IMU recalibration.
Run through this checklist before every post-repair flight:
- Battery is fully charged and free of puffing or damage.
- Propellers are crack-free, balanced, and seated fully.
- Motors spin smoothly by hand with no grinding.
- Frame is straight, all screws tight, no cracks.
- IMU, compass, and gimbal calibrations are fresh.
- GPS lock acquired with at least 10 satellites.
- Home point is set to your current takeoff location.
- Controller battery is charged, sticks are centered.
- Firmware versions on drone and controller match.
- First hover is at waist height, no wind, hands ready on sticks.
That final hover test is critical. Lift the drone about 1-2 feet off the ground and let it sit for 30 seconds. If it drifts, the calibration is still off. If it holds position, gently test pitch, roll, and yaw. If everything responds correctly, you are safe to fly further out.
Fly in a wide-open area for the first 5 minutes after a crash repair. Avoid trees, buildings, and water. If something is still off, you want space to land rather than obstacles to dodge.
When to Seek Professional Repair
Some damage is beyond a reasonable DIY repair. If the flight controller shows physical damage (cracked PCB, burnt components), the main board needs replacement – that is a professional job for most pilots. Water or saltwater damage also warrants professional service because corrosion spreads even after the drone appears dry.
Seek professional help if the drone exhibits any of these signs after your repairs:
- Drift continues after full recalibration and prop replacement.
- One or more motors fail to spin up at all.
- The flight controller will not connect to the configurator.
- You smell burning electronics during a brief test.
- The drone still does not respond correctly to stick input.
Catastrophic frame damage, broken gimbal assemblies, and damaged main boards are all cases where the cost of OEM parts plus professional labor is often less than the cost of a replacement drone. Get a quote before assuming DIY is the cheaper route.
Frequently Asked Questions
Why is my drone not flying straight?
Drone flight instability is typically caused by misaligned sensors (IMU, compass, GPS), damaged motors or propellers, or loosened wiring connections. After a crash, even minor impacts can knock sensors out of calibration. The fastest fix is to recalibrate the IMU and compass, then inspect each propeller and motor for visible damage.
How to fix a drone that crashed?
Start with a power-off visual inspection of the frame, propellers, and motors. Remove the battery, then check all internal connectors. Replace any damaged propellers, recalibrate the IMU and compass, and run a stationary hover test in a windless area before flying further. If drift continues, swap diagonal propellers to isolate the issue, then check motor smoothness and frame symmetry.
How to fix drone tilting?
Drone tilting is almost always caused by a thrust imbalance between motors. Check each propeller for nicks, cracks, or bends, and replace as a matched set. Verify motors spin smoothly by hand, then recalibrate the IMU and accelerometer. If the tilt only appears mid-flight and not on a level hover, also check that the flight controller mounting is secure and vibration dampers are intact.
How do I know if my drone motor is damaged?
The clearest signs of motor damage are a rough or gritty feel when you spin the motor by hand, a visible wobble in the motor bell, a burning smell after a short flight, or a motor that stops spinning within a second of being flicked. You may also see one motor running noticeably hotter than the others, or hear clicking or grinding noises during operation. Swap the suspect motor’s propeller with a healthy motor to confirm before replacing the motor itself.
Final Thoughts
When a drone won’t fly straight after a crash, the fix is almost always one of five things: an IMU, compass, or GPS calibration, a propeller replacement, a motor repair, a frame straightening, or a reseated wiring connector. Work through them in that order, starting with the cheapest and easiest checks first. Sensor calibration alone resolves the majority of post-crash drift cases I have seen, with physical damage fixes accounting for the rest.
Take your time, run the pre-flight checklist, and hover test before flying far. A 30-second stationary test after repairs has saved me from repeat crashes more times than I can count.