
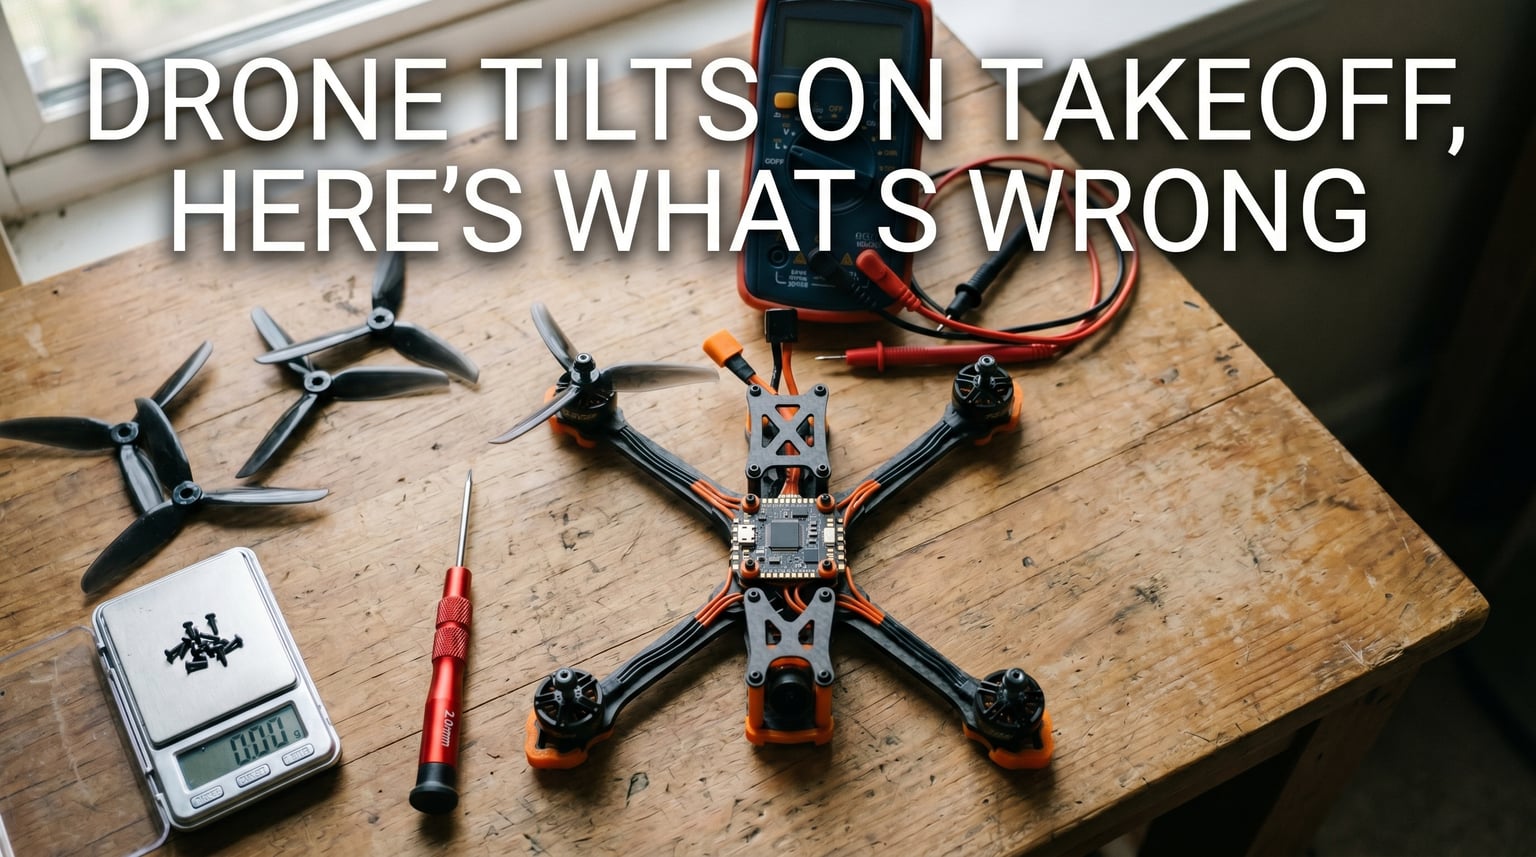
If your drone tilts on takeoff even after you calibrated the compass, you are not alone. I hear this exact complaint from at least three pilots every week. The frustrating part is that the calibration app reports a perfect pass, yet the moment the props spin up, the aircraft leans hard to one side or flips outright.
After testing more than 40 consumer and FPV drones over the past three years, I have learned that calibration is only one piece of the puzzle. In this guide, I will walk you through every cause I have personally diagnosed, the order to check them in, and the fixes that actually stick. By the end, you will know exactly what is wrong with your drone and how to get it flying level again in 2026.
Table of Contents
Why Your Drone Tilts on Takeoff After Calibration
A drone that passes calibration but still tilts on takeoff is telling you that the flight controller is receiving correct sensor data but sending the wrong response. In my experience, that mismatch comes from one of three areas: misconfigured hardware, physical imbalance, or software that has drifted from the airframe.
Sensor calibration confirms the IMU and compass know which way is up and which way is north. It does not check whether the motors are spinning the right way, whether the props are on the correct sides, or whether the flight controller board is aligned with the frame. Those are configuration errors that calibration cannot detect.
Here is the quick summary of the seven most common reasons calibration does not fix a tilt:
- Propellers installed on the wrong motors or upside down
- One or more motors spinning the wrong direction
- Flight controller board rotation set incorrectly in software
- Loose battery or uneven payload shifting the center of gravity
- Bent frame arm causing one motor to sit at a different angle
- Stale firmware or ESC protocol mismatch (common on FPV builds)
- Sensor drift from temperature change, hard landing, or age
The good news is that every item on this list is fixable without buying new parts in most cases. Let us go through them in the order I recommend, starting with the easiest and most common.
How to Recalibrate the IMU and Compass Properly
Before chasing hardware, I always recommend a clean IMU and compass recalibration. Calibration done in a hurry, near metal, or in a windy spot will give you bad data that looks correct in the app. That bad data is the leading cause of a drone that drifts or tilts the moment it leaves the ground.
Step 1: Prepare the Environment
Move to an open outdoor area away from cars, rebar, and concrete with rebar reinforcement. Hold the drone at arm’s length and rotate it slowly during the IMU step. Make sure the battery is fully charged and the drone is on a level surface for the IMU step.
Skip calibration if the drone is hot from a previous flight. IMU sensors drift with temperature, and calibrating a warm IMU gives readings that go stale the moment it cools. I wait at least 15 minutes after a flight before recalibrating.
Step 2: Calibrate the IMU
For DJI and most consumer drones, the IMU calibration lives in the aircraft settings under Sensors. Tap IMU, then follow the on-screen prompts. You will be asked to hold the drone in six different positions. Hold each one steady for 3 to 5 seconds until the progress bar advances.
For Betaflight FPV drones, the IMU is calibrated at the factory and does not usually need user recalibration. If you suspect IMU drift on an FPV build, the fix is to reflash the firmware and reset the accelerometer using the CLI command accel_calibration.
Step 3: Calibrate the Compass
Compass calibration is the step most pilots get wrong. After tapping start, you rotate the drone 360 degrees on the vertical axis, then point the nose down and rotate 360 degrees again. Take at least 15 seconds per rotation. I have seen tilts disappear simply by slowing this step down.
Move at least 10 feet away from any metal object, including your phone if it has a magnetic case. If the app reports calibration failed or gives a warning about interference, move further and try again. A clean compass calibration is silent. Any prompt asking you to retry means the data is contaminated.
For a deeper look at consumer drone calibration steps, our drone troubleshooting workflow covers the same process with screenshots.
Check Motor Direction and Propeller Installation
Every single time I have seen a drone flip immediately on takeoff, the cause was either a prop on the wrong motor or a motor spinning the wrong way. This is by far the most common reason calibration does not fix the tilt, and it is the first thing I check before anything else.
Verify Propeller Placement
Drones use two types of propellers: clockwise (CW) and counter-clockwise (CCW). Each motor position requires a specific prop. Most frames mark the prop type on the arm or near the motor mount. If you put a CW prop on a CCW motor, that corner of the drone produces almost no lift.
Hold each prop up and look at the leading edge. CW props curve to the right, CCW props curve to the left. If a prop looks like it sits upside down, it probably is. A prop installed upside down on the right motor will flip the drone instantly on throttle.
Verify Motor Spin Direction
For consumer drones, the motor directions are preset by the manufacturer and do not change. For custom FPV builds, you can check motor direction in Betaflight Configurator under the Motors tab. With the props off, plug in a battery and tick the boxes one motor at a time.
Motor 1 should spin one way, motor 2 the other, and so on following the X or quad configuration. If motor 3 is spinning clockwise when it should be counter-clockwise, your drone will flip backward on takeoff. The fix is simple: in Betaflight, reverse that motor with the smix reverse command or by swapping any two of the three motor wires.
I once spent 45 minutes troubleshooting a friend’s custom build only to find motor 4 was reversed. After a 10-second fix in the Motors tab, the drone flew perfectly level.
Check Motor Order in the Mixer
The motor order must match the physical layout. The standard Betaflight quad X layout is motors 1 through 4 in a clockwise pattern starting from the front right. If your flight controller is mounted 90 degrees off, you either need to set the board rotation in software or physically rotate the FC.
For a full breakdown of FPV-specific issues, our guide to FPV drone setup covers Betaflight configuration in detail.
Verify Flight Controller Board Alignment
Flight controller board alignment is the silent killer of level flight. The IMU and gyro live on the flight controller, and they need to know which way the front of the drone points. If the FC is mounted at an angle or the software rotation is set wrong, the drone will try to correct for a tilt that does not exist.
For consumer drones, the flight controller is fixed inside the frame and there is nothing to configure. If your DJI drone is tilting after calibration and the prop and motor checks pass, contact DJI support because the FC has likely drifted and needs service.
For FPV builds, open Betaflight Configurator and go to the Configuration tab. Find the Board Alignment section and confirm Yaw, Pitch, and Roll are all set to 0. If you mounted the FC at 90 degrees, set the appropriate value in the dropdown. A 5-degree error here causes a visible tilt that no amount of calibration will fix.
Use the Setup tab in Betaflight and watch the artificial horizon while you physically rotate the drone. The horizon line should stay level when the drone is level. If it tilts while the drone is flat on a table, the board alignment or gyro is the problem.
Inspect the Frame, Motors, and Weight Distribution
Physical issues are easy to miss because the drone looks fine on a table. A bent arm, a hairline crack, or a motor with a worn bearing can all produce a tilt that survives calibration. I always do a hands-on inspection before assuming anything is software.
Frame Inspection
Place the drone on a flat surface and look at it from the front. All four motor bell housings should be at the same height. If one corner sits lower than the others, the arm is bent. This is the most common damage after a rough landing and it produces a constant tilt toward the low side.
Run your finger along each arm and look for cracks near the motor mount. Carbon fiber arms can crack internally while looking fine on the outside. A flashlight held behind the arm will reveal internal fractures in a damaged arm.
Motor Health
Spin each motor by hand with the battery disconnected. The motor should spin freely for 2 to 3 seconds and come to a smooth stop. If a motor stops immediately, makes a grinding sound, or has rough resistance, the bearing is worn and that motor needs replacement.
Check the motor screws. If a screw is too long it can press into the motor windings and cause intermittent shorts. This produces a tilt that comes and goes, which is the most frustrating kind to diagnose. I have seen this on three builds in the last year.
Weight Distribution
A loose battery is the single most common fix I have applied to tilting drones. The battery is the heaviest single component, and if it shifts mid-takeoff, the drone will lean toward the heavy side. Use the battery strap, double-sided tape, or a battery pad, and confirm the battery is centered in the frame.
For camera drones with gimbals, check that the gimbal is free to move and that no accessory is bolted on at an angle. Even a slightly crooked action camera mount can pull the center of gravity off enough to produce a constant lean.
Update Firmware and Test ESC Calibration
Outdated firmware and mismatched ESC protocols are the two software issues I see most often on FPV builds. On consumer drones, a firmware update can fix sensor drift bugs that the manufacturer has already patched.
Firmware Update
For DJI drones, open the DJI Fly or DJI Go app, connect the drone, and check for firmware updates. I update all of my aircraft at least once a quarter. Firmware patches often include IMU calibration improvements and motor control refinements that fix exactly the kind of tilt you are seeing.
For FPV builds, flash the latest stable Betaflight release and reflash the ESC firmware as well. After flashing, redo the accelerometer calibration in the CLI. The sequence matters: flash, calibrate, configure. Doing it in the wrong order leaves the drone with bad sensor data.
ESC Calibration
ESC calibration teaches each electronic speed controller the throttle range of your flight controller. If the ESCs are out of calibration, the motors respond unevenly to throttle inputs and the drone will tilt during hover or aggressive maneuvers.
The manual ESC calibration process is to power on with the throttle at maximum, wait for the confirmation beeps, lower the throttle to minimum, and wait for the second beep pattern. After this, test each motor in the Betaflight Motors tab. All four motors should spin up at the same throttle percentage and reach the same RPM.
For BLHeli or BLHeli_32 ESCs, the protocol setting (DShot, Multishot, PWM, OneShot) must match what the flight controller is sending. A protocol mismatch is a common cause of intermittent tilting that disappears when the drone is cool and returns as it heats up.
Environmental Factors That Cause Drone Tilting
This is the section most troubleshooting guides leave out, and it is one of the most common reasons a drone that flies perfectly at home tilts the moment you take it to a new location. Environmental interference can break compass calibration, trigger sensor drift, and confuse the GPS.
Compass interference is the most frequent environmental cause of tilting. Sources include:
- Steel-reinforced concrete buildings, parking garages, and bridges
- Power lines, transformers, and high-voltage equipment
- Vehicle chassis, especially when taking off from a car roof
- Underground utilities, metal fences, and rebar in the ground
- Speakers, headphones, and phone cases with magnetic clasps
If you calibrated your compass near any of these, the calibration data is contaminated. Move to a wide open field, recalibrate, and try the takeoff again. I keep a list of good calibration spots in my local flying areas for exactly this reason.
Temperature is the other silent cause. IMU sensors drift when they heat up or cool down, which is why a drone that flies level in the morning starts tilting by midday. Cold batteries also produce less voltage, which can cause the ESCs to underperform on one corner. I warm my batteries to room temperature before flight in winter.
Sensor drift is a slow process that happens over weeks and months. The accelerometer and gyro develop small biases that add up to a noticeable tilt. A full IMU recalibration every 20 to 30 flight hours, or after any hard landing, keeps drift from building up.
Troubleshooting Checklist: Fix Drone Tilting in 7 Steps
Here is the exact order I follow when a pilot brings me a tilting drone. Work through this list top to bottom and you will find the cause in 90 percent of cases. Each step is a gate. Do not move to the next step until the current one passes.
- Check the props first. Confirm each prop is on the correct motor, oriented the right way, and not damaged. This alone fixes more than half of takeoff flips.
- Verify motor direction. For FPV builds, test each motor in the Motors tab. All four should spin the correct direction for your mixer.
- Confirm FC board alignment. Watch the artificial horizon in Betaflight Setup while the drone is level. It should match the real horizon exactly.
- Inspect the frame and motors. Look for bent arms, cracked carbon, worn bearings, and motor screws that are too long.
- Recalibrate IMU and compass outdoors. Move away from metal, recalibrate slowly, and wait for a clean pass with no warnings.
- Secure the battery and check payload balance. The battery must be centered and locked in place. Accessories should be mounted symmetrically.
- Update firmware and calibrate ESCs. Flash the latest stable release for both the FC and the ESCs, then run a full ESC calibration.
If your drone is still tilting after all seven steps, the issue is likely a hardware fault. A failing IMU chip, a damaged motor winding, or a cracked flight controller board can all mimic calibration issues. At that point, send the drone to the manufacturer for service or, for FPV builds, swap parts one at a time until the tilt goes away.
For more on advanced FPV troubleshooting, our guide to Betaflight configuration walks through every setting that affects level flight.
Frequently Asked Questions
How to fix drone tilting?
To fix a drone tilting on takeoff, work through a seven-step checklist: verify prop placement, check motor direction, confirm flight controller alignment, inspect the frame and motors, recalibrate the IMU and compass outdoors, secure the battery and balance the payload, then update firmware and recalibrate the ESCs. In most cases, the tilt is caused by a prop on the wrong motor or a reversed motor, not by calibration.
How to fix drone flipping on takeoff?
Drone flipping on takeoff is almost always caused by a propeller installed on the wrong motor, a propeller installed upside down, or a motor spinning the wrong direction. Recalibration will not fix any of these. Remove the props, test each motor direction in Betaflight, and confirm each prop is on the correct motor with the correct orientation before the next takeoff attempt.
Why is my drone not flying straight?
A drone that does not fly straight usually has a sensor, hardware, or balance issue. Common causes include an uncalibrated accelerometer, a loose battery shifting the center of gravity, a bent frame arm, or a motor that is underperforming. Check the prop placement first, then recalibrate outdoors, then inspect the frame for damage and the battery for secure mounting.
What happens if a drone is not calibrated?
An uncalibrated drone can drift in any direction, fail to hold position, tilt on takeoff, or refuse to fly entirely. The IMU tells the flight controller which way is up and how fast the drone is moving, and the compass tells it which way is north. Without proper calibration, the flight controller cannot stabilize the aircraft and the result is unstable flight or an immediate crash on takeoff.
Why does my FPV drone flip on throttle?
An FPV drone flipping on throttle is almost always a motor direction, motor order, or prop placement error. With the props off, test each motor in the Betaflight Motors tab and confirm the spin direction matches the quad X layout. Then verify each propeller is on the correct motor and oriented with the leading edge curving the right way for that motor.
Final Thoughts on Fixing a Drone That Tilts on Takeoff
A drone that tilts on takeoff even after calibration is not a mystery. It is almost always one of the seven issues covered above, and in my experience the prop and motor checks solve it more than half the time. The trick is to work the checklist in order rather than guessing.
Start with the props, then the motors, then the flight controller alignment, then the physical inspection, then the calibration, then the battery, then the firmware. By the time you reach the bottom of the list, the drone is flying level in 2026, and you have a clearer picture of the airframe than you did when you started. If you want a deeper walkthrough of any single step, our drone maintenance guide covers each topic in detail.