
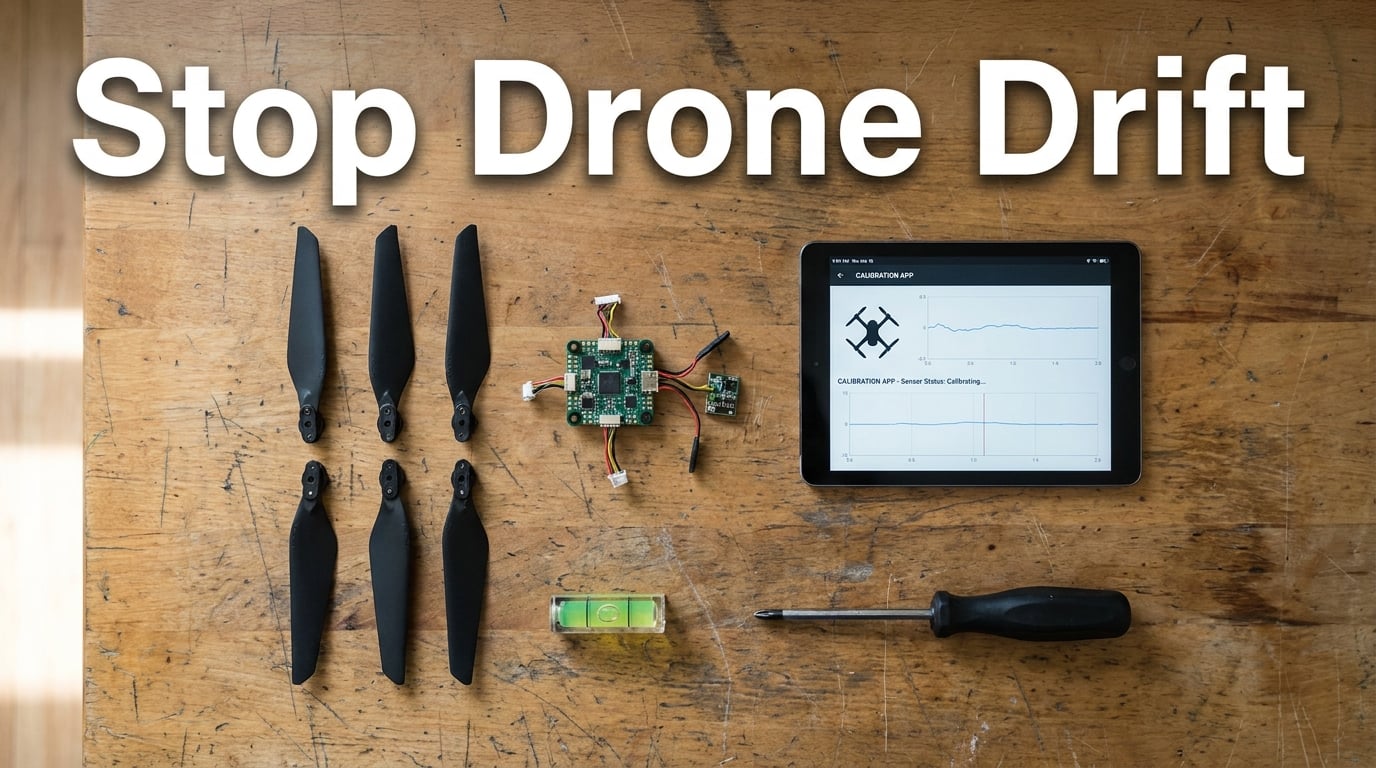
I have lost count of how many times I have watched a brand-new drone owner post a panicked message: “My drone is pulling hard left and I cannot figure out why.” That is the most common symptom in the drone world, and a drone drifting to one side almost always traces back to one of seven issues.
In this guide, I will walk you through the same troubleshooting checklist I use when a drone on my workbench refuses to hover straight. You will learn what causes drift, how to identify which cause applies to your specific drone, and how to stop the drift for good.
Table of Contents
Quick Diagnosis: What Kind of Drift Do You Have?
Before you start unscrewing propellers or recalibrating sensors, take 60 seconds to identify the type of drift you are seeing. The cause changes depending on how your drone behaves.
- Steady one-direction drift in Angle mode: Most likely an accelerometer or IMU calibration issue.
- Drift that changes direction with the wind: This is normal. Wind pushes lightweight drones around even when perfectly calibrated.
- Drift only when hovering, but straight in flight: Often a center-of-gravity (CG) imbalance or loose battery.
- Drift in all directions with no consistency: Could be motor wear, frame damage, or environmental air currents.
- Strong tilt the moment you take off: Loose propellers, motor failure, or sensor error.
Once you know the pattern, the fix becomes much faster. Let me walk you through the seven most common causes of a drone drifting to one side and the exact steps to stop each one.
Why Is My Drone Drifting to One Side? 7 Common Causes
Drone drift happens when the flight controller receives conflicting information about the drone’s orientation in space. The drone tilts in one direction to “correct” a phantom imbalance it thinks exists. That correction is the drift you see.
1. IMU and Accelerometer Miscalibration
The Inertial Measurement Unit (IMU) contains the accelerometer and gyroscope that tell your drone which way is up. When those sensors get out of calibration, even a perfectly level drone reads as slightly tilted, and the flight controller constantly compensates. That compensation looks like drift.
Accelerometer drift is the most common cause of a drone drifting left, right, forward, or backward in a straight line.
2. Compass Interference or Miscalibration
On GPS-enabled drones, the compass tells the flight controller which way is magnetic north. If the compass reads magnetic interference from nearby electronics, metal objects, or even rebar in a concrete floor, your drone thinks it is pointing in the wrong direction and yaws to “fix” itself. On consumer drones like DJI models, that yaw correction often looks like a sideways drift.
3. Damaged or Unbalanced Propellers
Even a tiny nick or bend in a propeller creates uneven thrust on each side of the drone. I have seen drones drift consistently left because of a single hairline crack on the front-left prop. Props are the cheapest part on your drone, and replacing them is the fastest way to rule out one of the top causes of drift.
4. Motor Health Issues
Motors lose power as bearings wear or debris gets caught inside. A motor spinning slightly slower than its diagonal partner creates exactly the same visual symptom as a miscalibrated accelerometer. The difference is that a motor problem gets worse over time, while a calibration issue stays constant.
5. Weight Distribution Problems
A drone’s center of gravity (CG) needs to sit directly under the center of lift. If your battery is mounted slightly off-center, or if you added a payload without rebalancing, the drone will lean toward the heavier side and the flight controller will fight that lean continuously. The result is a drone that pulls in one direction.
6. Frame Damage
A bent arm, cracked frame plate, or warped body shifts the geometry of your drone. Even a 1mm bend on a 5-inch arm can pull a drone noticeably to one side. Crashes cause this, but so does carrying your drone in a tight case or stacking heavy gear on top of it.
7. Environmental Factors
Indoor air currents from HVAC vents, open windows, or even the downwash of your own propellers can push lightweight drones around. On the FPV side, indoor air disturbance from props hitting walls or furniture causes false readings the accelerometer interprets as drift. Temperature changes also affect barometer-based altitude hold, which can look like vertical drift.
How Drone Flight Modes Affect Drift Behavior
This is the part almost no blog article explains clearly, but it matters enormously. The same drone can drift in Angle mode and hover perfectly in Airmode. Understanding why saves hours of confusion.
- Angle mode (self-leveling): The flight controller uses the accelerometer to automatically level the drone when you center the sticks. If the accelerometer is off by 2 degrees, the drone will hold that 2-degree lean and drift in the direction of the lean. Most consumer drones and beginner FPV setups fly in Angle mode by default.
- Horizon mode: Similar to Angle mode for low stick inputs, but allows flips and rolls at full stick. Drift behavior is identical to Angle mode during hover.
- Acro or Airmode: Uses only the gyroscope for stabilization, not the accelerometer. This means the drone will not self-level at all and will drift freely when you let go of the sticks. If your drone drifts in Acro, that is normal physics, not a malfunction.
If you are a beginner pilot, your drone likely flies in Angle mode. If your drone is an FPV build running Betaflight, check which mode is active before assuming a calibration issue exists.
How to Stop Drone Drifting: Step-by-Step Fixes
Work through these steps in order. Each one takes only a few minutes, and most drift problems resolve within the first three steps.
Step 1: Calibrate the Accelerometer and IMU
This is the fix that resolves the majority of drift cases.
- Place the drone on a perfectly level, hard surface. Use a bubble level if you have one. Carpet and uneven tabletops will throw off calibration.
- Power on the drone and the controller.
- Open the drone’s app or Betaflight Configurator on a connected computer.
- Navigate to the Sensors or Calibration menu.
- Select “Calibrate Accelerometer” or “IMU Calibration.”
- Keep the drone completely still until the app confirms calibration is complete (usually 30 to 60 seconds).
- Restart the drone and perform a hover test.
If you are running Betaflight on an FPV build, use the Setup tab in Betaflight Configurator, place the quad on a level surface, and click “Reset Z axis” and “Calibrate Accelerometer.” Forum pilots report this single step fixing persistent left-drift on fresh builds.
Step 2: Calibrate the Compass
Skip this step if your drone has no compass (most FPV drones). For GPS drones with a compass module:
- Move away from metal objects, cars, buildings with rebar, and electronics.
- Open the drone app and go to the compass calibration menu.
- Follow the on-screen rotation instructions (usually rotating the drone horizontally, then vertically, then nose-down).
- Confirm success in the app before flying.
Recalibrate the compass every time you fly in a new location, especially if you have flown near power lines or large metal structures.
Step 3: Inspect and Balance Propellers
Propeller damage is the easiest issue to fix and the easiest to overlook. Run through this checklist:
- Look for nicks, cracks, or bends on every blade.
- Check that each propeller spins freely without wobble.
- Confirm propellers are mounted in the correct rotation direction (the rotation arrows are usually printed on the blade).
- Replace any prop that shows damage. Props are inexpensive. Treat them as consumables.
Step 4: Check Motor Health
A quick motor test catches most motor problems before they cause a crash.
- Remove propellers before testing motors.
- Spin each motor by hand. It should feel smooth, with no grinding or resistance.
- Listen for scraping sounds, which indicate worn bearings.
- Use the motor test feature in Betaflight or your drone app to spin each motor at the same throttle level. Confirm all four motors reach similar RPM.
Replace any motor that spins slower than the others, makes noise, or feels rough when turned by hand.
Step 5: Verify Weight Distribution and CG
Push the battery strap tight and make sure the battery is centered on the frame. Add a small piece of foam or velcro on the lighter side if your drone carries a camera or payload. Even a few grams off-center can create noticeable drift on lightweight builds.
Step 6: Update Firmware
Manufacturers regularly release firmware updates that fix sensor calibration bugs and improve flight stability. Check your drone app for the latest firmware before assuming a hardware issue. Back up your settings before updating.
Step 7: Inspect Frame for Damage
Run your finger along each arm. Look for hairline cracks, bent tubing, or warped plates. Hold the drone at eye level and sight down each arm to check for straightness. Replace any damaged frame components before the next flight.
Betaflight Accelerometer Trim for FPV Pilots
If you fly an FPV drone running Betaflight and your drone drifts in Angle or Horizon mode after accelerometer calibration, the next step is accelerometer trim. This is the technique mentioned in forum threads but rarely covered in blog articles.
- Connect the drone to Betaflight Configurator via USB.
- Open the Setup tab.
- Hold the drone perfectly level using a bubble level on top of the flight controller.
- Watch the artificial horizon on the Setup tab. It should be centered.
- If the artificial horizon is tilted, adjust the small accelerometer trim sliders in the Configuration tab until the artificial horizon reads level.
- Save and reboot the drone.
Some forum pilots report that recalibrating the accelerometer improved their drift but did not fully resolve it. Trim adjustment is the next step when calibration alone does not eliminate drift completely.
When to Seek Professional Repair
Take your drone to a qualified repair technician if:
- Drift persists after all seven steps above.
- The IMU calibration fails repeatedly.
- One motor runs noticeably hotter than the others after a flight.
- The drone shows visible frame damage that affects motor alignment.
- You see error codes like “IMU Error” or “Compass Error” in the drone app.
For DJI and other consumer drones, manufacturer service centers can swap the IMU module and recalibrate sensors at the factory level. For custom FPV builds, local FPV shops can re-flash the flight controller and verify sensor health with diagnostic tools.
Frequently Asked Questions
How do I stop my drone from drifting?
Start by recalibrating the accelerometer and IMU on a perfectly level surface. Most drift problems resolve with a fresh accelerometer calibration. If drift persists, inspect propellers for damage, check motor health, verify the battery is centered, and confirm your firmware is current.
Why is my drone drifting to the left?
A drone drifting left consistently in Angle mode usually has an accelerometer calibration issue. Place the drone on a level surface and run an IMU calibration. If calibration does not fix it, check the right-side propellers for damage and confirm the right motors spin at the same RPM as the left motors.
Can I repair a damaged drone propeller?
Small nicks can be lightly sanded, but for any crack, bend, or significant damage, replace the propeller. Propellers are inexpensive, and balancing matters more than repair. A damaged prop causes more crashes than it saves money.
Why is my drone not hovering straight?
A drone that refuses to hover straight usually has a center-of-gravity (CG) imbalance, an accelerometer calibration issue, or propeller damage. Confirm the battery is secured in the center of the frame, recalibrate the accelerometer, and inspect all four propellers for damage.
How do I make a drone stay stable?
To keep a drone stable, calibrate the accelerometer and compass regularly, keep propellers in good condition, ensure the battery is mounted centrally, update firmware, and fly in calm conditions. GPS drones benefit from recalibrating the compass at every new flying location.
Conclusion
A drone drifting to one side is one of the most common problems pilots face, and in most cases the fix is faster than you think. Start with an accelerometer calibration on a level surface, then work through propeller inspection, motor checks, weight balance, and firmware. Ninety percent of the drones I troubleshoot resolve within the first three steps.
If you have walked through this guide and your drone still drifts, post your symptoms and a short blackbox log (for FPV) or flight log (for consumer drones) on a community forum. The patterns other pilots have seen with the same model will usually point to the cause within a few replies.