
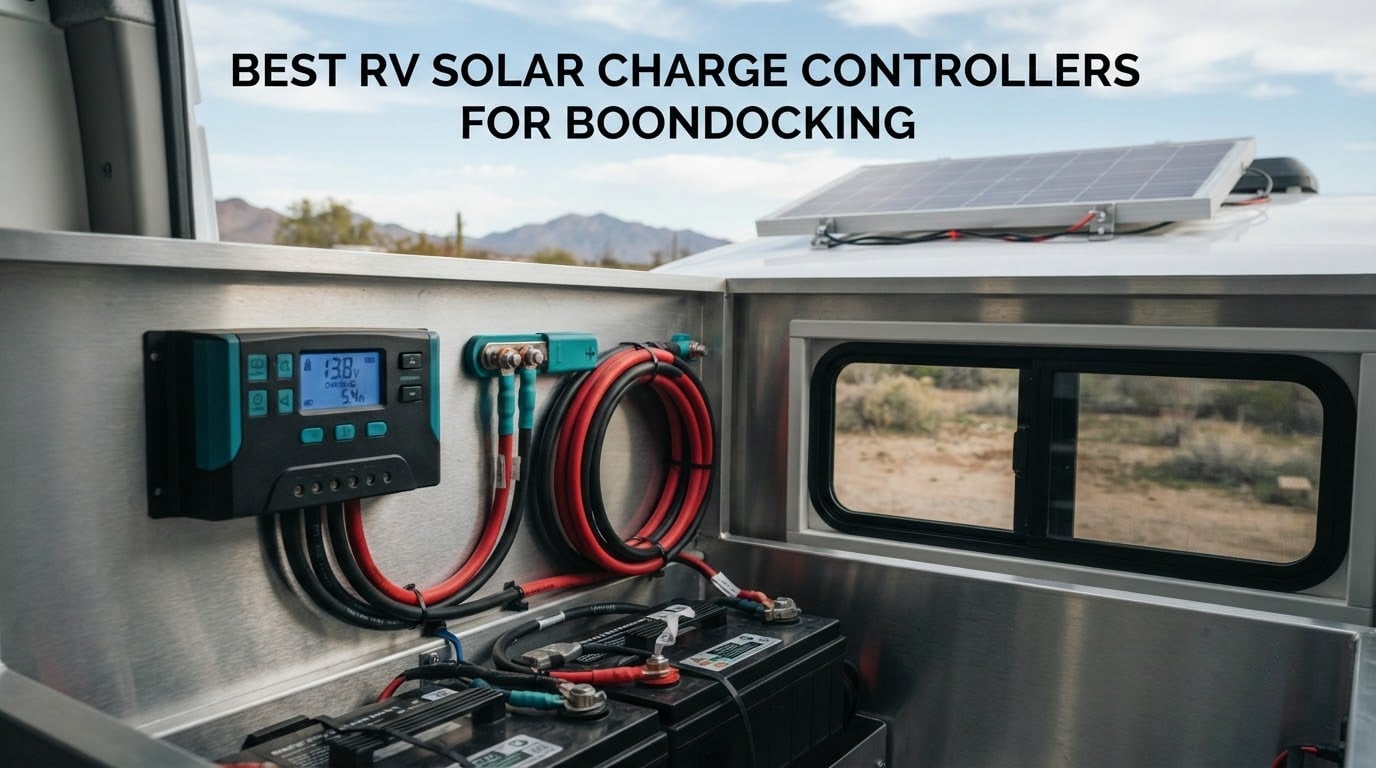
The short answer: the Victron SmartSolar MPPT 100/50 is the best MPPT solar charge controller for an RV because it tracks hard, runs cool, and reports to your phone out of the box. For most 200W to 400W builds the Renogy Rover 40A is the better value, and for very large banks the HQST 100A gives you 150V of panel headroom with built-in Bluetooth.
Boondocking takes shore power away, which means the charge controller is the only thing between your panels and a flat battery. Get the wrong one and your solar underperforms no matter how good the panels are. Get the right one and the same array can charge noticeably faster through the whole day.
This roundup covers the best RV solar charge controllers for boondocking we could justify, not just the ones with the loudest marketing. Every controller below is rated for 12V or 24V bank use, handles the temperature swings an RV sees, and has enough documentation to install yourself. We looked hard at tracking efficiency, real current output, terminal sizing, battery chemistry support and how each one behaves in heat.
If you are starting from scratch, our solar panel kit roundup for RV roofs covers the panels themselves. This article stays on the controller side of the system and treats panel and battery choices as sizing context.
Quick answer for the impatient: a 30A to 40A MPPT is the right-sized default for a typical 200W to 400W RV array. Below that, at 100W or less, a PWM controller like the Renogy Voyager can do the job for less money.
Table of Contents
Top 3 Picks: Best RV Solar Charge Controllers for Boondocking (October 2026)

Victron SmartSolar MPPT 100/50
- 100V max PV input
- 50A charge current
- Built-in Bluetooth with VictronConnect

Renogy Rover 40A MPPT
- 40A charge current
- 98 percent conversion efficiency
- -40F to 149F operating range

Best RV Solar Charge Controllers for Boondocking (October 2026): The Full Roundup
Every controller in this list was checked against the same criteria: does it do real MPPT conversion or is it “MPPT simulating,” does it support LiFePO4 properly, will the terminals take the wire gauge an RV needs, and does it hold output in heat. We also read what owners report after months of use rather than first-week impressions.
| Product | Specifications | Action |
|---|---|---|
| Victron SmartSolar MPPT 100/50 |
|
Check Latest Price |
| Renogy Rover 40A MPPT |
|
Check Latest Price |
| HQST 100A MPPT |
|
Check Latest Price |
 POWLAND 100A MPPT POWLAND 100A MPPT |
|
Check Latest Price |
 LiTime 30A MPPT LiTime 30A MPPT |
|
Check Latest Price |
 Victron BlueSolar 150V 30A Victron BlueSolar 150V 30A |
|
Check Latest Price |
 BougeRV 40A MPPT BougeRV 40A MPPT |
|
Check Latest Price |
 Xantrex C40 Xantrex C40 |
|
Check Latest Price |
 Renogy Voyager 20A PWM Renogy Voyager 20A PWM |
|
Check Latest Price |
 EPEVER Tracer 30A MPPT EPEVER Tracer 30A MPPT |
|
Check Latest Price |
1. Victron SmartSolar MPPT 100/50 – Best Overall for Boondocking
Victron Energy SmartSolar MPPT Solar Charge Controller 100V, 50A, 12/24V
100V max PV input
50A charge current
12V and 24V banks
1.5 kg
Built-in Bluetooth
Pros
- Fast MPPT tracking holds output under partial shade
- Built-in Bluetooth with 30-day performance history
- Metal case with bottom heat sink runs cool
- Compact and light for a 50A unit
Cons
- Battery and PV terminals too small for 4 AWG cable
- Bluetooth pairing should be done up close
- Reaches maximum power point more slowly than some rivals
We spent the most time on this one because it carries the deepest body of long-term owner reports. At 4.6 stars across 2,443 ratings, it is a controller we would happily put in a rig planned to keep for years. The metal case with a bottom heat sink is the detail that matters most for boondocking, because a controller that thermally throttles at two in the afternoon is worse than no upgrade at all.
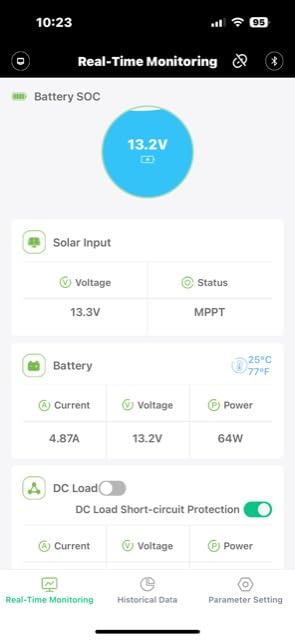
The VictronConnect app is built in, not bolted on through a separate module, and it keeps 30 days of performance history. When you are two hours down a forest road with no cell service, being able to see charge current and yield from inside the cab is a real operational advantage rather than a novelty.
Two things came up repeatedly in owner feedback. The battery and PV terminal openings are too small to accept 4 AWG cable, so heavier gauge needs a lug or a different landing point. Bluetooth pairing also wants to be completed at close range before you walk away with the phone, which is a one-time habit but catches people out.
Sizing is simple. This is a 50A controller, so it comfortably covers a 400W array at 12V and scales into 48V banks where the wiring is lighter. The 100V PV ceiling means you can put two typical 12V panels in series without a voltage-mismatch problem.
Who this suits
Full-timers and long-term boondockers who want phone monitoring without buying an extra dongle, and anyone with a bank big enough that battery conditioning over time matters more than the purchase price. It also suits installs where heat is the deciding factor, since the heat-sunk case is a genuine thermal advantage.
If your rig is a small trailer with one 100W panel, you are paying for capacity you will not use. That is not a knock on the unit, it is a sizing mismatch.
Who should skip it
Anyone wiring 6 AWG or heavier straight into the terminals without a plan. Plan the connection with lugs first. Also skip it if your build is a single small panel on a weekend trailer, where the Renogy Voyager covers the same job for far less and with weather sealing.
2. Renogy Rover 40A – Best Value MPPT for a 400W Array
Renogy Solar Charge Controller Rover 40A 12V24V Auto Parameter DC Input MPPT Charge Controllers for Solar Panels Adjustable LCD for Gel Sealed Flooded Lithium Battery
40A charge current
98 percent conversion
99 percent tracking
-40F to 149F
Adjustable LCD
Pros
- High conversion and tracking efficiency in low light
- Very wide operating temperature range
- Adjustable LCD shows current
- voltage and amp-hours
- Load terminals protect against over-discharge
Cons
- Bluetooth needs the separately sold BT-2 module
- State-of-charge reading can diverge from a capacity test
- Terminals are tight for larger gauge cable
This is the controller we recommend to most readers. Forty amps covers the 200W to 400W arrays that represent the middle of the RV market, and the 98 percent conversion with 99 percent tracking specification is the kind of number that shows up in the LCD readout rather than on a spec sheet alone.
The temperature rating is the headline for boondockers. The stated operating range runs from -40F to 149F, and owners running it in battery bays above 125F report steady output. The adjustable LCD gives you charge current, battery voltage and accumulated amp-hours without any phone app, which is useful when you just want to glance at it.
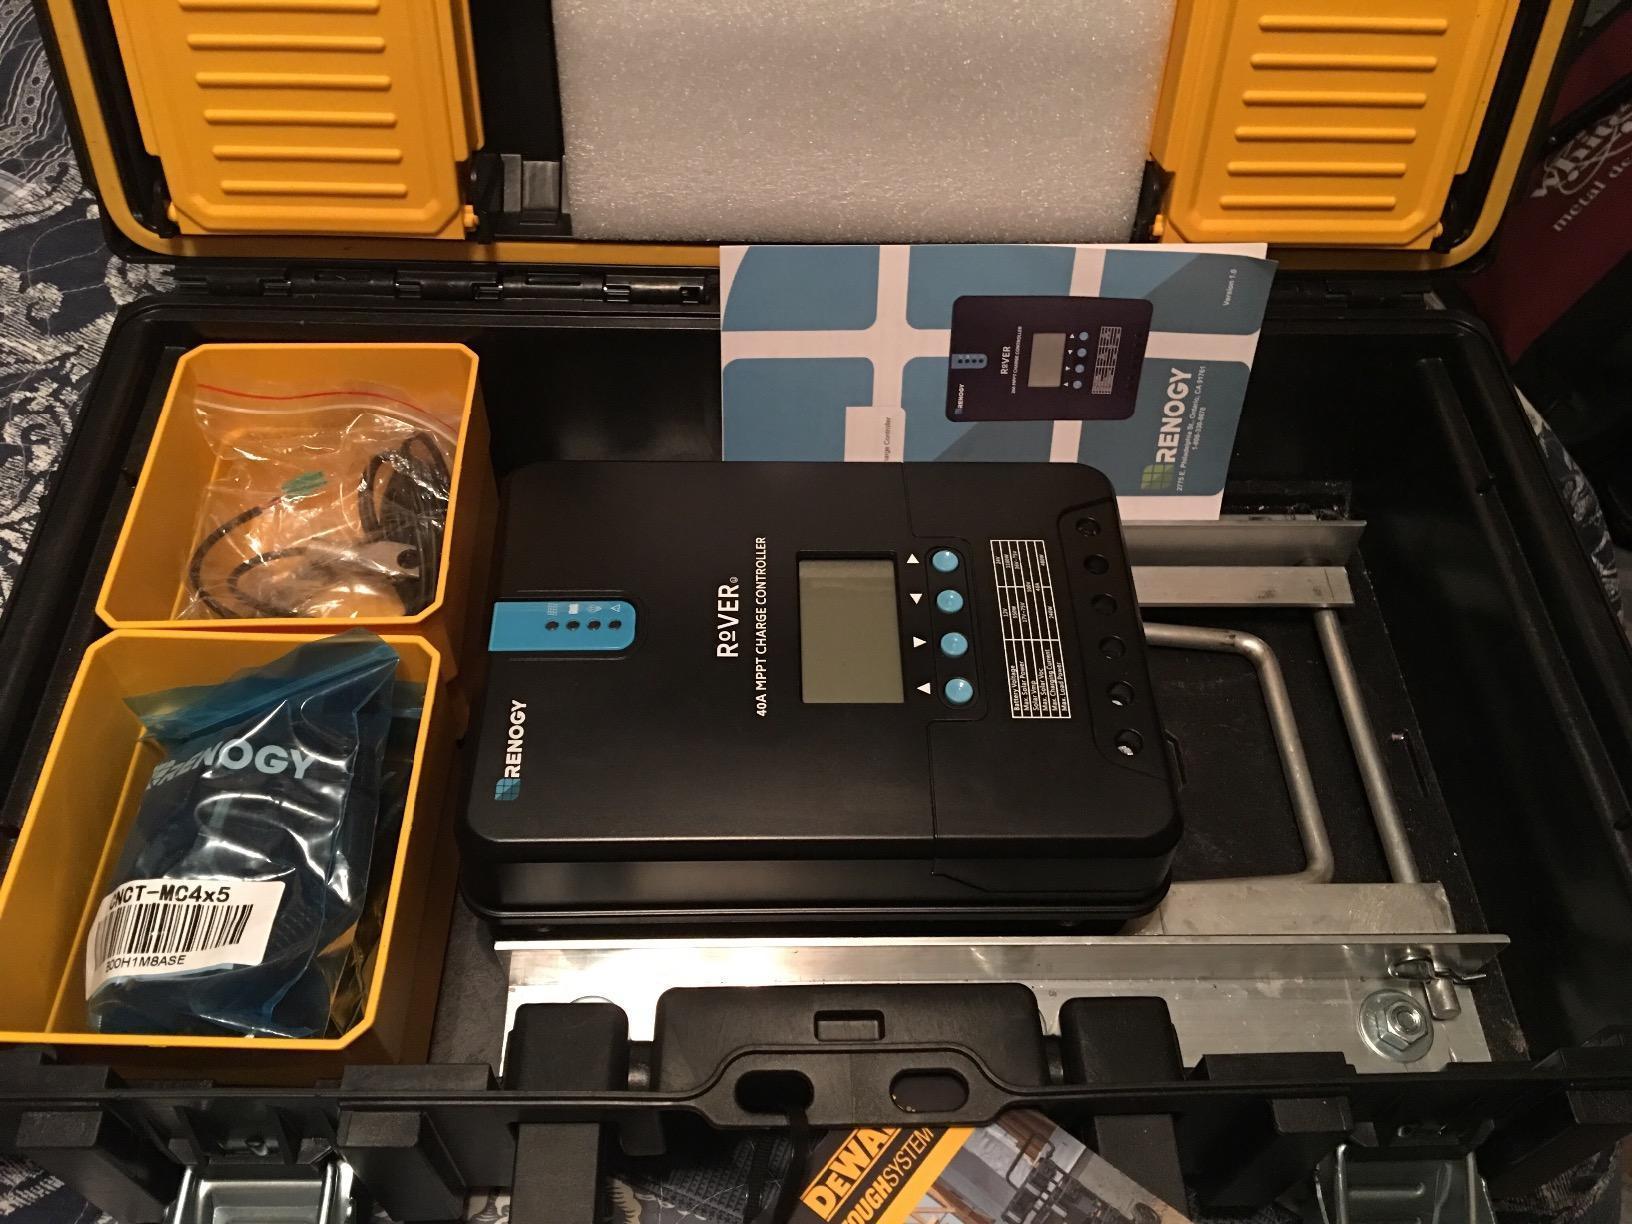
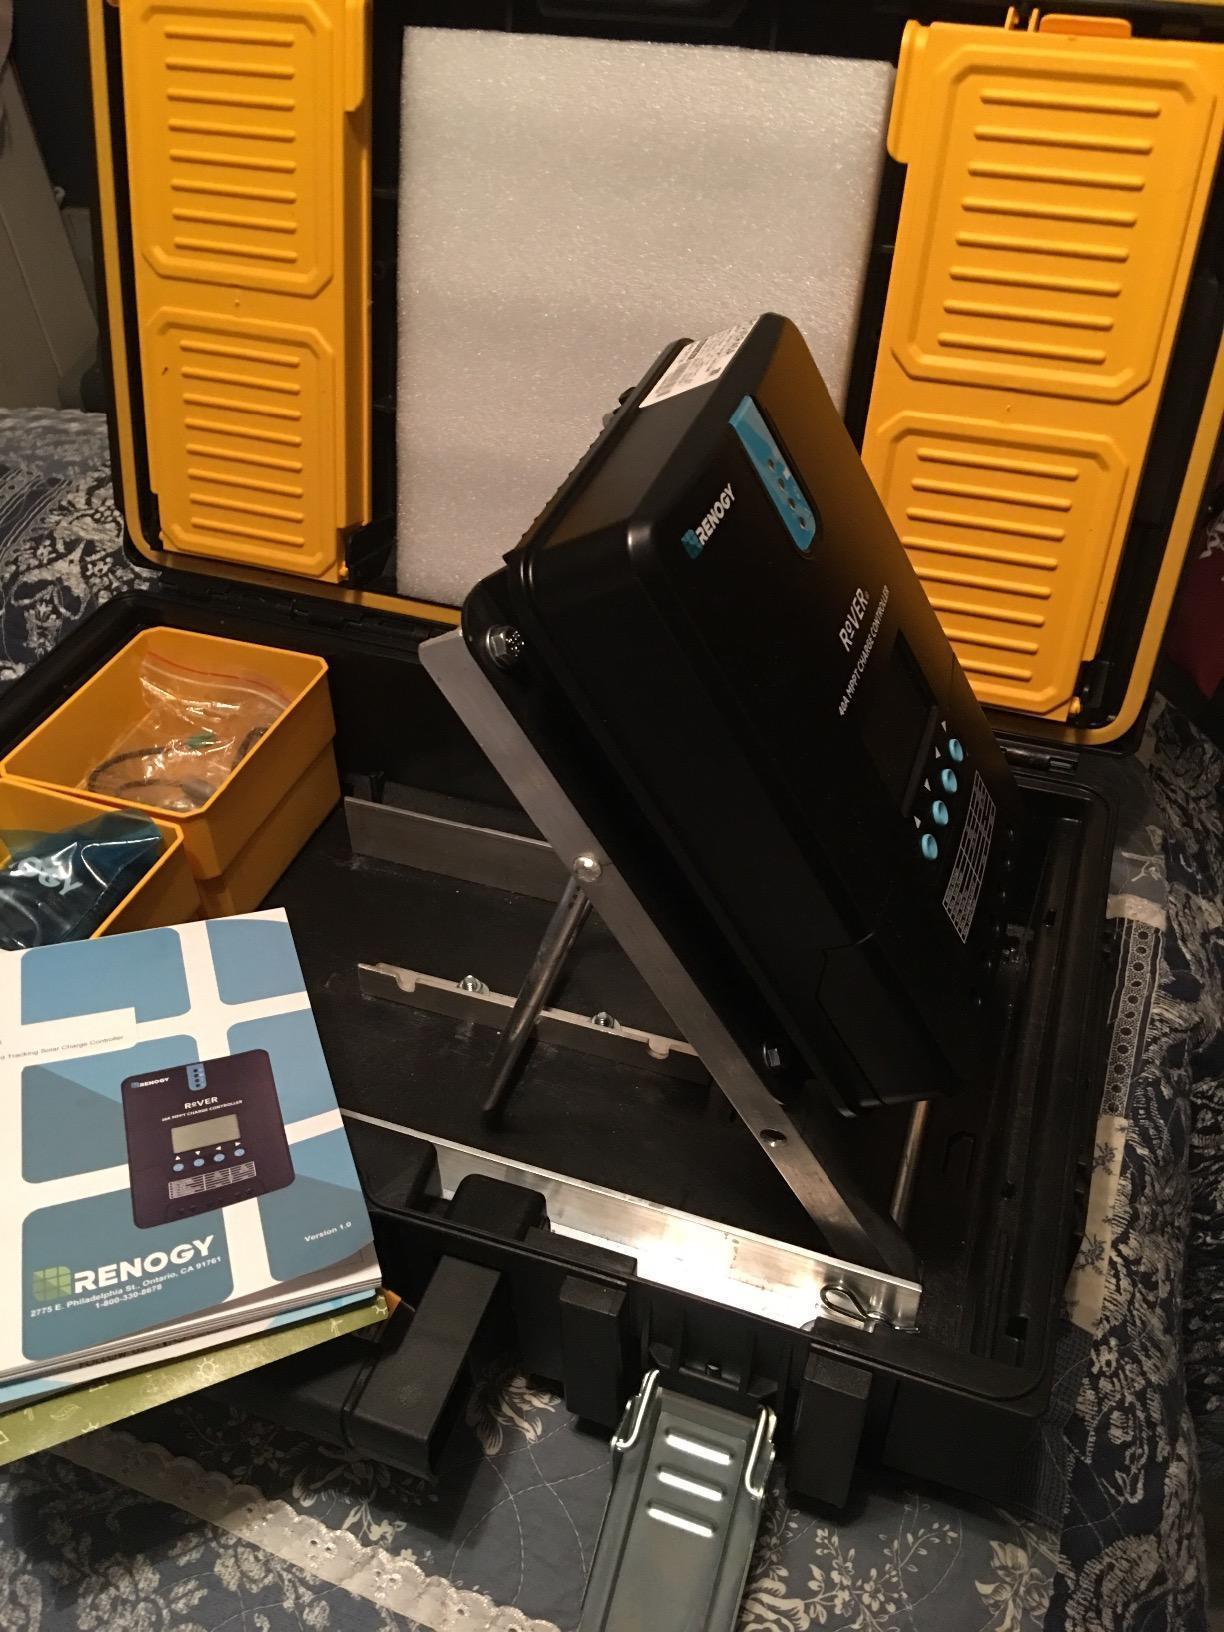
Renogy includes a remote temperature sensor and four mounting brackets in the box. Charging is 4-stage for lead-acid and 2-stage for lithium, with auto-detection across gel, AGM, flooded and lithium chemistries.
The honest drawback is the Bluetooth. The RS485 port is there, but the BT-2 module is sold separately, so phone monitoring costs extra. The LCD already shows you what you need, so plenty of owners never bother. A smaller complaint: the state-of-charge estimate can drift from a verified capacity test, so treat the percentage as a rough guide.
Who this suits
Weekenders stepping up to 400W, and desert campers who care more about temperature range than app features. It is also the easiest recommendation to justify if you want a load output to protect the bank from over-discharge while running a 12V fridge.
Buyers who want the phone experience should look at the LiTime 30A or HQST, where Bluetooth is in the box.
Who should skip it
Rigs planning to grow past 600W of panel, since 40A will not be the ceiling you want long term. Also skip it if you expect to lean on phone monitoring as your primary way of checking system state, because the extra module is another purchase and another pairing step.
3. HQST 100A MPPT – Best Budget Pick for Big Battery Banks
HQST 100A MPPT Charge Controller, 12V/24V/36V/48V Auto, Bluetooth & LCD
100A charge current
150V max PV input
12V to 48V auto
99 percent tracking
Built-in Bluetooth
Pros
- Handles arrays with multiple local maxima without getting stuck
- Built-in Bluetooth with 300 days of history
- 150V input allows long series strings
- Large wire sockets accept heavy cable
- Automatic fans hold efficiency at high output
Cons
- Default LiFePO4 presets can limit output
- App history function is unreliable
- App handles only one controller at a time
At 100A with a 150V PV input ceiling, this has both the current capacity and the panel voltage window to run a large array without adding a second controller. The 150V window is the number that matters: it lets you wire six 12V 100W panels in series, which cuts current, lets you use thinner wire and reduces voltage drop over a long roof run.
Auto system voltage recognition covers 12V, 24V, 36V and 48V banks, so the same unit works if you move to a larger coach later. Up to nine controllers can be paralleled on one bank with parallel charge cables, which is a real option for full-time desert campers chasing more harvest.
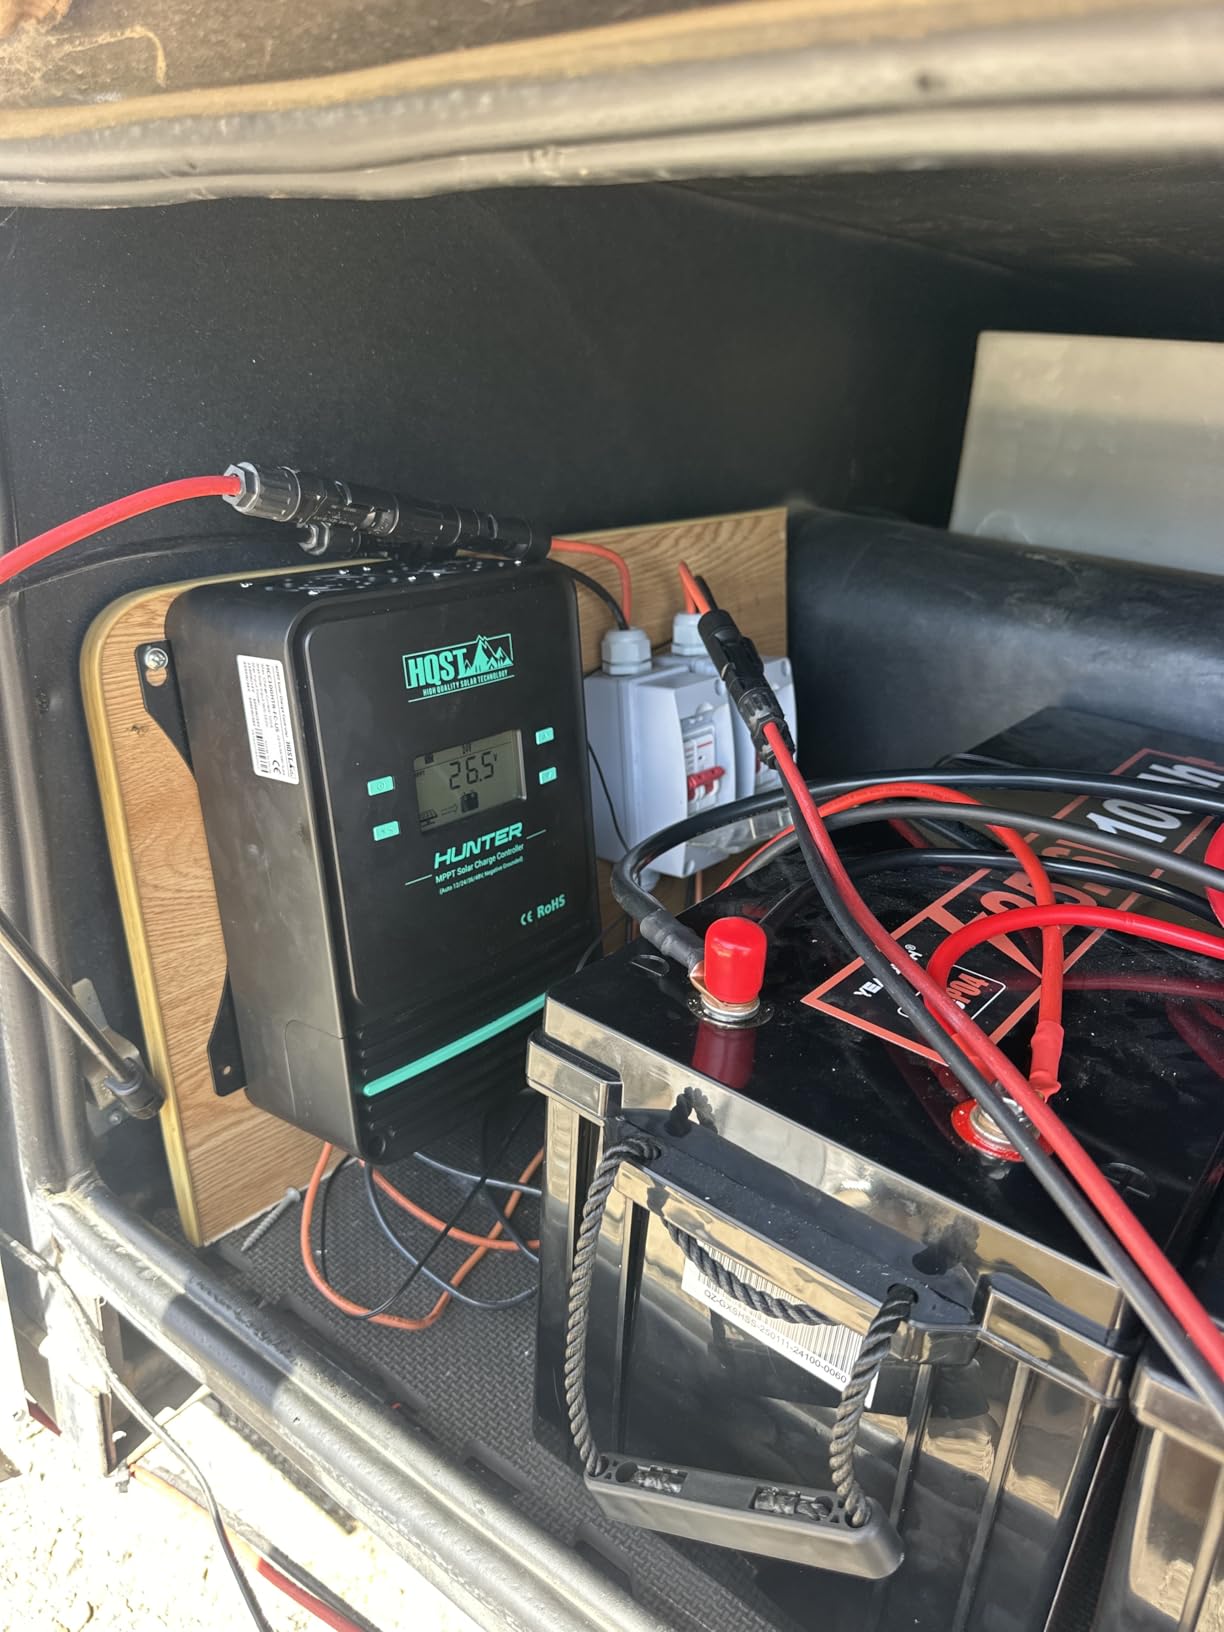
Two cooling fans activate above 113F, and the tracking algorithm is good with messy arrays where multiple local maxima confuse simpler controllers. The large wire sockets are a genuine advantage, accepting heavier cable than most competitors at this output level.
The complaint that shows up most is configuration. Default LiFePO4 and user presets can cap current at roughly two thirds of what the panels are producing, so you need to set the charge parameters properly. The app stores 300 days of history, but owners report the history page skipping days and only handling one controller at a time.
Who this suits
Large rooftop arrays, 48V coach builds and anyone who wants room to add panels in a second season. It is also the pick for installers who already know how to set MPPT parameters and want a lot of amps without paying premium-brand money.
If your build is a small trailer, this controller is wildly oversized and you will never see the difference.
Who should skip it
Anyone who wants a set-and-forget install without reading the manual, since charge presets limiting output is the single most common complaint. Phone owners who need to monitor several controllers at once should look elsewhere.
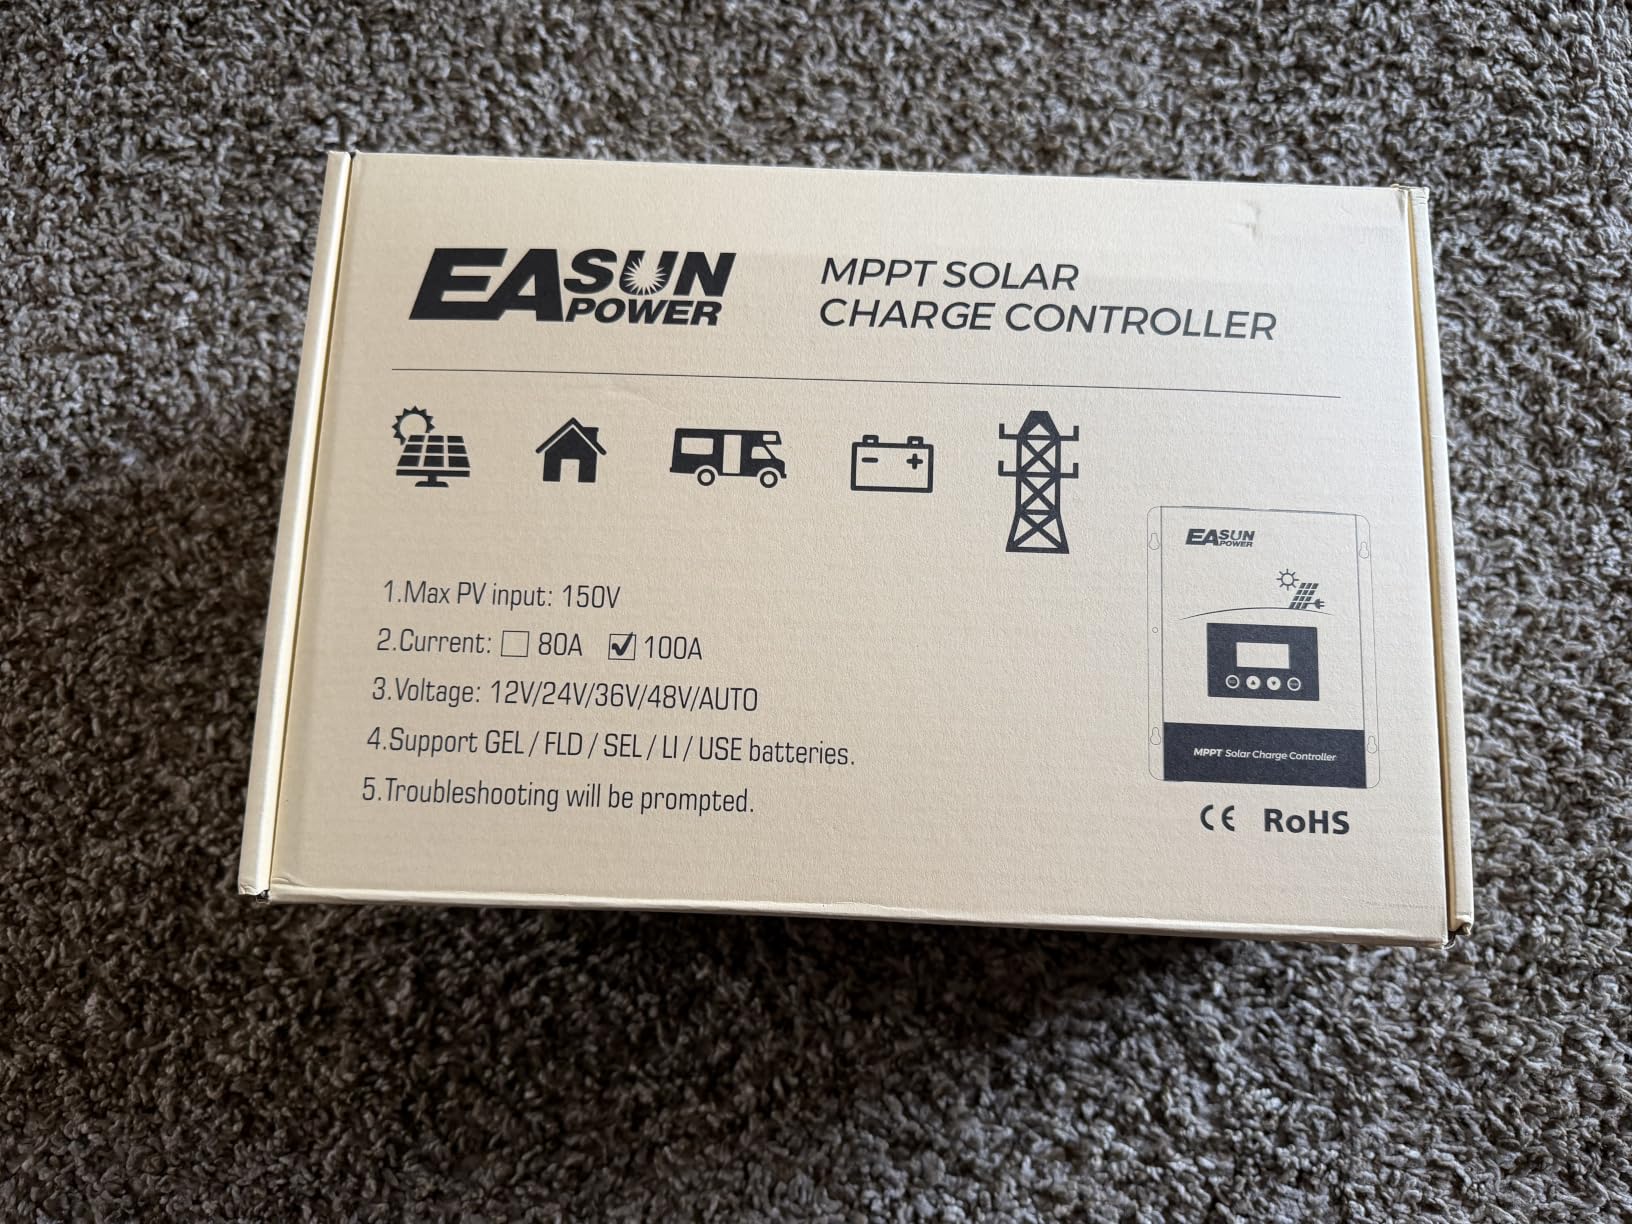
4. POWLAND 100A MPPT – Best for Large Off-Grid Arrays
POWLAND 100A MPPT Solar Charge Controller,12V/24V/36V/48V Auto,Max Input 150V LCD Display Regulator Intelligent Regulator Charge Controller
100A charge current
12V to 48V auto
99 percent utilization
98.1 percent peak efficiency
Pros
- Delivers full rated amperage on large arrays in long-running installs
- Plug-and-play setup with a clear manual
- Display retains the last screen viewed
- Cooling fans hold stability under sustained high current
Cons
- Some units reported failing after weeks to months
- Fans run continuously above roughly 30A
- Setup is not intuitive for beginners
This one is built for a big fixed installation rather than a weekend trailer. The 4-level charging algorithm runs bulk, boost, float and equalization up to 100A, and the utilization rate of at least 99 percent means little of your panel output is lost to conversion.
What we like most is the display behaviour. The LCD holds the screen you were last looking at, so checking the charge rate is instant rather than a menu dive. That is a small thing that owners with big off-grid arrays consistently mention as a reason the unit is pleasant to live with.
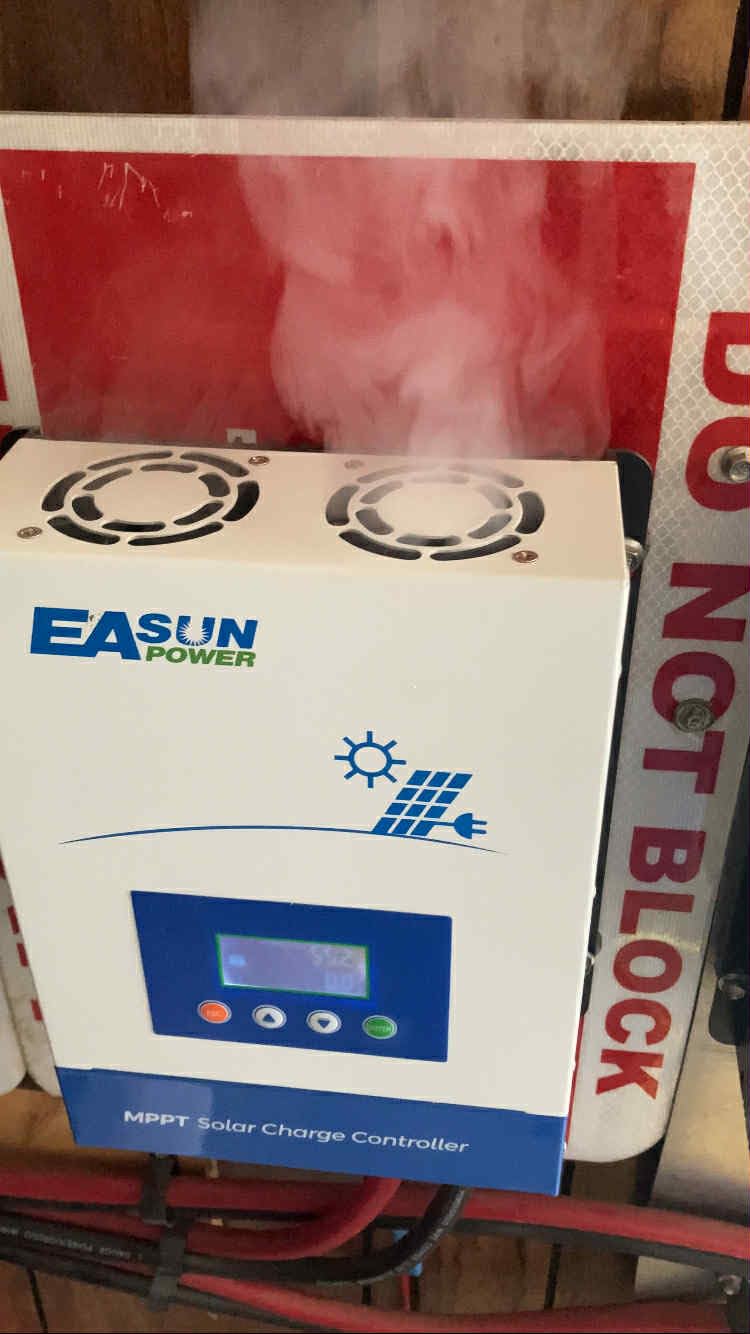
The reliability picture is why this is not higher in the ranking. Among 150 ratings at 4.2, there is a heavier one-star share than the other picks, with some owners reporting internal component failures weeks to months after install. The cooling fans also run continuously once output passes roughly 30A, and the dust filters need cleaning every few months in a dusty install.
Setup is another caution. This is not a beginner-friendly interface, and the buttons plus LCD need a careful read of the manual. The washable fan filters are a good idea that just need a reminder.
Who this suits
Full-time off-grid installers running a stationary 400W to 800W array who want maximum current and can live with a fan that runs. It also suits anyone who values holding the last screen and reading real numbers over app-based monitoring.
Owners who run a big stationary system and expect a decade of service should weight warranty support more heavily and consider the Victron or Renogy.
Who should skip it
First-time solar builders, because the configuration is fiddly and the fans add noise you may not want inside a coach. Anyone whose install is exposed to vibration on a Class A should be cautious given the failure reports in the smaller review base.
5. LiTime 30A MPPT – Best for Built-In App Monitoring
LiTime 12V/24V 30A MPPT Solar Charge Controller Bluetooth, LCD Display
30A charge current
12V and 24V
99 percent tracking
Built-in Bluetooth
Die-cast aluminum body
Pros
- Built-in Bluetooth with no separate dongle needed
- Die-cast aluminum body dissipates heat well
- Clean LCD with straightforward menu buttons
- Charges LiFePO4 banks with a dedicated mode
Cons
- App forgets its Bluetooth pairing after shutdown
- App text is low contrast in bright conditions
- One owner reported a unit going dead after about 8 months
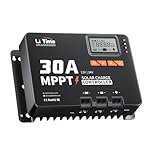
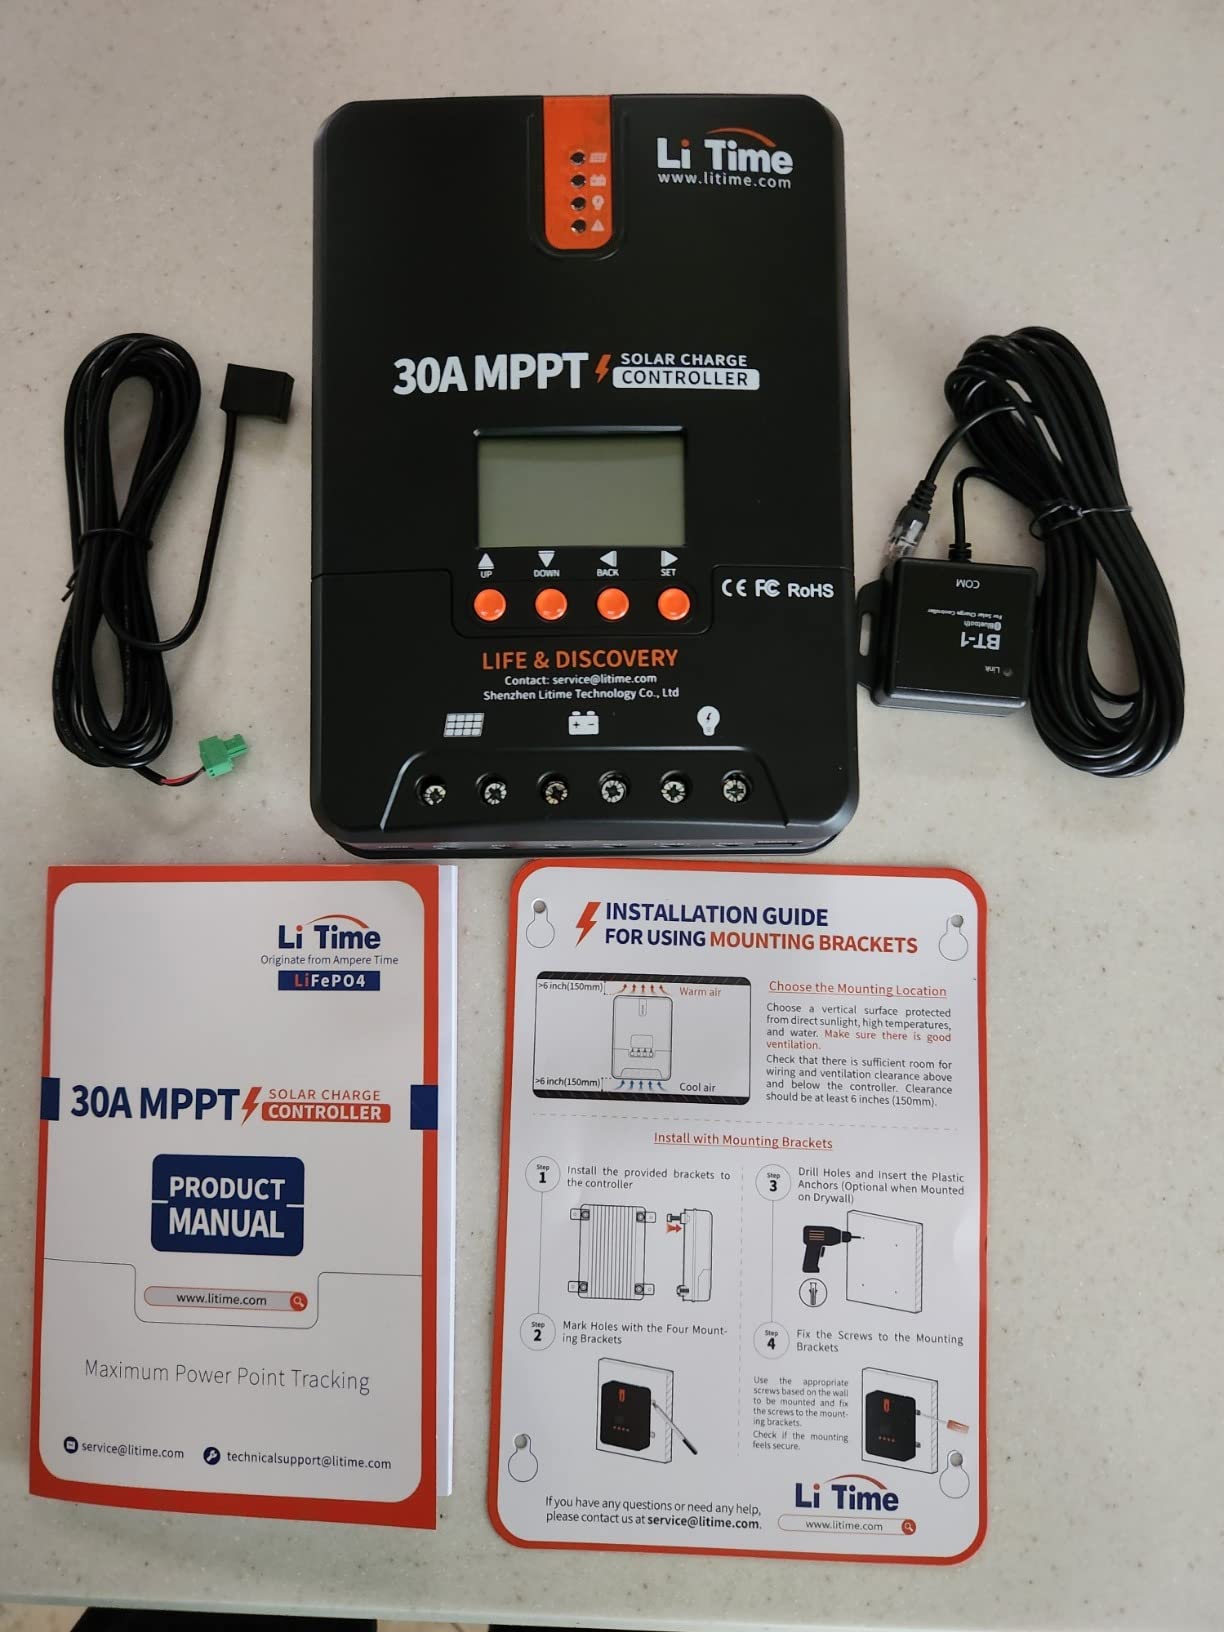
The LiTime 30A does something most 30A controllers do not: it ships with the Bluetooth module in the box. For boondockers checking state from the cab, that removes both a purchase and a failure point, and owners switching from lead-acid to LiFePO4 report the controller makes the system nearly hands-off.
Tracking efficiency is at least 99 percent with peak conversion up to 98 percent, and the die-cast aluminum body handles heat better than a plastic case. One owner also reports it introduces no radio frequency interference into ham gear, which matters on a coach that has both a solar system and amateur radio.
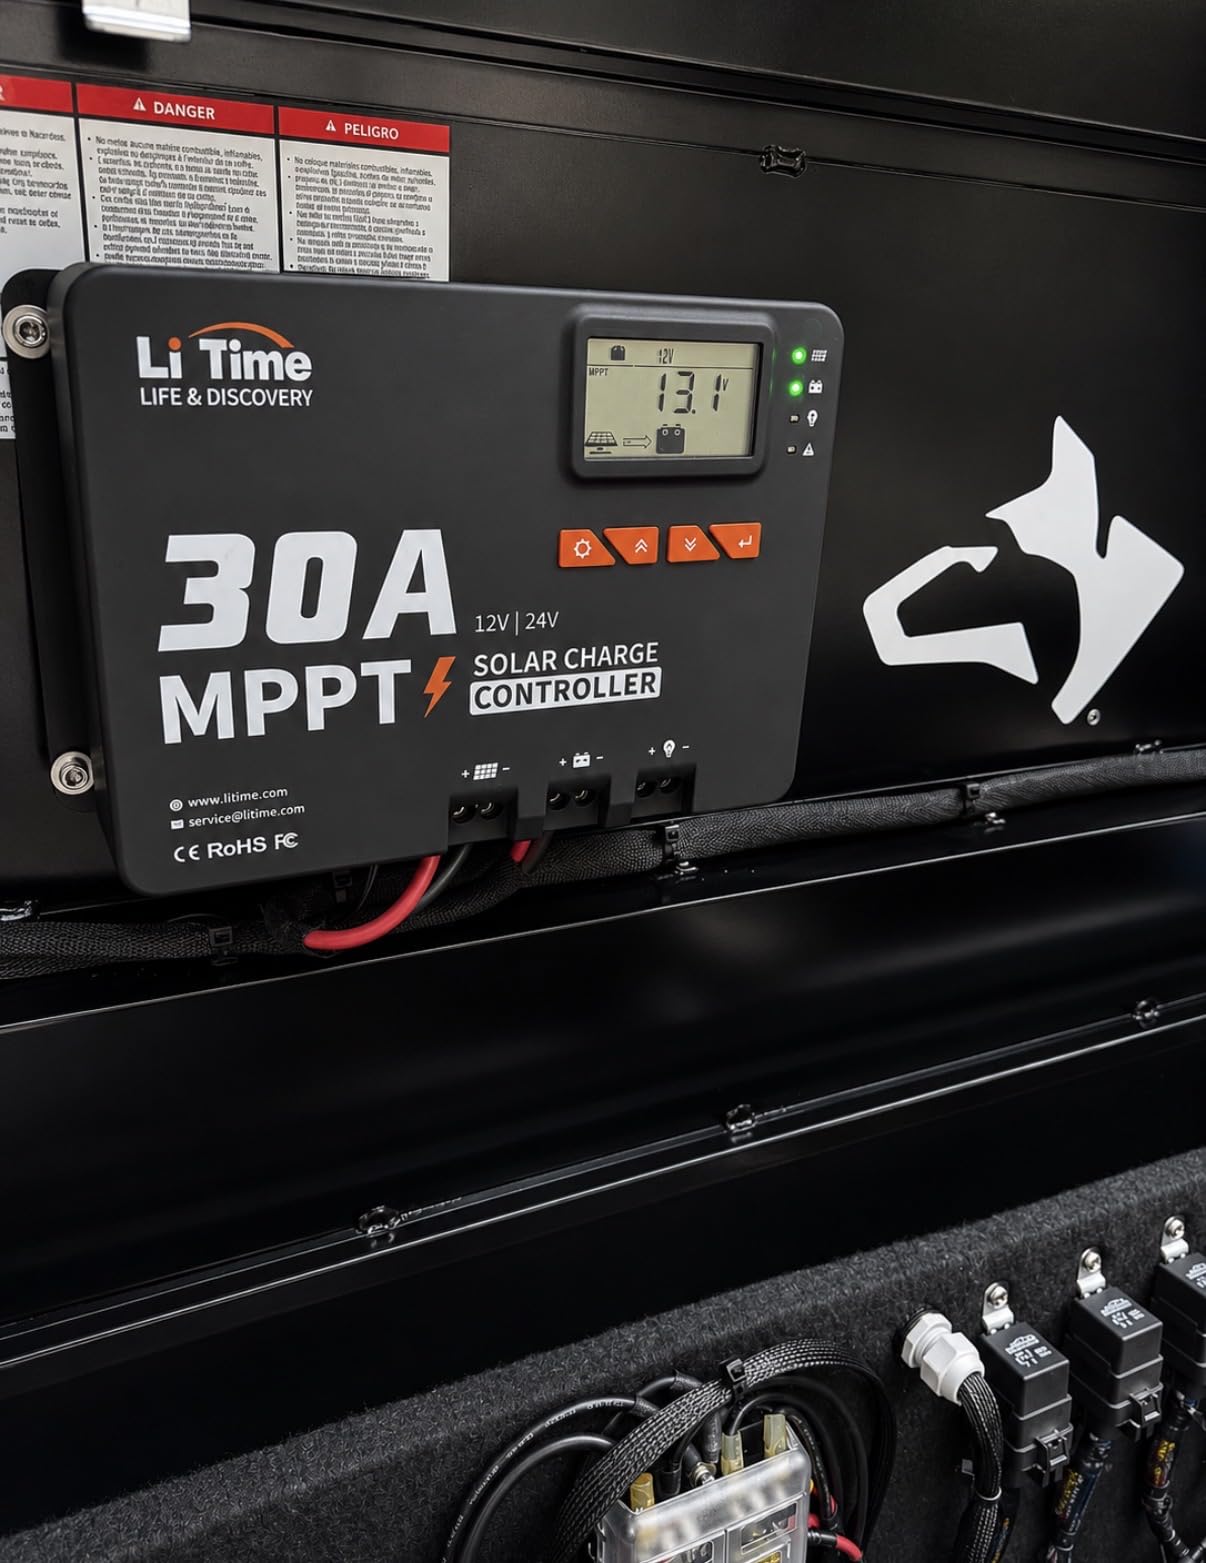
LCD screen with four menu buttons plus LEDs for panel, battery, load and controller state, and copper wire connectors are included to increase contact area. Protections cover reverse connection, overpower, overvoltage, short circuit and over-temperature.
The app is the weak point. Owners report it forgetting its Bluetooth pairing after shutdown and re-prompting constantly, plus low-contrast dark gray on black text that is hard to read in bright desert sun. Wording and translation errors come up too, and one owner reported a unit going completely dead after roughly eight months.
Who this suits
Anyone running 200W to 300W of solar on a LiFePO4 bank who wants phone monitoring without extra hardware. The 24V and 48V variants also cover larger coach banks, and the load output is useful for running a relay or small DC load.
It is a good fit for boondockers who have already committed to lithium and want the chemistry handled automatically.
Who should skip it
Desert campers who mainly want the built-in backlit display, since the app is the weak link rather than the screen. Also consider alternatives if a multi-year warranty matters to you, because this carries 2 years against the Renogy Rover’s 3.
6. Victron BlueSolar 150V 30A – Best for Series String Wiring
Victron Energy BlueSolar MPPT Solar Charge Controller 150V 30A 12/24/36/48V
150V max PV input
30A charge current
12V to 48V support
UL1741 certified
Dongle Bluetooth
Pros
- Compact and light for a 150V 30A MPPT
- Wide PV window allows larger series strings
- Victron charge algorithms support battery health
- Metal case with heat sinking stays cool
Cons
- No built-in Bluetooth
- Small connector openings reject heavy gauge cable
- Current capped lower than larger Victron models
The BlueSolar line is the older sibling of the SmartSolar and it is worth considering if you want Victron charge management without paying for built-in Bluetooth. At 4.5 across 178 ratings, the satisfaction is consistently high, and the 150V input window is the whole point of the unit.
A 150V ceiling means one long series string instead of two parallel strings, which reduces the number of branch circuits, lets you use a smaller wire gauge and cuts voltage drop on a long roof run. It is certified to UL1741, which some installers and inspectors ask about.
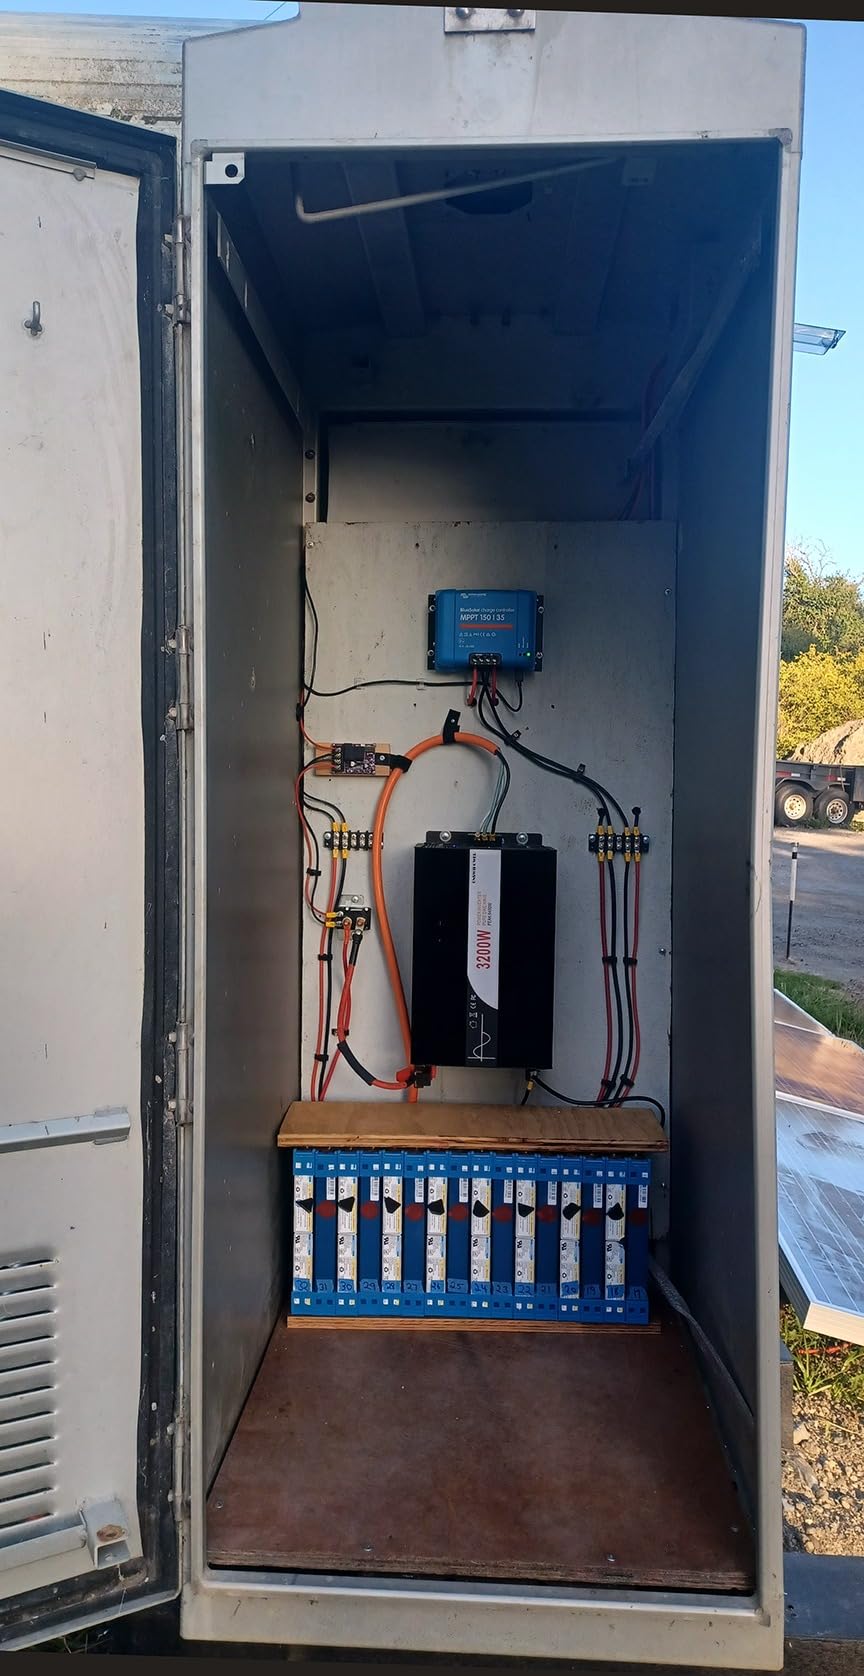
It supports 12V, 24V, 36V and 48V banks, and the metal case with heat sinking keeps it cool under sustained output. The tradeoff is that Bluetooth needs a separately sold dongle paired with VictronConnect, so you get the same app only after a second purchase.
Terminal openings are again small for thick cable. And while 30A sounds generous, it is capped lower than larger Victron models at the same voltage, so confirm it against your expected array before committing.
Who this suits
Installers running one long series string and who already own a Victron Bluetooth dongle or plan to buy one. It also suits buyers who want Victron charge algorithms as a replacement for an aging factory controller without changing habits.
Owners who want the app to work out of the box should stay with the SmartSolar 100/50 instead.
Who should skip it
Anyone whose array is a single panel or two panels in parallel, since 150V of headroom goes unused. Also skip it if your install needs more than 30A of sustained current and you have not verified the array size first.
7. BougeRV 40A – Best Drop-In Upgrade From a Factory PWM
BougeRV MPPT Solar Charge Controller 40A, w/ Low-Temp Cut-Off, APP Control, Backlit LCD, 40 Amp Solar Panel Regulator 12V/24V for LiFePO4, SLD, Gel, FLD, AGM Battery, RV, Marine, Upgraded
40A adjustable current
95V max PV input
600W at 12V
Low-temp cut-off
Backlit LCD
Pros
- Low-temp cut-off protects LiFePO4 in cold weather
- Quick swap from a factory PWM controller
- Large screw terminals with included spades
- Backlit LCD readable without an app
Cons
- App needs periodic re-login and a cell signal
- Bluetooth range is short from inside an RV
- Documentation is unclear
This is the unit to buy when the problem is a factory solar-ready port. Those controllers are frequently 10A units that cap out at roughly 100W to 130W of panel, which is the single most common reason an owner’s solar underperforms. RV owners swapping one out report a 15-minute change with immediate and noticeable results.
Tracking efficiency reaches 99.5 percent with peak conversion of 99 percent, and charge current is adjustable from 0A to 40A. Max PV input is 95V with 600W of panel at 12V or 1200W at 24V, and an aluminum heat sink with a dual MOS circuit handles sustained output.
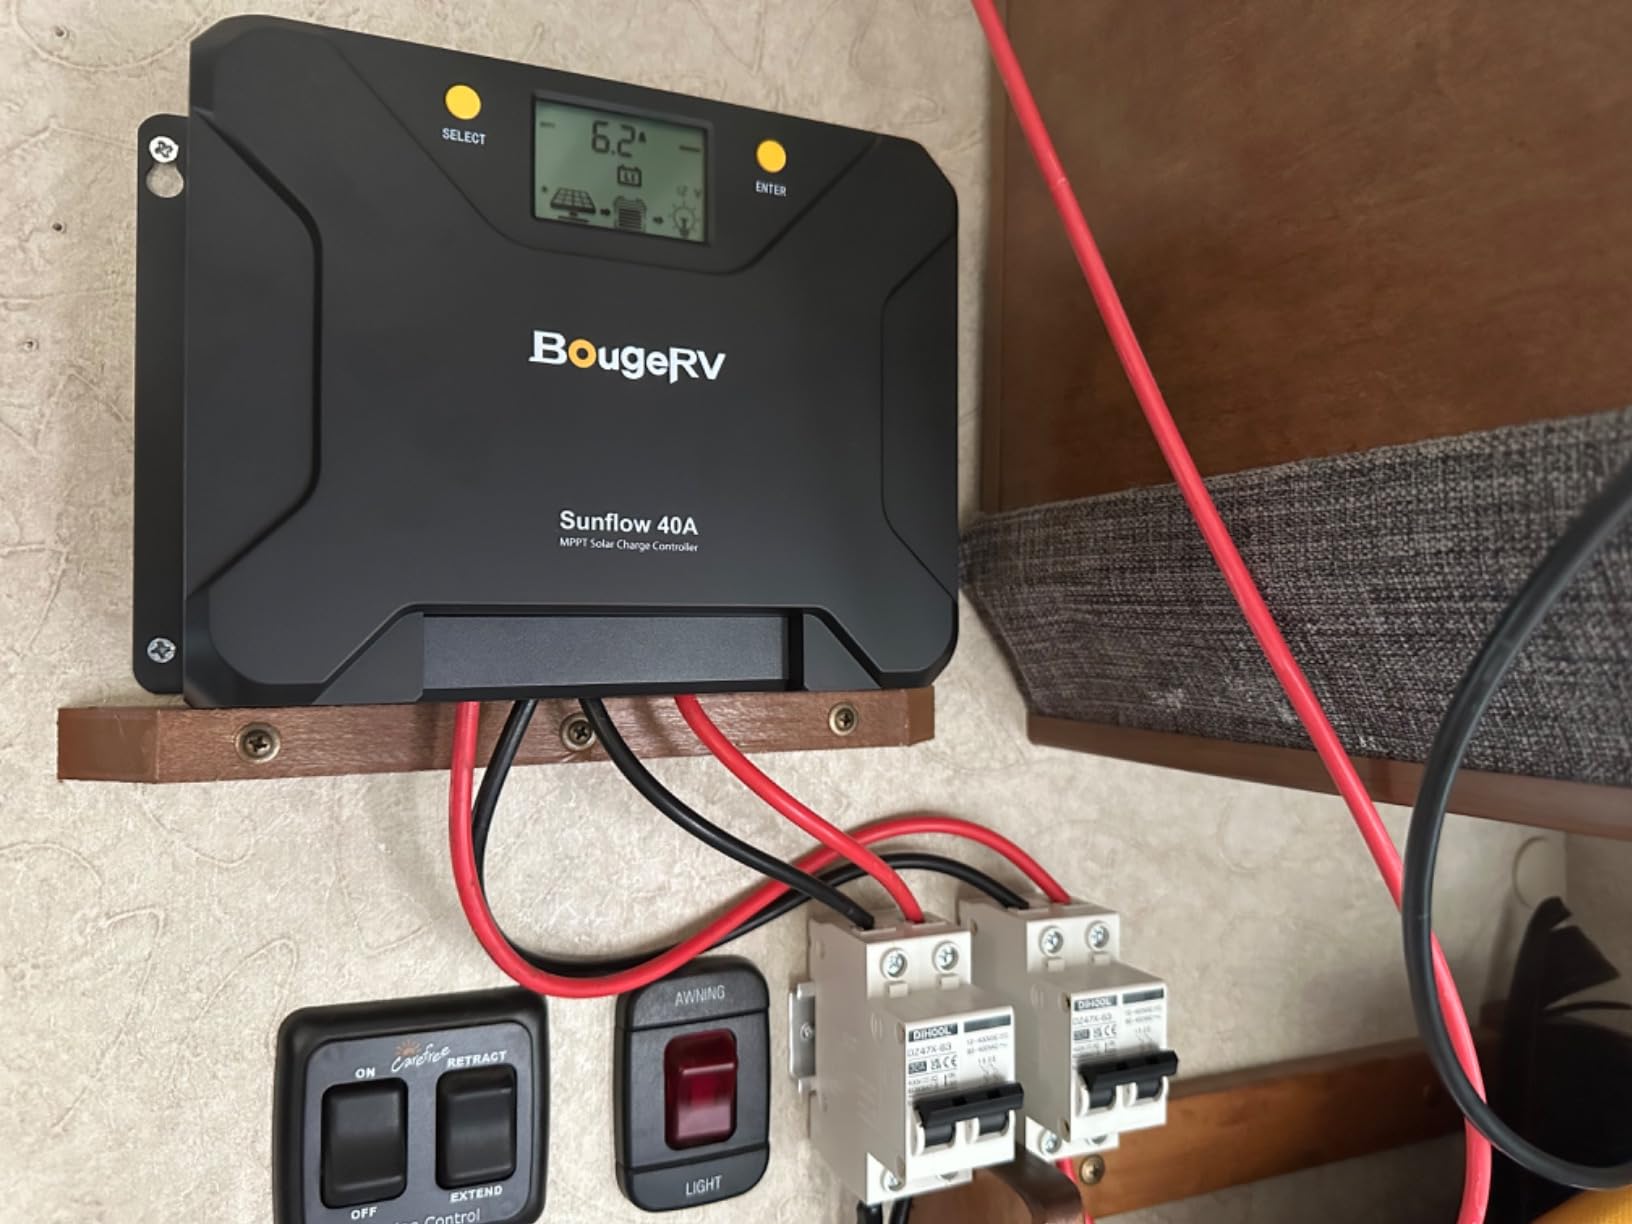
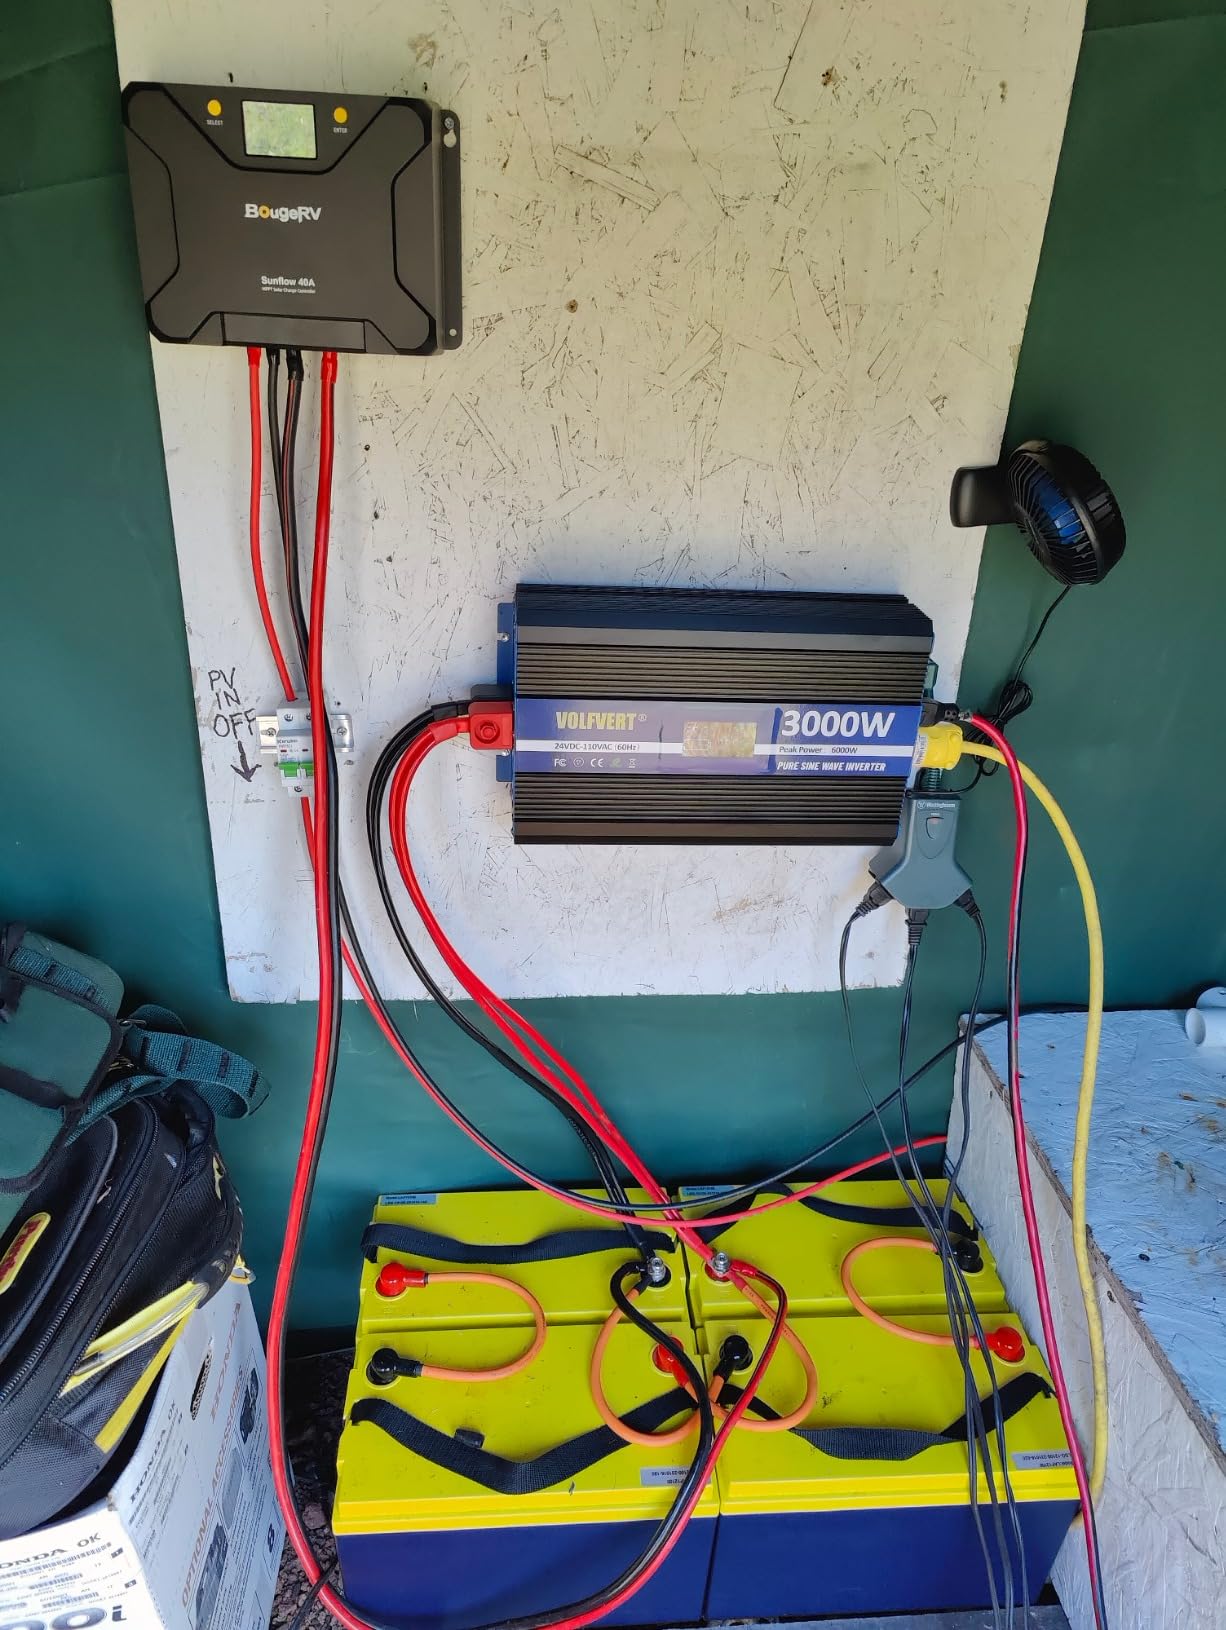
For lithium users, the low-temperature charging cut-off and dormant battery wake-up functions are the deciding features. The backlit LCD shows the essential data without an app, and large screw terminals plus included spades give solid connections.
The app is the complaint here too. Because the login is account-based, it needs a cell signal, which is a genuine problem when you are the reason you are off-grid. Bluetooth range is advertised up to 32 feet and is short in practice from inside the cab. Documentation is thin and often relies on community videos.
Who this suits
Owners replacing an undersized factory solar-ready controller, especially on a LiFePO4 conversion where the low-temp cut-off matters. The included temperature sensors and backlit screen make it a good choice for anyone who wants readable data rather than app dependence.
It is also a solid 40A option for a 300W to 400W array that does not need series strings beyond 95V.
Who should skip it
Anyone without reliable cell coverage who plans to use the app, because the account login will fail. Also skip it if your array is a long series string above 95V, and check the lug insertion slot against your cable before crimping.
8. Xantrex C40 – Best for Diversion and Load Control
Xantrex C40 Solar Charge Controller 40 Amps
40A rated output
Load and diversion control
Multi-color status indication
Simple installation
Pros
- Long-established design from a known charger brand
- Can also serve as a diversion or load controller
- Multi-color status gives quick visual feedback
- Straightforward installation and setup
Cons
- No Bluetooth or app connectivity
- Older non-MPPT design
- Carries a premium price next to modern MPPT controllers
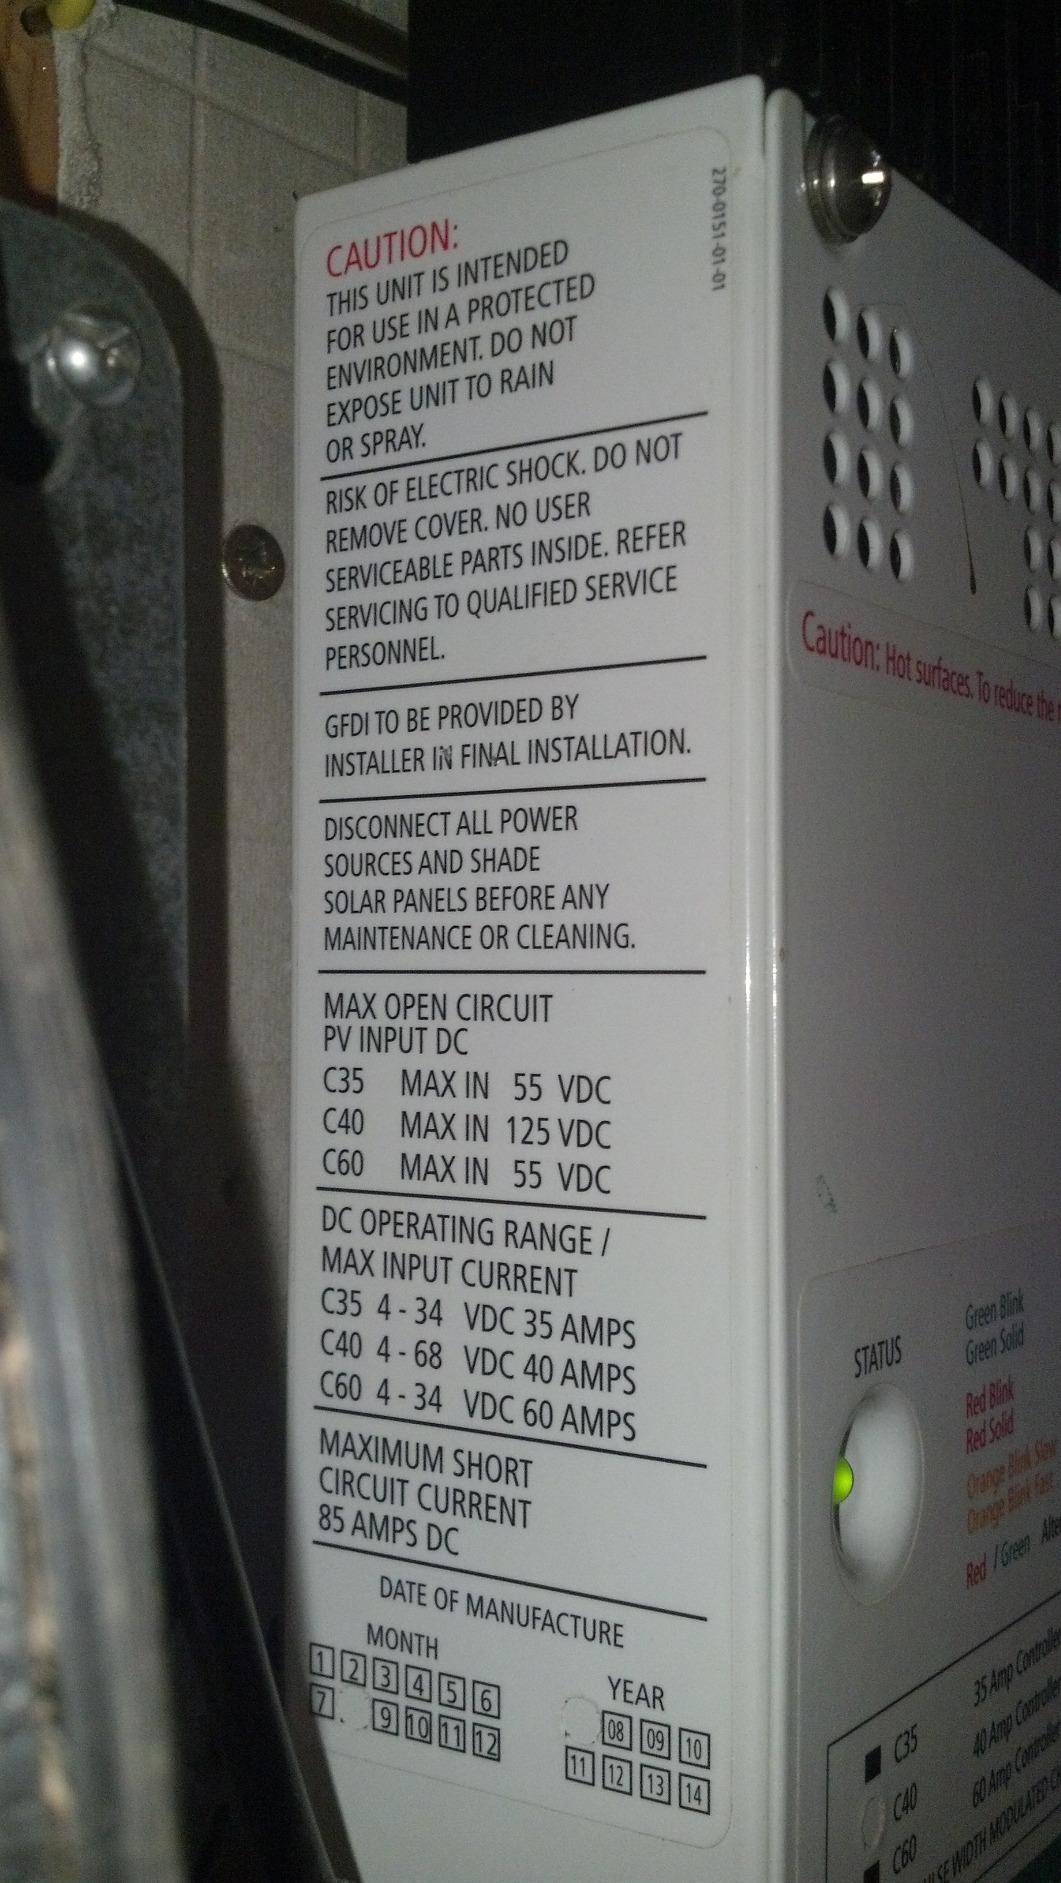
The Xantrex C40 earns its place for a specific reason: it doubles as a diversion or load controller. If your system has other charging sources you want to divert away, or a load you want the controller to manage directly, this is the unit in the list built for that job.
It is a 40A controller with multi-color charge status indication that gives quick visual feedback without any display to read. Setup is quick and simple, and at 4.4 across 124 ratings the report pattern is steady rather than exciting, which is what you want from a part you will never think about again.
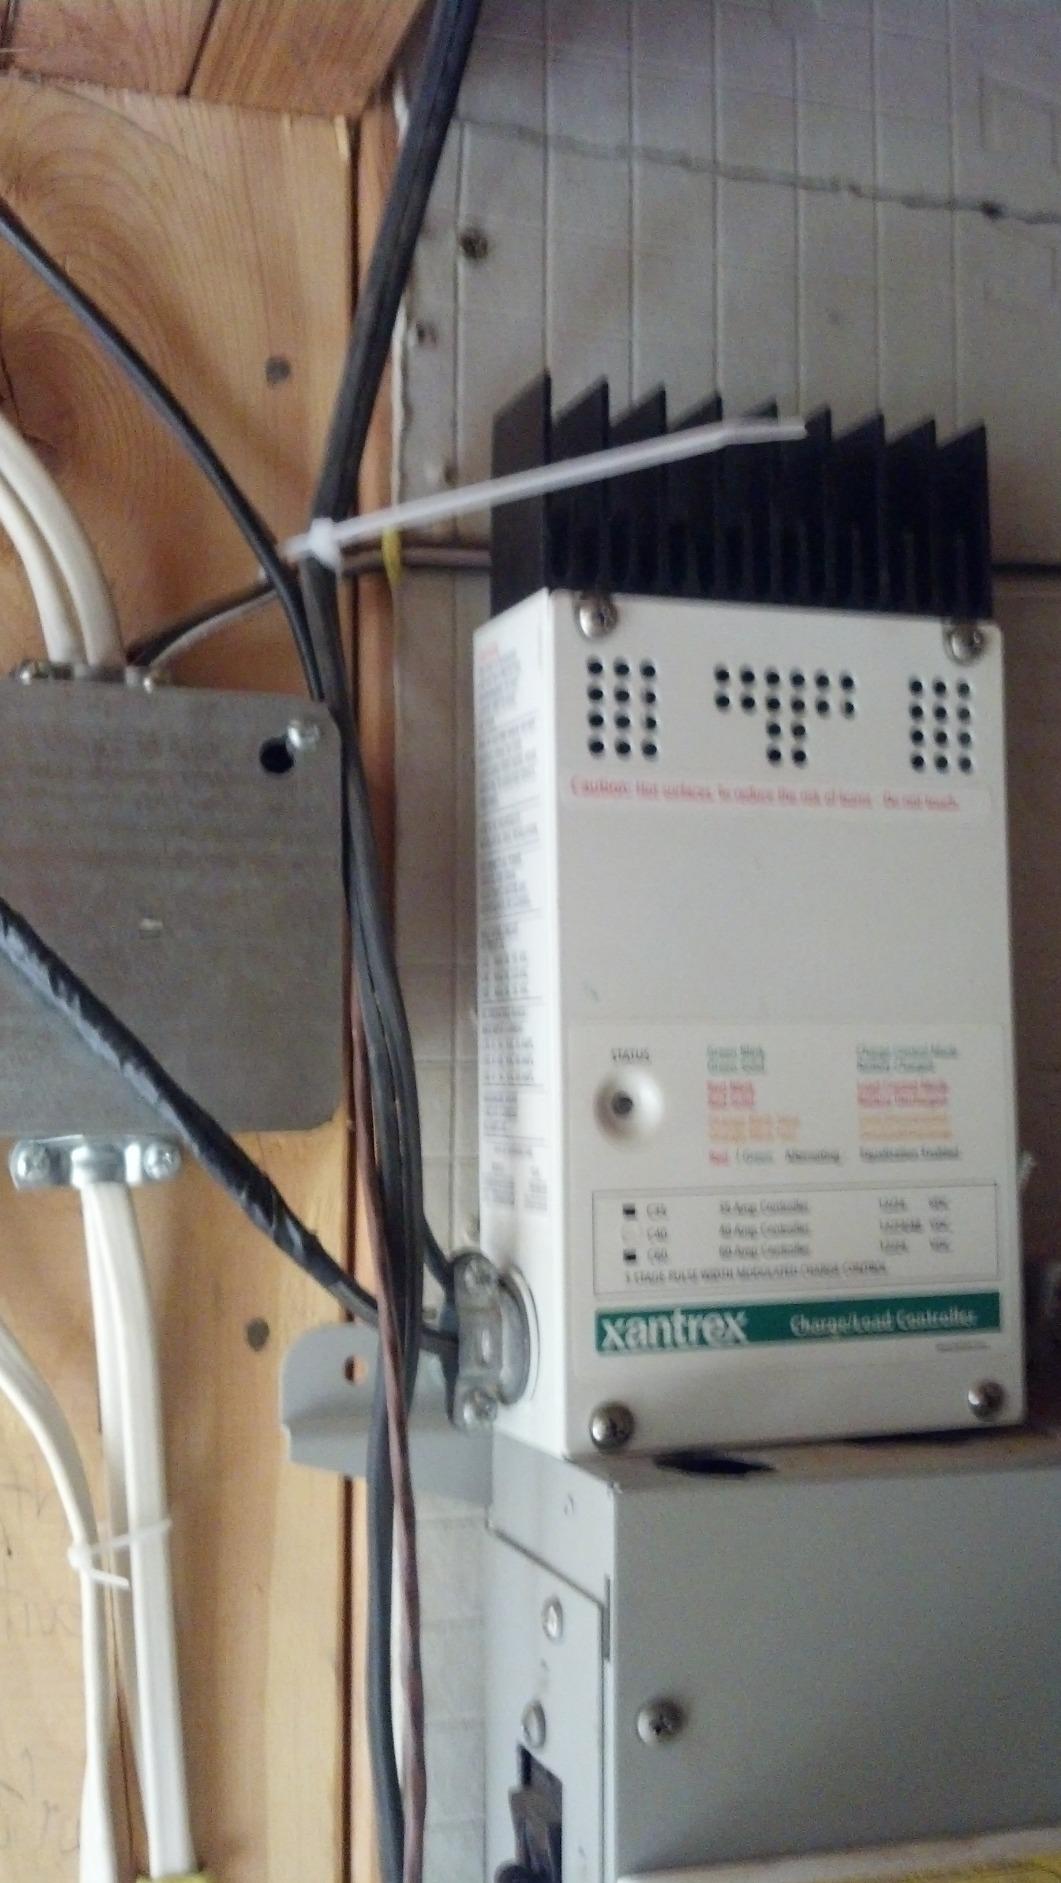
Be clear about what it is not. There is no Bluetooth, no app and no MPPT conversion, so a PWM architecture sits between your panels and the bank. For a small array that is an acceptable trade; for anything above roughly 200W of solar you give up real harvest every day.
The pricing sits near modern 40A MPPT controllers, and the design is older with a much lower category rank than the MPPT alternatives. If you are not using the diversion function, the Renogy Rover is a strictly better buy.
Who this suits
Installers running a dedicated diversion or secondary load alongside another charging source, who want status at a glance and nothing else. It also suits a very small array where a simple, proven controller is genuinely enough.
If you are replacing a factory unit and want more harvest, this is not the direction to go.
Who should skip it
Anyone with 200W or more of panel, since PWM conversion loses energy every sunny day. Also skip it if phone monitoring is a requirement, because there is no connectivity of any kind.
9. Renogy Voyager 20A PWM – Best for Small Weekend Arrays
Renogy Voyager 20A PWM Solar Charge Controller IP67 12/24V for Marine
20A PWM output
IP67 sealed housing
4-stage charging
12V and 24V auto
Backlit LCD
Pros
- Fully sealed IP67 housing survives rain and spray
- Backlit LCD shows current and voltage
- 4-stage algorithm handles flooded
- AGM and LiFePO4
Cons
- Battery voltage readings drift with the temperature sensor attached
- Newer versions removed the status LEDs
- Menu needs two buttons pressed together
This is the honest answer for a lot of readers, and it carries 635 ratings of owner history. If you run one 100W panel on a travel trailer for weekend camping, a 20A PWM controller in a fully sealed IP67 housing does the job without the cost or complexity of MPPT.
Owners consistently praise the waterproofing. One user reports the unit survived a full river flood without interruption, and the backlit LCD shows charging current, generated energy, temperature, battery voltage and error codes. Auto-detects 12V and 24V and starts charging immediately, with 4-stage PWM charging for gel, AGM and flooded plus lithium activation.
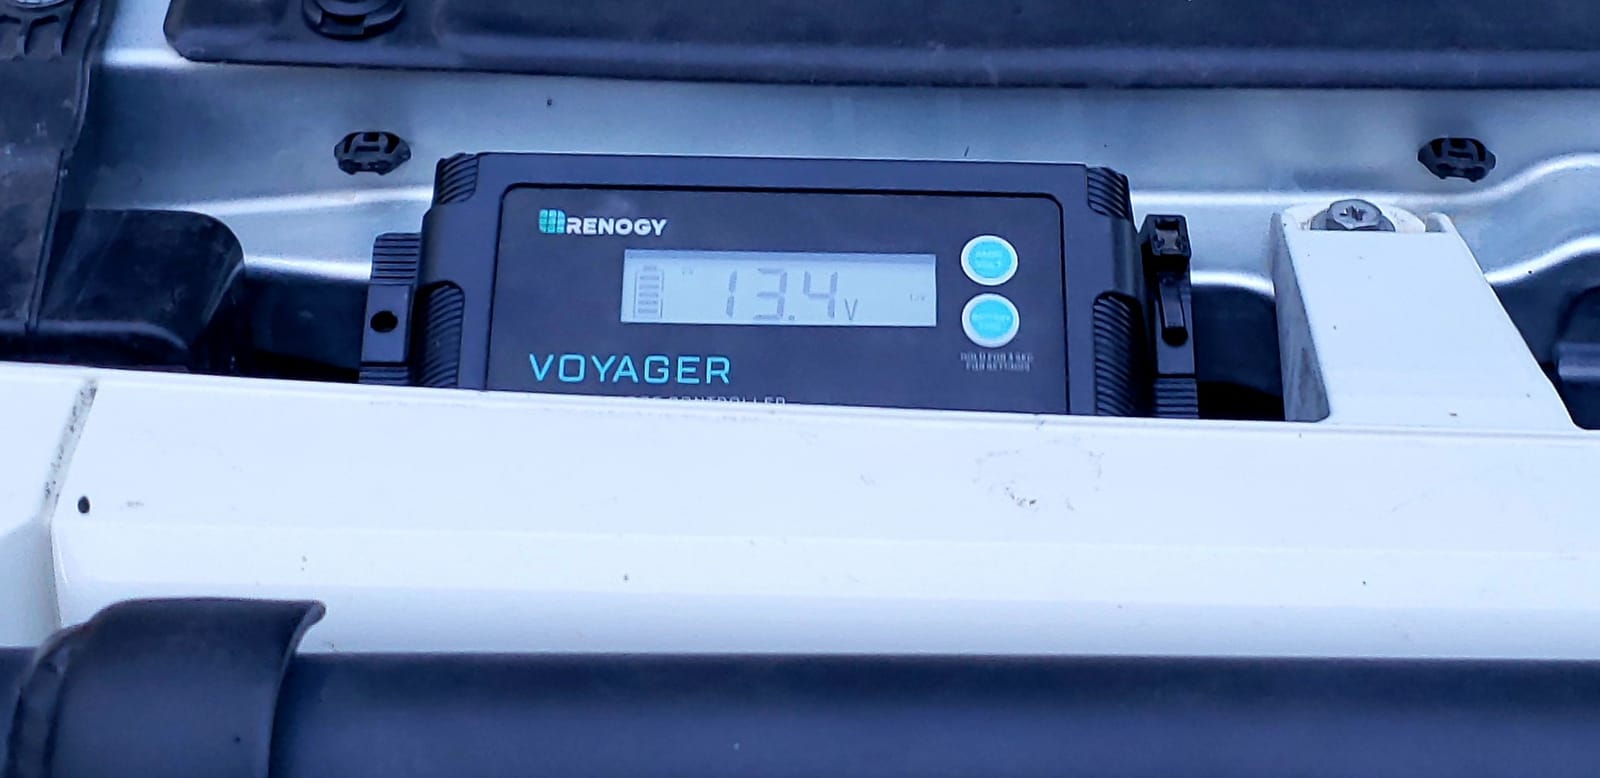
The well-documented weakness is display accuracy. Battery voltage readings can be off, and worse when the temperature sensor is attached, so verify with a multimeter if you are setting absorption voltages. Newer versions also removed the quick status LEDs, and the menu asks you to press two buttons together for important tasks.
At 8.8 ounces and 6.08 inches long, the low profile suits portable and trailer setups where space is tight. The lugs are small, so bare wire is often the only practical way to attach conductors.
Who this suits
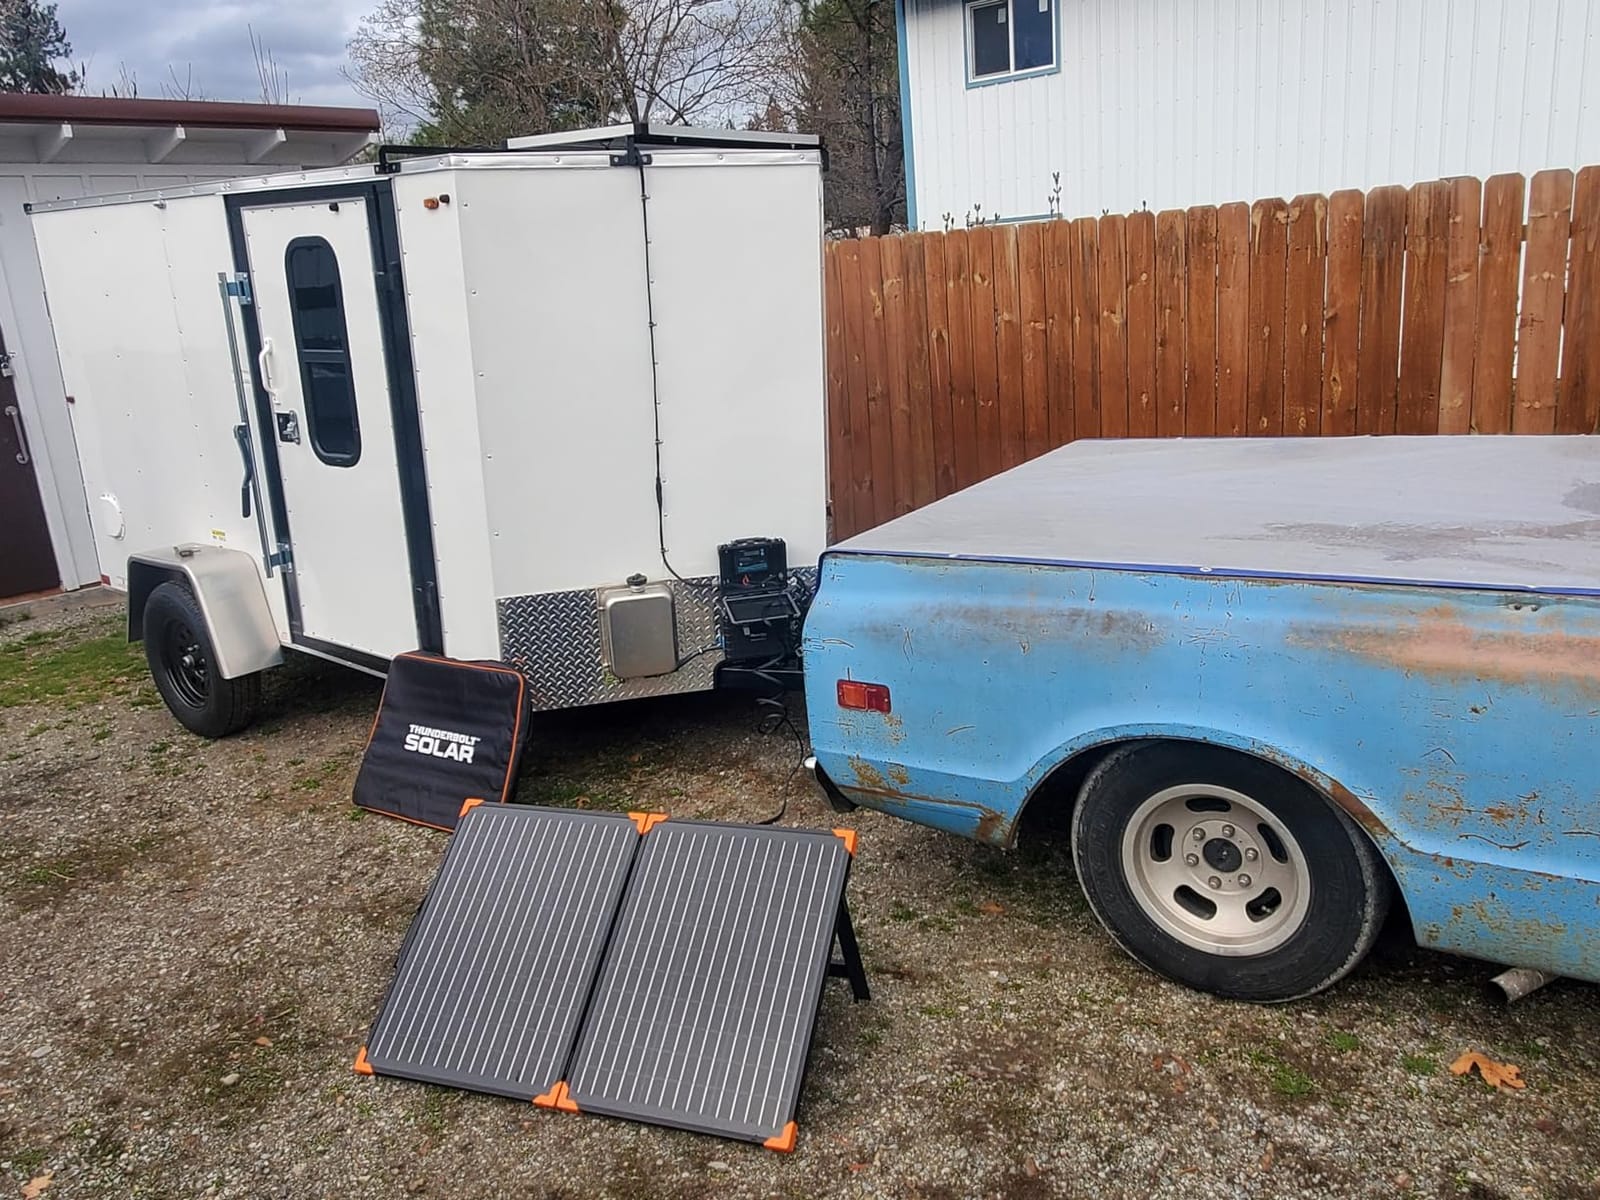
Weekend campers on a single small panel, owners of a portable solar suitcase setup, and anyone who needs a controller that can sit outside in the weather. It also makes a good low-cost second controller for a small auxiliary array.
Moving a 12V fridge off the battery on a 100W panel is realistic, and a CPAP machine at low draw is comfortable.
Who should skip it
Anyone crossing 200W of solar, where PWM conversion throws away energy and forum owners repeatedly report series wiring causing a PWM controller to cut out or run well under its rating. Do not put more than about 130W through it.
10. EPEVER Tracer 30A – Best for Heavy Cable and Big Connectors
EPEVER MPPT Solar Charge Controller 30A 12V 24V Auto Max PV 100V
30A charge current
100V max PV input
390W at 12V
99.5 percent tracking
RS485 Modbus
Pros
- Tracking efficiency above 99.5 percent with multi-peak recognition
- Large connectors accept 4 AWG cable easily
- Large heat sink surface dissipates well
- Works with user-defined lithium types
Cons
- Bulky body needs more mounting space than most units here
- Screw terminals have less contact area than clamps
- MPPT acquisition is slower to reach maximum power point
The EPEVER Tracer 30A is the pick we keep coming back to when a rig needs heavy cable. Owners and comparative testers rate its tracking and conversion performance as close to premium-brand units, with 99.5 percent tracking and 98 percent DC conversion efficiency on paper.
Total PV input of 100V with 390W of panel at 12V or 780W at 24V makes this a good fit for a 300W array with headroom to grow. It supports gel, AGM, flooded, sealed, LiFePO4 and user-defined lithium types, and battery temperature compensation is included with a sensor unit in the box.
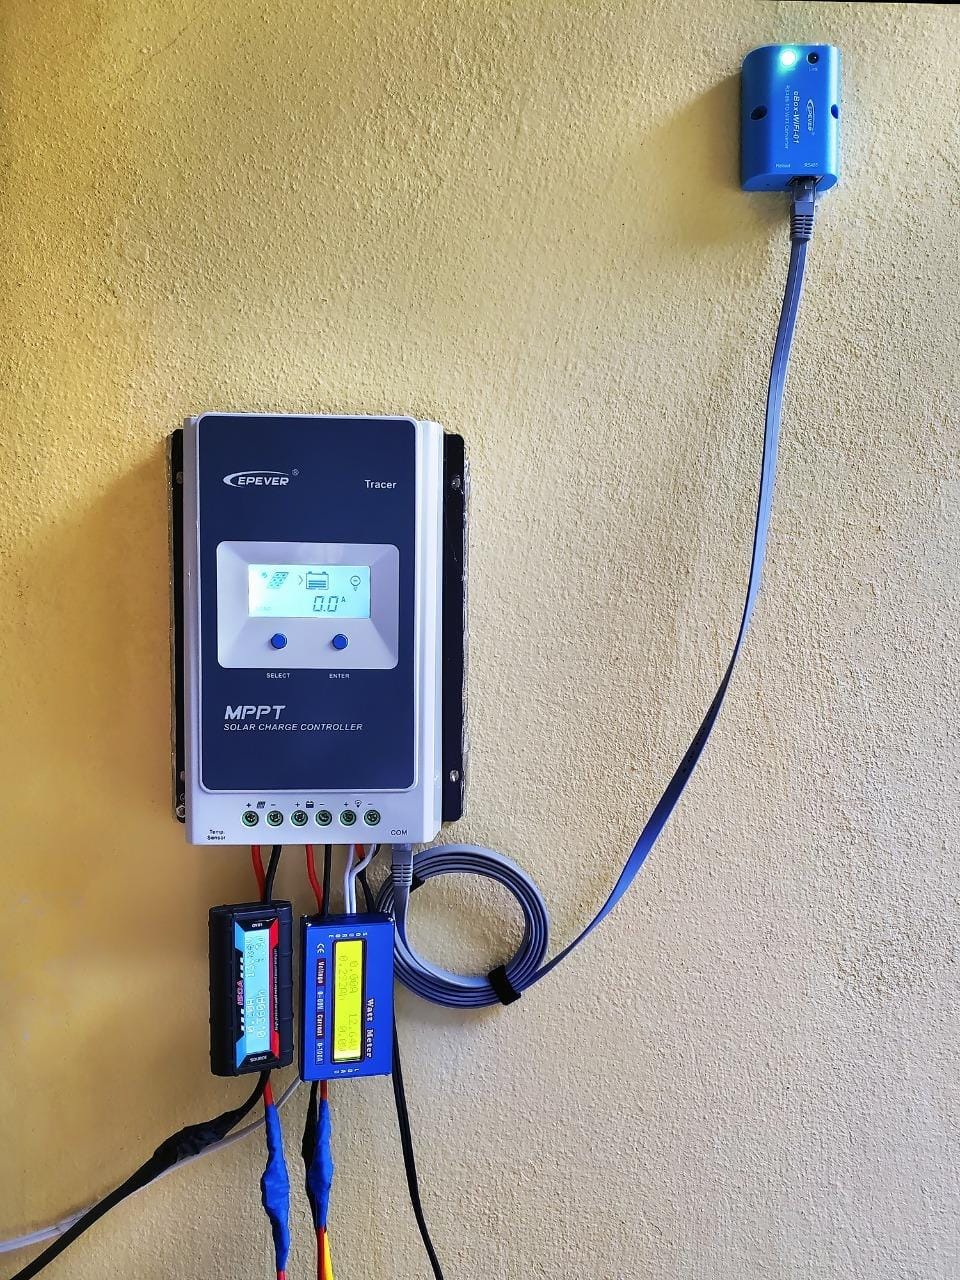
The connector sizing is the standout practical detail. The large connector openings accept 4 AWG cable easily, which removes one of the most common complaints about premium controllers in this list, and the heat sink surface is generous for steady dissipation.
The trade-offs are physical. At 1.26 kg and 8.98 by 6.46 inches it is one of the bulkier units here and needs a real mounting space. Screw terminals have less contact area than clamp-style connectors, and MPPT acquisition is slower to reach the maximum power point. Bluetooth and WiFi monitoring need separately purchased adapters.
Who this suits
Owners with thick cable runs who have fought tight terminals on other controllers, and anyone on a 300W array who wants MPPT tracking without moving up to a marque-name brand. The RS485 Modbus port also opens up monitoring options if you are comfortable with add-on modules.
It is a strong middle ground between an entry PWM unit and a marque-brand MPPT. Its connector sizing is the reason most buyers who try it move up from a PWM controller rather than choosing a different MPPT.
Who should skip it
Anyone short on mounting space in a crowded battery bay, since size is the main complaint. Also skip it if you need a long series string above 100V, or if you want phone monitoring without buying another accessory.
10 Best RV Solar Charge Controllers for Boondocking (October 2026): MPPT vs PWM for Off-Grid Power
Your panels produce roughly 16V to 20V in direct sunlight. A PWM controller simply throws away everything above the battery’s safe charging voltage, and the difference grows as temperature rises. An MPPT controller converts that excess voltage into extra current instead, so the same panel yields more.
The practical gain is usually cited at 20 to 30 percent more harvest, and the gap widens in cold or cloudy conditions, which is exactly when an RV boondocker needs the output most. MPPT units also accept a much higher panel input voltage, which is what allows series string wiring and thinner cable.
Now the honest downsides, because there are real ones. MPPT controllers cost more. They have more settings to configure, and a misconfigured lithium preset can quietly cap your output. Several of the budget brands advertise “MPPT simulating,” which is PWM in a nicer box. And in a very hot battery bay, a controller that is thermally throttling does not deliver the amps printed on the label.
Series wiring deserves its own warning. Panels wired in series on a PWM controller cause it to cut out or operate far below its rating, which is one of the most common complaints on RV owner forums. If your array needs series wiring to hit the voltage you want, an MPPT controller is not optional.
The sizing line worth memorizing is simple: 7.5 amps of controller per 100 watts of solar. Anything close to that gives you headroom for real-world losses.
10 Best RV Solar Charge Controllers for Boondocking (October 2026): How to Size Yours
Start with the formula and then check the example. A 400W array needs a 30A controller by the rule of thumb, but forum consensus keeps pushing people toward 40A, and r/vandwellers advise bumping the sizing by about 25 percent when you run lithium. Both are sound instincts.
Why the extra margin? Because rated amps are measured at a cool 25C. A battery bay in direct desert sun runs far hotter, and every controller in this class derates as ambient temperature climbs. The HQST switches on cooling fans above 113F, which is a hint about how quickly that matters.
Load math is the second input. A typical 12V RV fridge cycles hard and can draw 40Ah a day or more depending on ambient temperature, and a CPAP machine adds a steady overnight draw. Laptops and phones are minor. The controller only has to replace what you use plus what leaves the bank while you drive, so many weekend campers are oversized rather than undersized.
Expansion headroom matters more than people expect. If you might add a second panel next season, buy the next controller size up now rather than replacing in a year.
10 Best RV Solar Charge Controllers for Boondocking (October 2026): Battery Chemistry and Voltage
Lithium batteries do need a controller with a dedicated profile, and this is the question two of the most-searched ones point at. Charged with lead-acid bulk and absorption settings, a LiFePO4 bank gets held at voltages it should never sit at, and battery life suffers as a result.
Every controller in this roundup handles gel, AGM, flooded and LiFePO4, except where noted. The difference is how well it handles the cold-weather interaction: charging a lithium bank below 32F can plate lithium, so a low-temperature charging cut-off is close to mandatory for winter boondocking. The HQST cuts charging below 32F and discharging below 5F, and the BougeRV 40A pairs its low-temp cut-off with a dormant battery wake-up function.
For lithium, expect a bulk stage in the mid 14V range per 12V cell group, an absorption period that can be shortened or skipped, and a float that is either disabled or set near the same value as bulk, depending on the bank manufacturer’s recommendations. Check the battery maker’s numbers first and set the controller to match rather than guessing.
Voltage compatibility is broader than most people expect. The HQST, POWLAND, EPEVER and BlueSolar 150V all auto-detect 12V, 24V, 36V and 48V banks, so the same unit transfers if you move up to a larger coach.
If you are still on lead-acid, set the controller to the correct profile for your actual battery type. Gel, AGM and flooded all want different absorption and equalization behaviour, and a mismatch shortens battery life quietly.
10 Best RV Solar Charge Controllers for Boondocking (October 2026): Installation and Wiring
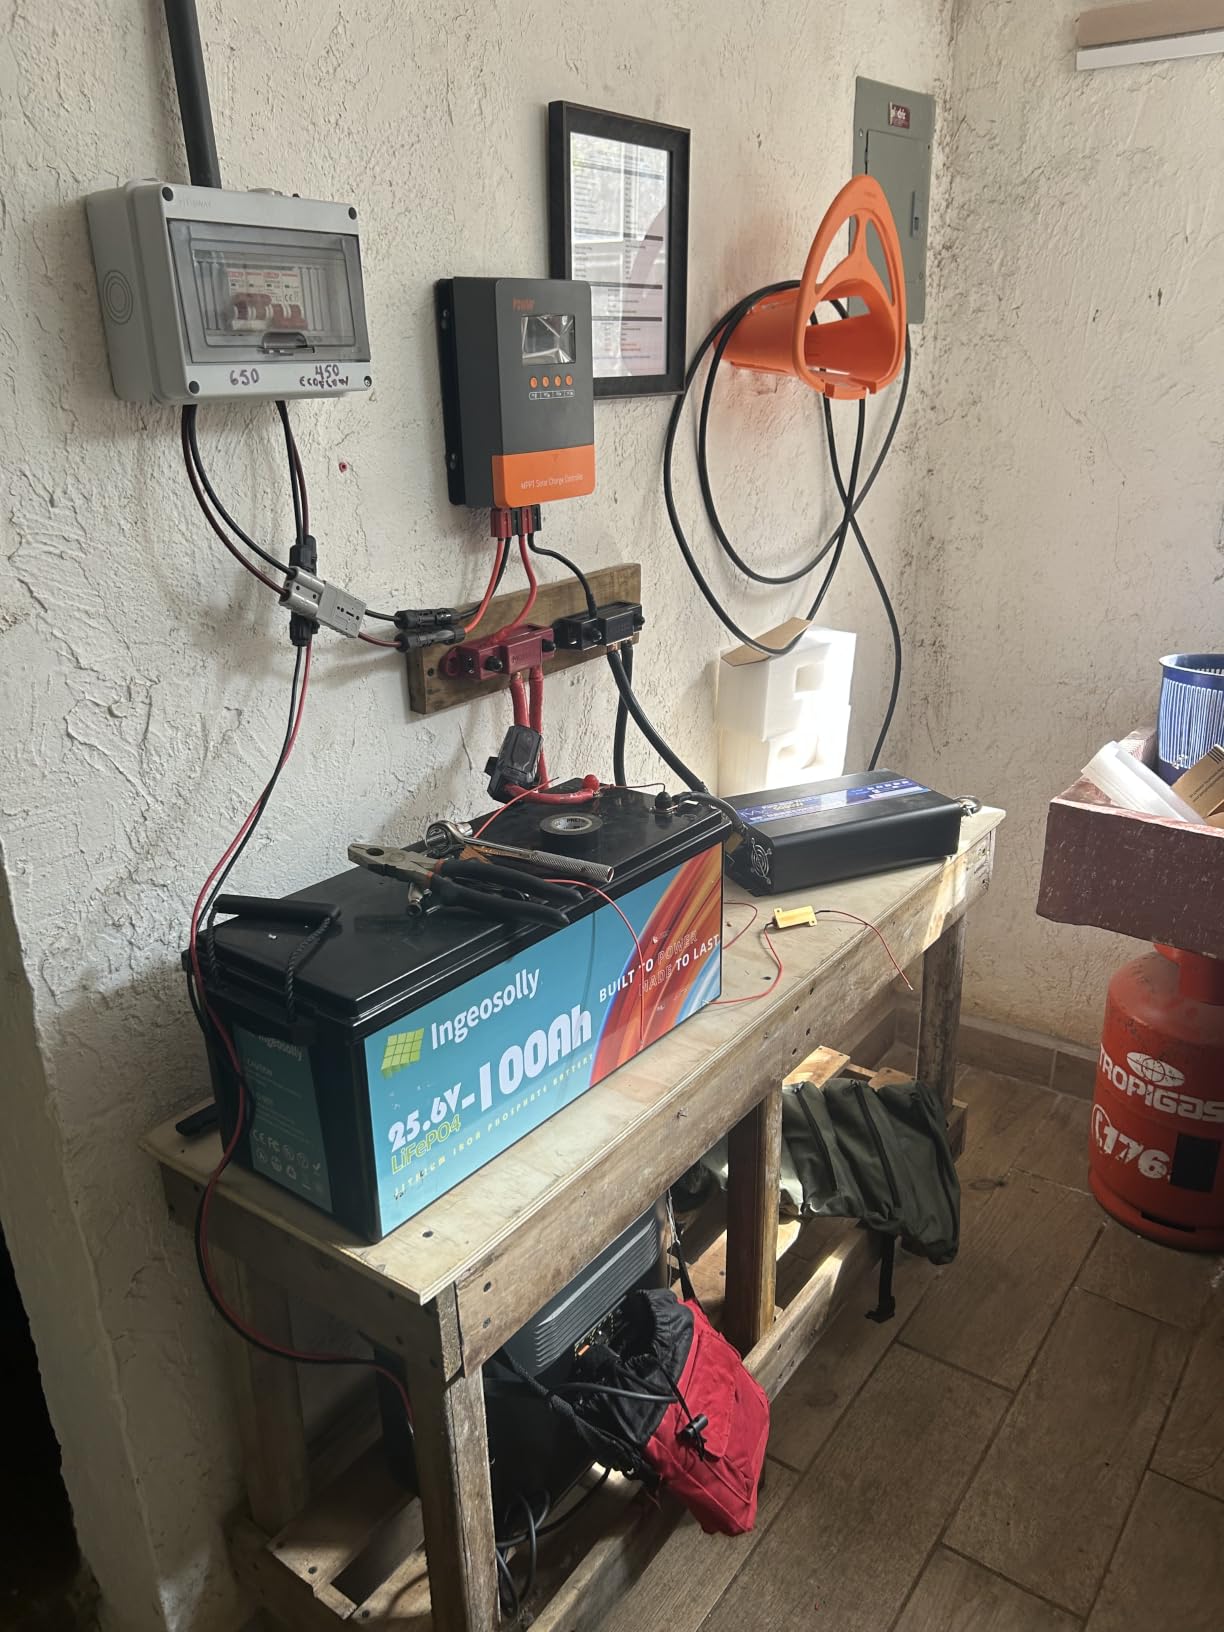
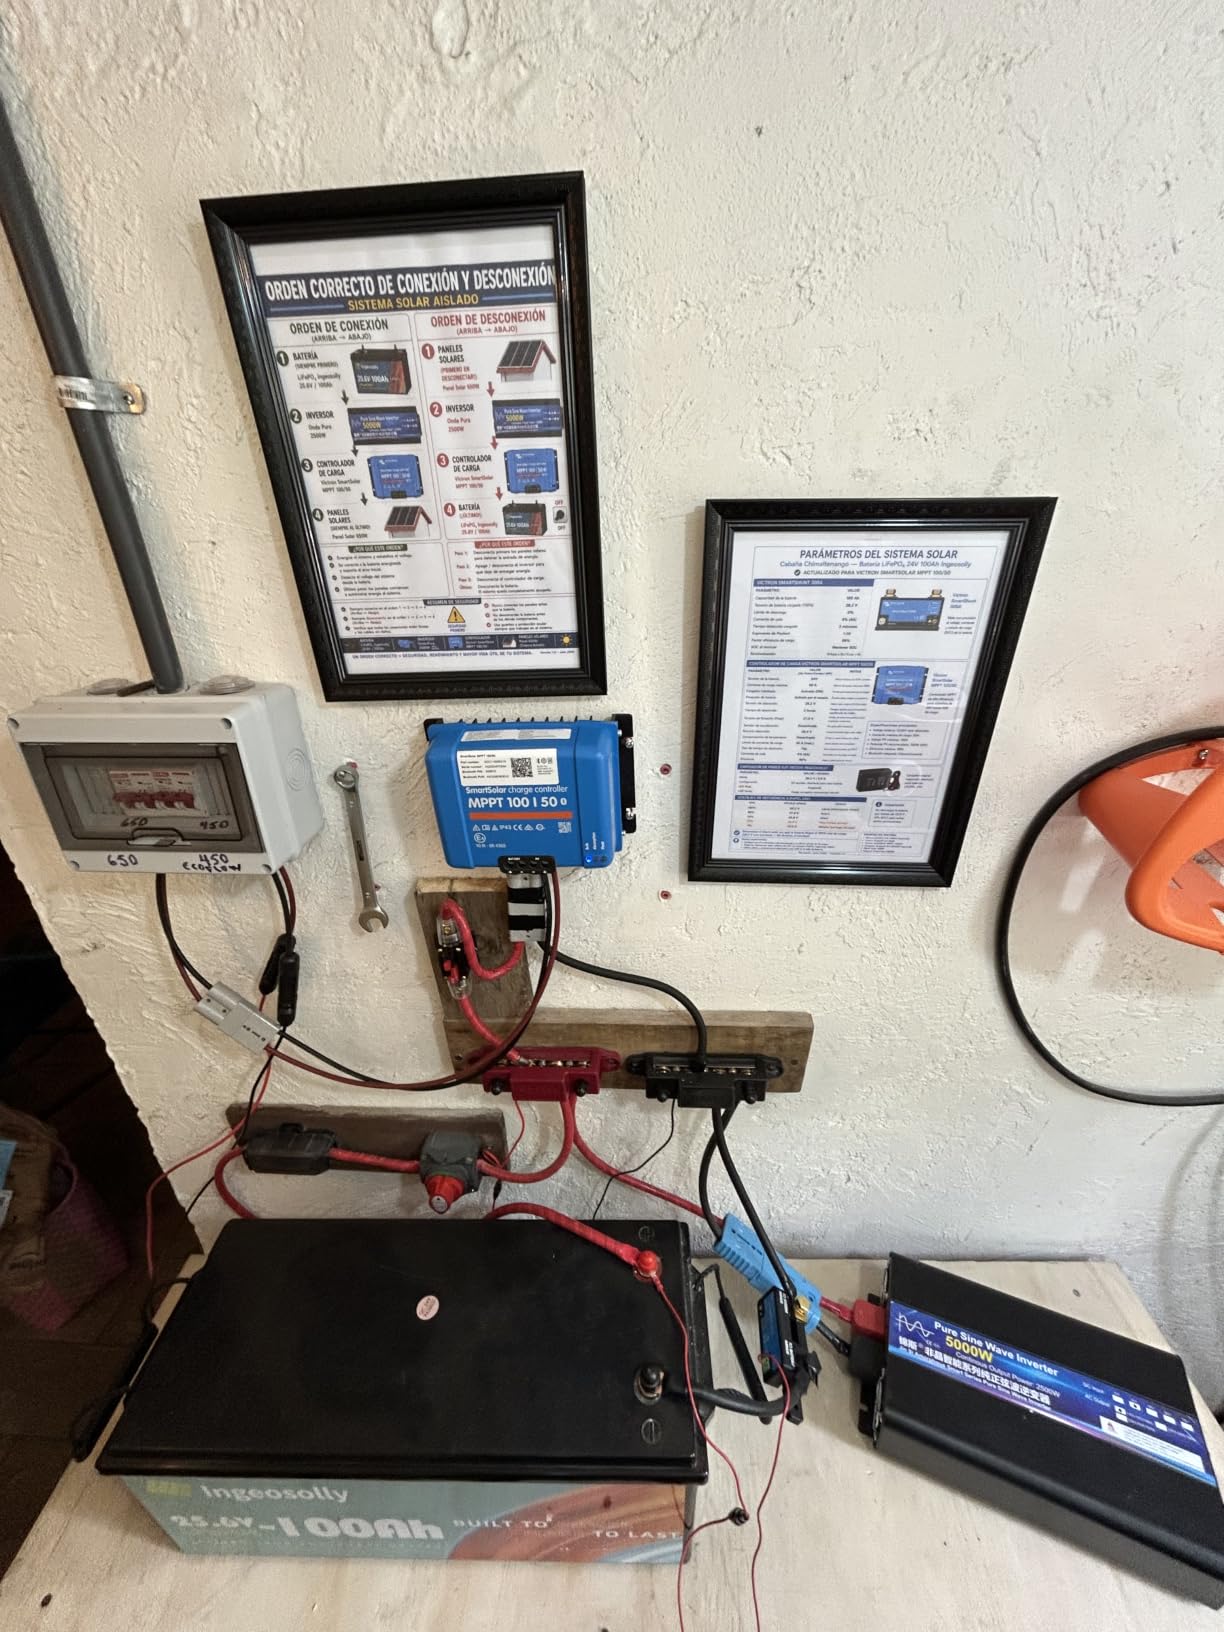
Connection order is the one rule nobody should skip: connect the battery to the controller first, then the panels last. Doing it in the wrong order can send panel voltage straight into an unconfigured controller and cause real damage.
Inline fusing goes on both the positive panel run and the positive battery run, sized to the conductor. The rule of thumb is that the fuse protects the wire, not the panel or the battery, so size it to the cable and never larger. Thread the fuse as close to the panel or battery as practical so a fault cannot energize an unprotected section.
Placement matters for two reasons. Keep the controller away from off-gassing batteries, which means above and away from the battery compartment rather than beside it, and give it airflow on the sides where the heat sinks are. Metal battery boxes get extremely hot and a controller mounted to one will derate earlier than its rating assumes.
On the LOAD terminal question: use it for small dedicated loads, a relay, or a lighting circuit where low-voltage disconnect is genuinely useful. For your main fuse box, wire straight to the battery. Routing a whole coach’s worth of current through a 20A load terminal is a good way to run a controller hot and trip a protection circuit.
Finally, the factory solar-ready port. If your RV came with a 10A controller, replacing it with one of the 30A to 40A units above is a genuine upgrade, not a dead end. Check whether the factory wiring and its fusing can carry the extra current before you connect a larger array, and remember that some factory ports also carry the RV’s own charge-sensing line.
10 Best RV Solar Charge Controllers for Boondocking (October 2026): Troubleshooting and Reset
Owners post the same complaint constantly: the controller shows no light and nothing is charging. Here is the order we would work through it, working from the simplest cause to the least likely.
First, disconnect the panels and look only at the battery side. The controller should show a battery indicator on its own. If it does not, the battery connection is the problem rather than the solar, so check polarity and the fuse on the positive battery run.
Second, reconnect the panels and watch the PV indicator. If the battery light is on but the panel light is not, the issue is on the array side: reverse polarity at the panel input, a tripped or blown panel fuse, or shade across the whole string.
Third, check the charge current reading against expectations. A controller that shows a charging indicator but zero current in full sun is often reporting a charge state it is not actually in. A control board that shows a current with no sun is a failed sense wire or a stuck display.
Fourth, reset it. Disconnect the battery, wait about 30 seconds, then reconnect the battery before the panels. Most units re-detect system voltage and battery type on that cycle. If the unit is dim rather than dead, a full disconnect of both connections is usually enough to bring the display back to full brightness.
Fifth, look at the error codes. Reverse polarity, overcharge, short circuit and over-temperature are the common ones, and the LCD on the Voyager and the HQST both display them directly. Persistent over-temperature means move the controller rather than ignoring the code.
Forum consensus also puts a couple of recurring causes near the top: panels wired in series on a controller whose max PV voltage is lower than the string voltage, and lithium banks charged with lead-acid setpoints. Both look like a charging failure and neither is a hardware fault.
Frequently Asked Questions
What is the best MPPT solar charge controller for an RV?
The Victron SmartSolar MPPT 100/50 is our pick for most RVers because it pairs genuine MPPT tracking with built-in Bluetooth, a heat-sunk metal case that holds output in hot battery bays, and the largest body of long-term owner feedback in the category. For a 200W to 400W array on a budget, the Renogy Rover 40A delivers 98 percent conversion with a remote temperature sensor included. For very large banks or long series strings, the HQST 100A offers 150V of panel input headroom.
What size MPPT controller do I need for a 400W solar panel?
A 400W array needs at least a 30A MPPT controller using the 7.5 amps per 100 watts rule, but we recommend stepping up to 40A. Rated output is measured at a cool 25C, and a hot desert battery bay derates the output, so the extra 25 percent margin recommended by owners on r/vandwellers is sensible insurance. A 40A controller also leaves room if you add a panel later.
What are the downsides of using an MPPT charge controller?
MPPT controllers cost more than PWM units, carry more settings that can be misconfigured, and some budget brands advertise MPPT simulating, which performs like PWM. A misconfigured lithium preset can quietly limit current to a fraction of available panel output. They also draw marginally more standby power, and a controller mounted in a hot battery bay will thermally throttle below its rated current.
Do lithium batteries need a special solar charge controller?
Yes, in practice you want a controller with a dedicated LiFePO4 profile. Charged with lead-acid bulk and absorption setpoints, a lithium bank is held at voltages it should never see, which shortens battery life. For winter boondocking, also look for a low-temperature charging cut-off, since charging a lithium bank below 32F can plate lithium. The HQST and BougeRV 40A both include one.
What are the recommended charge controller settings for a lithium battery?
Start from your battery maker’s numbers rather than a generic guide. Expect a bulk stage in the mid 14V range for a 12V bank, a shortened or skipped absorption stage, and a float that is either disabled or set close to the bulk voltage. Never equalize a LiFePO4 bank unless the manufacturer explicitly allows it. Set the controller to the lithium profile and confirm the values with a multimeter.
How do I reset my solar charge controller?
Disconnect the battery connection first and wait about 30 seconds, then reconnect the battery before touching the panels. Most controllers re-detect system voltage and battery type during that cycle, and a dim or unresponsive display usually comes back to full brightness. If the unit still shows no light, check the positive battery fuse and terminal polarity before assuming the controller has failed.
Will a 200W solar panel run a 12V fridge?
Yes, with a 12V compressor fridge it works well, and it is one of the most common reasons owners step up from 100W to 200W. Budget roughly 40Ah a day depending on ambient temperature, and a 200W panel typically produces enough to cover that plus small overnight loads. Pair it with a controller of at least 20A, and remember a compressor fridge draws hardest on hot days when solar production is also lower.
Is a 10A solar charge controller enough for boondocking?
A 10A controller is enough for a single 100W panel and nothing more, which is exactly why many factory solar-ready RVs underperform. That port typically caps out at roughly 100W to 130W of panel, and owners often discover it only after a season of poor charging. If you have more solar than that, or plan to add a panel, replacing the factory controller with a 30A to 40A MPPT is a genuine upgrade.
10 Best RV Solar Charge Controllers for Boondocking (October 2026): Conclusion
The best RV solar charge controllers for boondocking come down to how much solar you have and how far from a cell signal you plan to sit. On a 200W to 400W array with a LiFePO4 bank, the Victron SmartSolar MPPT 100/50 is the most proven choice in 2026, with heat handling and built-in monitoring that justify the outlay.
If value matters more than brand, the Renogy Rover 40A is the one we keep coming back to, with a temperature range that suits both desert and winter. Large banks and long series strings point to the HQST 100A. A single 100W panel on a weekend trailer is honestly served by the Renogy Voyager 20A, and an aging factory solar-ready port is a good reason to upgrade to the BougeRV 40A.
Whatever you pick, size to 7.5 amps per 100 watts, give it a 25 percent margin in hot climates, and connect the battery before the panels every time.