
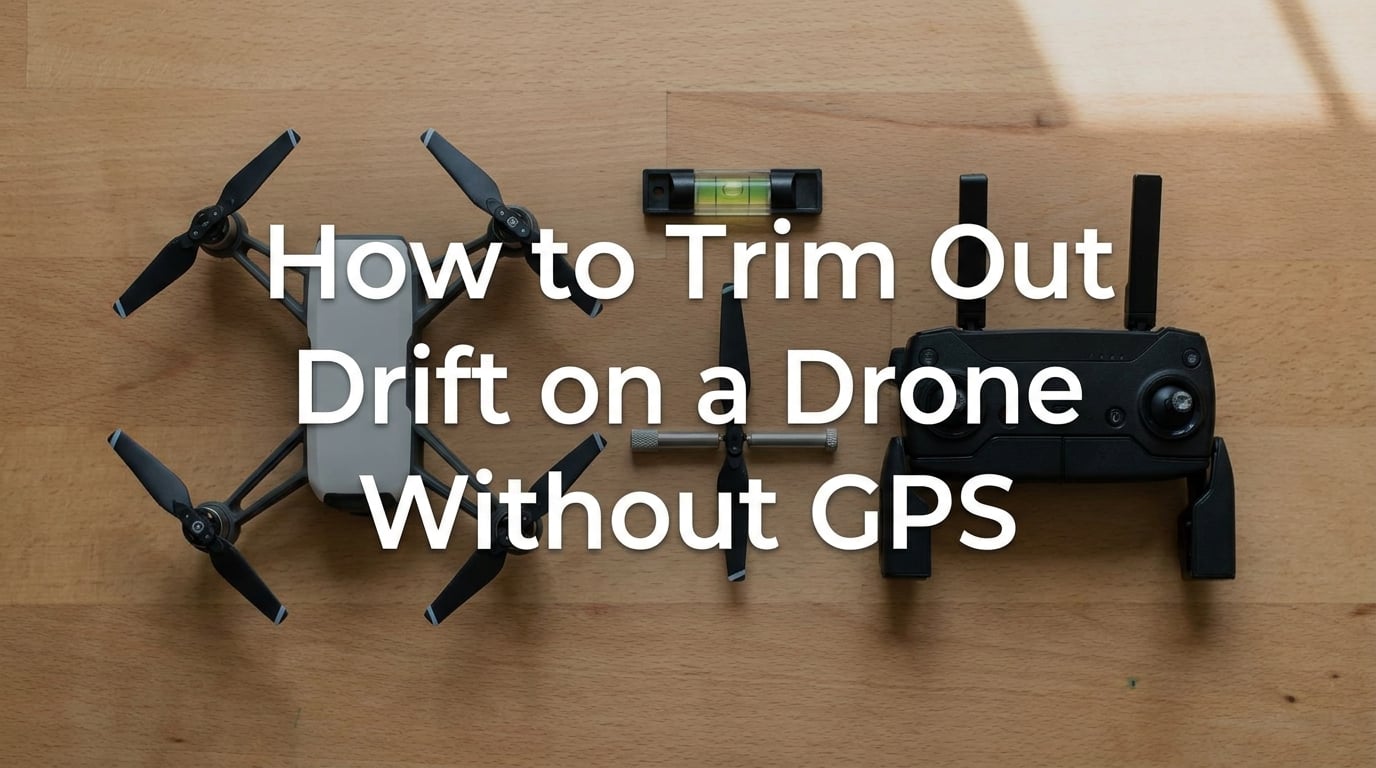
I remember my first indoor hover test. The drone lifted off, looked steady for about two seconds, then started sliding sideways like it was on a conveyor belt. I had no GPS lock, no idea what was happening, and no easy way to fix it. That little drift problem is exactly why I wrote this guide on how to trim out drift on a drone without GPS.
In this article, I’ll walk you through why your drone drifts when there is no satellite signal, the exact trim procedure I use on both consumer and FPV quads, and the calibration steps that make a real difference. We will cover accelerometer calibration, the difference between angle mode and stabilize mode, and the cases where trim simply cannot fix the problem.
If you fly indoors, in tunnels, near buildings, or anywhere your receiver cannot see enough satellites, the techniques below will save you hours of frustration.
Table of Contents
Why Drones Drift Without GPS: The IMU and Sensor Story
Drones drift without GPS because their flight controllers can only react to motion they can measure, not motion caused by wind, frame imperfections, or sensor error. When GPS is available, the controller compares its current coordinates to a target and fires motors to hold position. Remove that GPS reference and the drone has no fixed point in space, so any tiny imbalance pushes it off course.
That “tiny imbalance” comes from the inertial measurement unit, or IMU. The IMU is a tiny chip that combines an accelerometer and a gyroscope. The accelerometer measures gravity and tilt, while the gyroscope measures rotation speed. Together they tell the flight controller which way is up, how fast the drone is rotating, and how much thrust each motor needs.
Even the best IMUs have small errors. A consumer-grade accelerometer might be off by 0.2 degrees. That sounds tiny, but multiplied across four motors running at thousands of RPM, it produces a steady sideways force. Over five seconds of hover, that drift can carry your drone three or four feet off its launch point. Wind makes it worse because the drone has no GPS anchor to fight against.
This is where trim comes in. Trimming a drone means telling the flight controller, “the level you think I am at is slightly off, please compensate.” You can do that through stick commands on the transmitter, through trim buttons on a consumer remote, or through software settings in Betaflight or similar configurators. Trim does not fix a bad sensor. It simply adds an offset that cancels out the average error.
Angle Mode, Horizon Mode, and Stabilize Mode Explained
Most consumer and FPV drones offer at least three self-leveling or semi-leveling modes. The mode you fly in changes how the drone handles drift when there is no GPS.
Stabilize mode is the rawest mode. When you center the sticks, the flight controller stops actively leveling the aircraft. It just maintains whatever attitude it has at that moment. Without GPS, a perfectly calibrated stabilize quad can hover almost still if your IMU is healthy and there is no wind. If it drifts, you simply nudge the stick back.
Angle mode, also called self-level mode, constantly returns the drone to level. The instant you let go of the sticks, it tries to flatten itself. Without GPS, this constant leveling fight is where most of the drift comes from. The accelerometer says, “I am tilted two degrees left, push right.” The drone pushes right, but a slight calibration error makes it push too hard. Now it is tilted right. The controller fights that too. You end up with a slow oscillation across the floor.
Horizon mode is a blend of the two. It self-levels at low stick inputs but allows flips and rolls at full stick. For beginners, horizon mode feels the most natural, but it also suffers from angle mode drift in the same way.
If you want the least drift without GPS, fly in stabilize mode. If you want the most help staying level, fly in angle mode and accept that you will need to trim and to keep your fingers on the sticks.
How to Trim Out Drift on a Drone Without GPS: Step-by-Step Procedure
There are three ways I trim drift depending on what drone I am flying. Consumer drones use physical trim buttons on the controller. FPV quads use a stick command sequence. Betaflight and similar firmwares let you adjust trim directly in software. Below are the exact steps for each.
Pre-Flight Checklist Before Trimming
Before you touch a single trim setting, run through this quick list. Skipping it is the number one reason pilots think they fixed drift only to see it come back.
- Fully charge the drone battery and the transmitter battery.
- Place the drone on a perfectly flat, hard surface. A wobbly table ruins the result.
- Remove the propellers if you are doing a stick command trim indoors.
- Make sure the IMU has had at least 30 seconds to warm up after power-on.
- Fly at least three to five feet off the ground. Trim at ground level is meaningless because of ground effect turbulence.
The Stick Command Trim Method (FPV and Betaflight)
This is the method I use on every FPV quad I build. It teaches the flight controller a hover offset without ever leaving the ground.
- Power on the transmitter first, then the drone. Wait for the flight controller to initialize and the receiver to bind.
- Arm the motors. Keep the drone tied down or held firmly. I usually grip the frame with both hands at this stage.
- Bring the throttle stick to full. The motors will spin up to maximum. The drone will try to lift, but you are holding it still.
- While the throttle is pinned, push the pitch, roll, and yaw sticks in the opposite direction of the drift you noticed on your last flight. For example, if the drone drifts forward, pull the elevator stick back. If it yaws right, push the rudder left.
- Hold that correction for three to five seconds. The flight controller is recording the average stick input as the new hover offset.
- Drop the throttle back to zero. The motors will stop.
- Disarm the quad. Power cycle everything and test the hover.
I usually repeat this two or three times because the first pass rarely nails it. Each repetition sharpens the trim until the drone hovers within a foot of its launch point.
Trim Buttons on Consumer Drones (DJI Mini, Mavic, Phantom-Style Controllers)
If you fly a hobby-grade drone with a transmitter that has physical trim switches, the process is even simpler.
- Hover the drone at eye level in a calm indoor space or outdoors in still air.
- Let go of the right stick. Watch which way the drone slides over five to ten seconds.
- Tap the trim button on the opposite side of the drift. Most controllers beep with each tap.
- Re-hover and re-check. Stop trimming when the drone holds its position for at least 10 seconds without input.
- Repeat for yaw if the drone rotates in place.
Be aware that some consumer drones save trim per flight mode. If you change from angle mode to sport mode, you may need to retrim. I learned this the hard way flying a DJI Mini indoors on a windy day.
Betaflight Software Trim for FPV Pilots
Betaflight gives you the most precise trim available because you can dial in the exact offset rather than rely on stick memory.
- Connect the flight controller to your computer via USB and open the Betaflight Configurator.
- Go to the Setup tab and confirm the accelerometer graph shows the drone as level on all axes.
- Switch to the Configuration tab and verify your aircraft is sitting flat. If the artificial horizon is tilted, recalibrate the accelerometer.
- In the Receiver tab, look at the stick centers. They should sit at exactly 1500 for throttle, roll, pitch, and yaw.
- For software trim, open the CLI tab and use the command set small_angle to set the autotrim threshold. Then use the stick command trim method above to autotrim the drone.
- Alternatively, set the rate and expo values, then fly for two minutes and re-check the receiver tab to confirm no stick is biased off-center.
Software trim is faster, but it requires you to trust the IMU readings on screen. I always cross-check by doing a real hover test in a still room before I call it done.
Calibrating the Accelerometer for Cleaner Hover
Trim and calibration are different tools. Trim is a small offset added to compensate for sensor error. Calibration is teaching the sensor what “level” looks like in the first place. If your calibration is wrong, no amount of trim will hold the drone still.
The most reliable method I have used is the spirit level method. You place a small bubble level on top of the flight controller and adjust the drone’s position with paper shims until the bubble reads true. Then you put the drone into accelerometer calibration mode through the firmware.
In Betaflight, the steps are:
- Place the drone on a flat surface and verify it is actually level with a real spirit level, not just your eyes.
- Open Betaflight Configurator, go to Setup, and click “Calibrate Accelerometer.”
- The drone must remain perfectly still for the next 10 seconds. Do not touch the table.
- When the progress bar completes, click “Save and Reboot.”
- Re-bind the transmitter and re-arm.
For consumer drones, accelerometer calibration is usually done through the app. Open the calibration menu, place the drone on a flat surface, and let it sit until the app confirms success. Resist the temptation to hold the drone in your hand during calibration. Even a small tilt at this stage becomes a permanent drift.
I recalibrate the accelerometer on every drone at least once a month. IMUs drift slowly over time, especially in cheap boards. A quick recalibration takes two minutes and removes 80 percent of hover drift before I even think about trim.
When Trim Is Not the Answer: Hardware and Drift Diagnosis
Sometimes trim does nothing because the drone has a physical problem that software cannot fix. Before you spend an hour trimming in circles, run through this 7-point hardware checklist.
- Frame level. Place a spirit level on the top plate. If the bubble is off, shim the landing gear until it reads true. A warped frame pushes thrust at an angle no matter what trim you apply.
- Propeller balance. Spin each prop on a prop balancer. A heavy spot creates vibration that the gyroscope reads as constant rotation, which the controller tries to correct.
- Propeller condition. Look for nicks, bends, or hairline cracks. A slightly bent prop produces asymmetric thrust that feels exactly like drift.
- Motor health. Spin each motor by hand. It should feel smooth and free. Grinding, clicking, or resistance means a bearing is going out. Replace the motor before you trim anything.
- Center of gravity. If you added a heavier camera or a bigger battery, the new CG may be off-center. Add ballast or shift the payload forward or backward until the drone balances on a pencil tip.
- Wind and environment. Indoor HVAC vents and even the air from a ceiling fan create steady drift that no trim can fight. Move to a still room.
- Firmware bugs. Check the release notes for your flight controller firmware. Some Betaflight versions had known accelerometer issues that were patched in later releases.
Yaw drift is its own beast. If your drone spins continuously without GPS, the problem is almost always a magnetometer reading interference or a bad compass calibration, even indoors. Move the drone away from any metal objects, recalibrate the compass, and re-test. If yaw drift continues, you may have a faulty flight controller.
I also keep a simple test: I fly the same drone at the same hover height in the same room twice in a row. If the drift direction is consistent, it is calibration or trim. If the drift direction is random each time, it is almost always a hardware issue.
GPS-Denied Navigation Alternatives Worth Knowing
If you fly professionally indoors or in GPS-denied environments for inspections, trim alone will not give you the position hold you need. That is where optical flow and visual-inertial odometry come in.
Optical flow sensors use a downward-facing camera to track the texture of the ground. The flight controller compares successive frames to calculate how far the drone has moved. This gives pseudo-GPS position hold indoors. The DJI Mini series uses optical flow for indoor hover, which is why it drifts far less than an FPV quad in the same room.
Visual-inertial odometry, or VIO, combines a stereo camera with the IMU to build a 3D map of the surroundings. Systems like the Intel RealSense T265 and the Luxonis OAK-D can hold position within centimeters even with no GPS at all. ArduPilot and PX4 both support these sensors for autonomous indoor flight.
For hobby pilots, the simplest upgrade is a drone with optical flow built in. For commercial pilots, VIO is becoming the standard for indoor inspection. Either way, these systems do not replace good trim habits. They build on top of them.
Frequently Asked Questions
How do I stop my drone from drifting without GPS?
Start by recalibrating the accelerometer on a perfectly flat surface. Then use the stick command trim method by arming the quad, holding full throttle, and pushing the control stick opposite to the drift for three to five seconds. Repeat two or three times until the drone hovers within a foot of its launch point.
Why does my drone drift even after calibration?
Drift after a fresh calibration usually points to a hardware issue. Check that the frame is truly level with a spirit level, that all four propellers are balanced and undamaged, and that no motor has a bad bearing. Wind from HVAC vents or ceiling fans also creates drift that no software fix can solve.
What is trim mode in drones?
Trim mode is the practice of telling the flight controller that its current understanding of level flight is slightly off. You do this by adding a small offset through the transmitter trim buttons, through stick commands, or through software settings in Betaflight or similar configurators.
Can drones fly without GPS at all?
Yes. Drones fly without GPS every day using only their IMU, accelerometer, and gyroscope. The trade-off is that they cannot hold a fixed position automatically, so pilots either fly in stabilize mode and correct manually or use optical flow or visual-inertial odometry sensors for indoor position hold.
Why is my drone not hovering straight?
The most common causes are an out-of-calibration accelerometer, an unlevel frame, unbalanced propellers, or a worn motor bearing. Run a fresh accelerometer calibration on a flat surface, then check each motor and prop before adjusting trim.
How do I fix yaw drift on my drone without GPS?
Yaw drift indoors usually comes from a magnetometer reading magnetic interference from nearby metal or electronics. Move the drone to a different spot, recalibrate the compass if your firmware supports it, and re-test. If the spinning continues, the gyroscope may be failing and the flight controller should be checked.
Final Thoughts on Trimming Drift Without GPS
Learning how to trim out drift on a drone without GPS comes down to three habits: calibrate the accelerometer on a truly flat surface, trim using stick commands or software after every firmware change, and check the hardware before assuming the software is at fault. Do all three consistently and your drone will hover within inches of where you launched it, even in a closed room.
Pick one drone in your fleet, run through the steps in this guide this weekend, and notice the difference on your next indoor flight.