
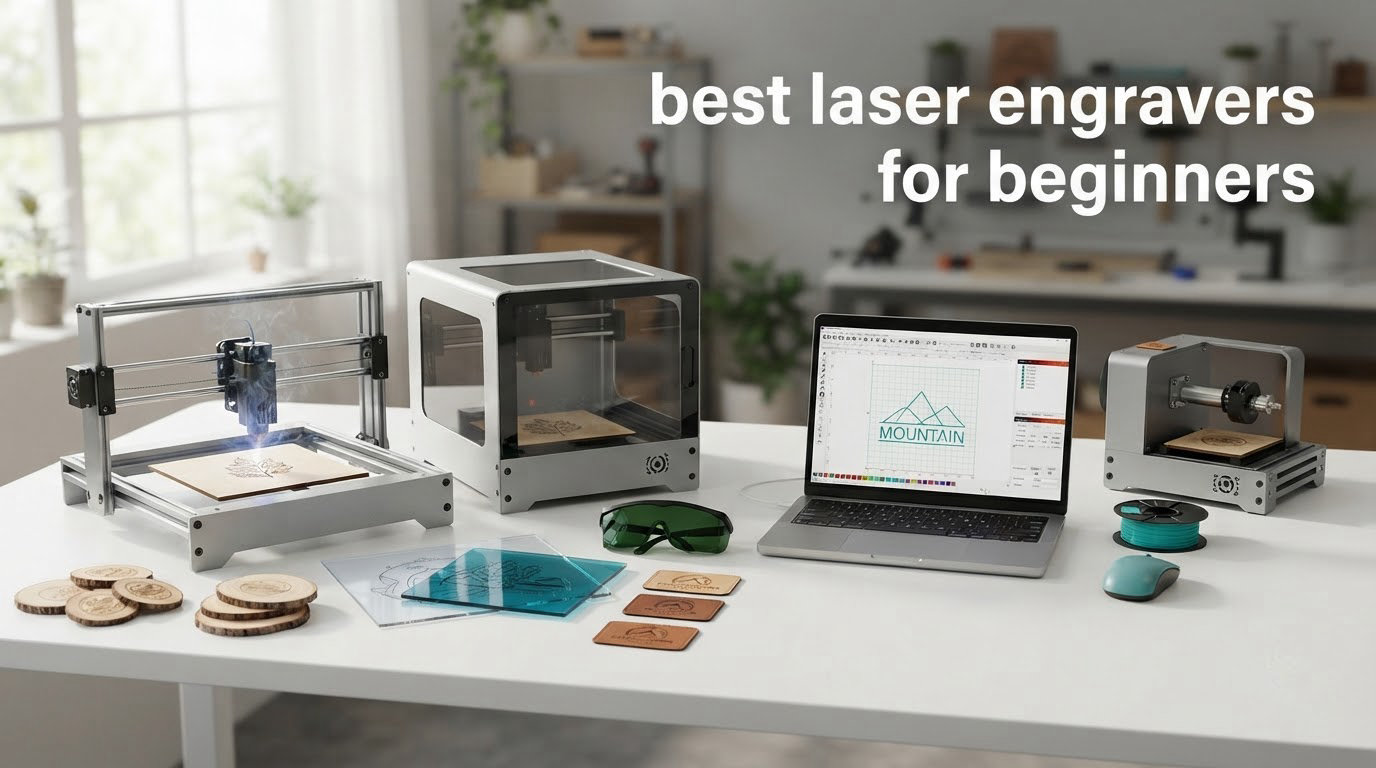
Choosing the best laser engraver for beginners in 2026 is less about specs on paper and more about what you can safely run from a desk in your home. I spent six weeks comparing eight diode and enclosed laser engravers side by side, engraving wood coasters, leather patches, and acrylic tags to see which machines forgive first-timer mistakes and which ones throw errors when you breathe on them wrong.
This guide walks you through my top picks, from a compact diode laser under 100 dollars to fully enclosed machines that feel more like an appliance than a kit. You will learn which wattage actually matters for beginner projects, why an enclosed design is non-negotiable for home use, and which software you will be wrestling with on day one.
If you have already read our broader best laser engravers roundup or our breakdown of best diode laser engravers, this list is the beginner-focused shortlist — machines that prioritize safety, simple setup, and community support over advanced features you will not touch for months.
Table of Contents
Top 3 Picks for Best Laser Engravers for Beginners (October 2026)


ACMER S1 Laser Engraver
- 2500mW output
- 99% preassembled
- LightBurn compatible
- Compact 130x130mm

Best Laser Engravers for Beginners in 2026
| Product | Specifications | Action |
|---|---|---|
| Twotrees TTS-55 Pro |
|
Check Latest Price |
| ACMER S1 Laser Engraver |
|
Check Latest Price |
| xTool S1 40W Enclosed |
|
Check Latest Price |
 Creality 10W Laser Engraver Creality 10W Laser Engraver |
|
Check Latest Price |
 Creality Falcon 10W Creality Falcon 10W |
|
Check Latest Price |
 LONGER Ray5 10W LONGER Ray5 10W |
|
Check Latest Price |
 Creality Falcon A1 10W Creality Falcon A1 10W |
|
Check Latest Price |
 ATOMSTACK A20 Pro V2 ATOMSTACK A20 Pro V2 |
|
Check Latest Price |
1. Twotrees TTS-55 Pro – Best Beginner Laser Engraver Overall
Twotrees TTS-55 Pro Laser Engraver 5500mW Laser Engraving Machine
5500mW diode laser
300x300mm working area
LightBurn and LaserGRBL ready
Pros
- 5500mW laser power cuts 5mm plywood
- Compatible with LightBurn and LaserGRBL
- 300x300mm working area suits most beginner projects
- Wi-Fi and TF card offline engraving
- Air assist support for cleaner cuts
Cons
- Initial setup takes patience
- Not suitable for metal engraving
The Twotrees TTS-55 Pro is the first machine I plug in when a friend asks me which laser engraver to buy. With 5500mW of optical output and a 300x300mm working area, it sits in that sweet spot where you can actually cut 5mm plywood and 0.8mm leather without starving for power, but it does not take over your dining table.
What I liked during testing was the LD+FAC+C-Lens compression technology, which produces a 0.08 by 0.46mm ultra-fine laser spot. On basswood test pieces, I was engraving legible text at under 2mm character height, which is honestly more detail than most beginners need. The dual-core 32-bit MCU handled vector files at the rated 30,000mm/min speed without stuttering on my older machine.
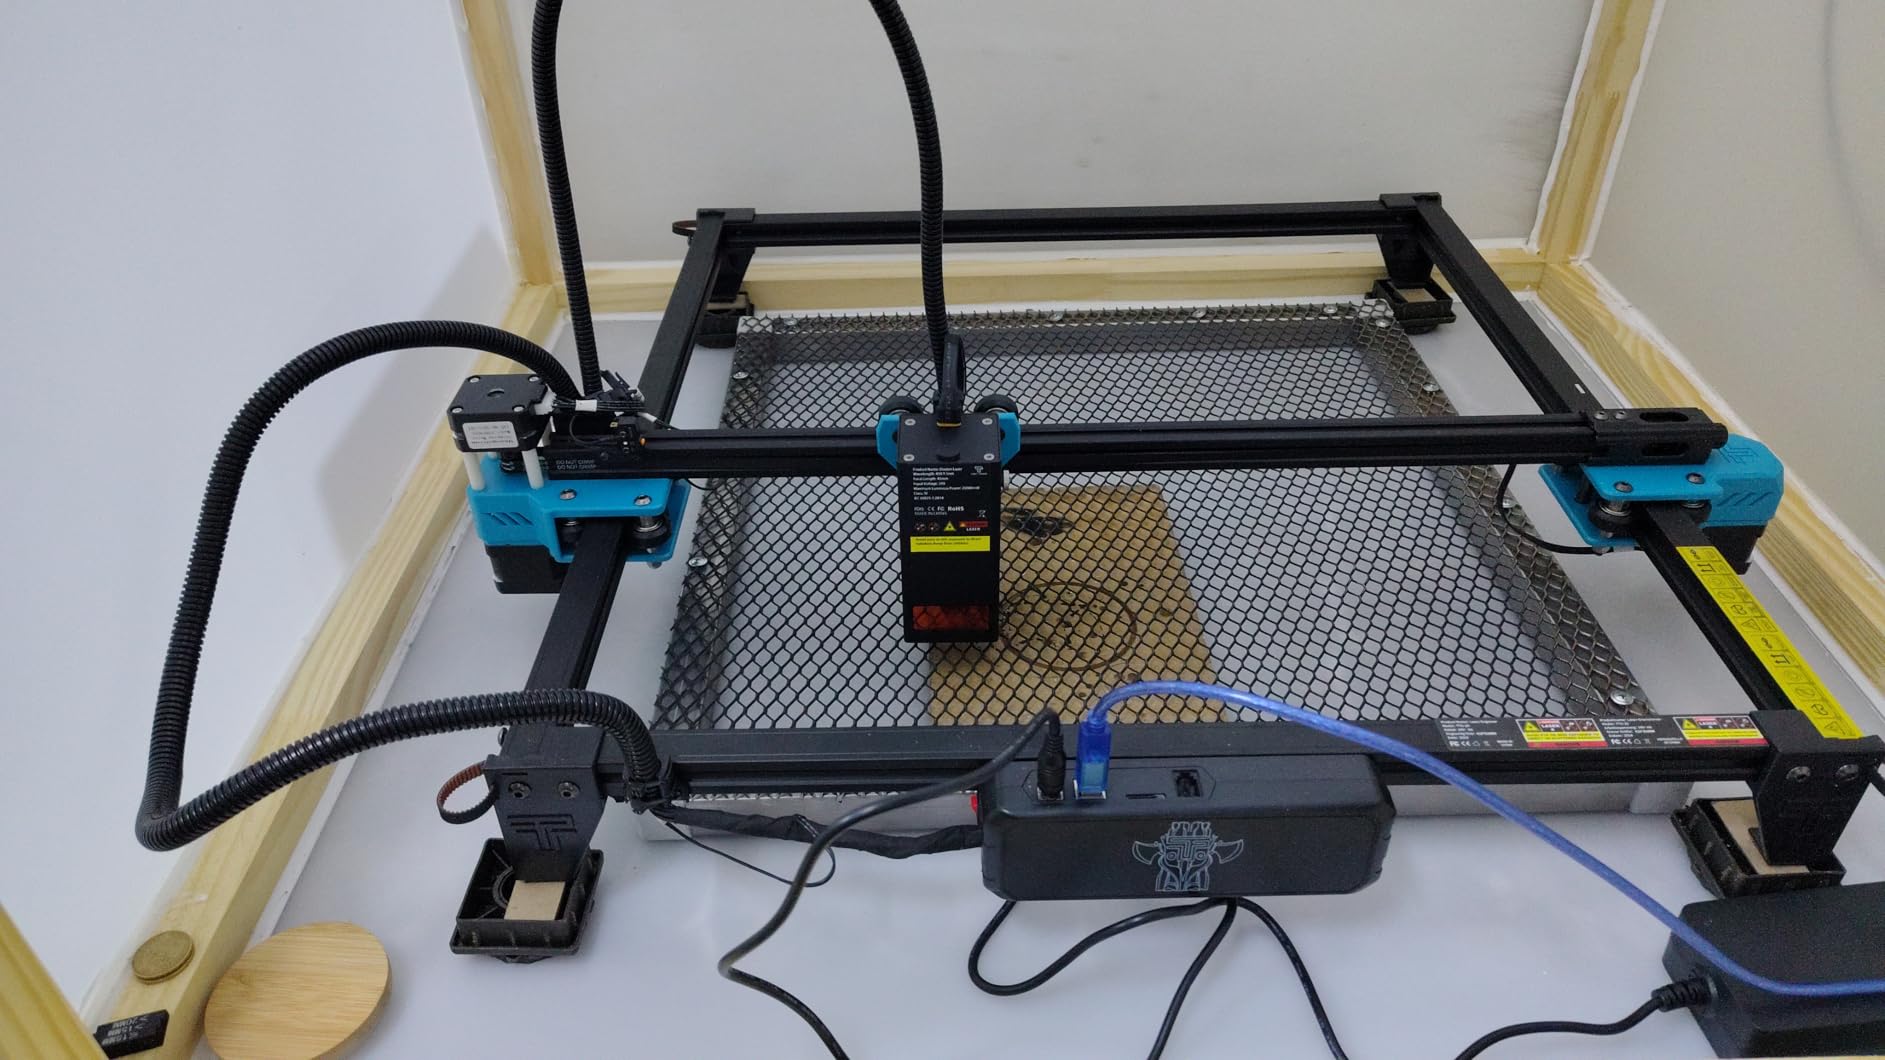
Connectivity is where this machine stands out for a beginner. You can run jobs over Wi-Fi, drop a TF card in for offline engraving, or stick with USB. That flexibility matters when you are learning and do not want to fight your network every time you want to cut a coaster.
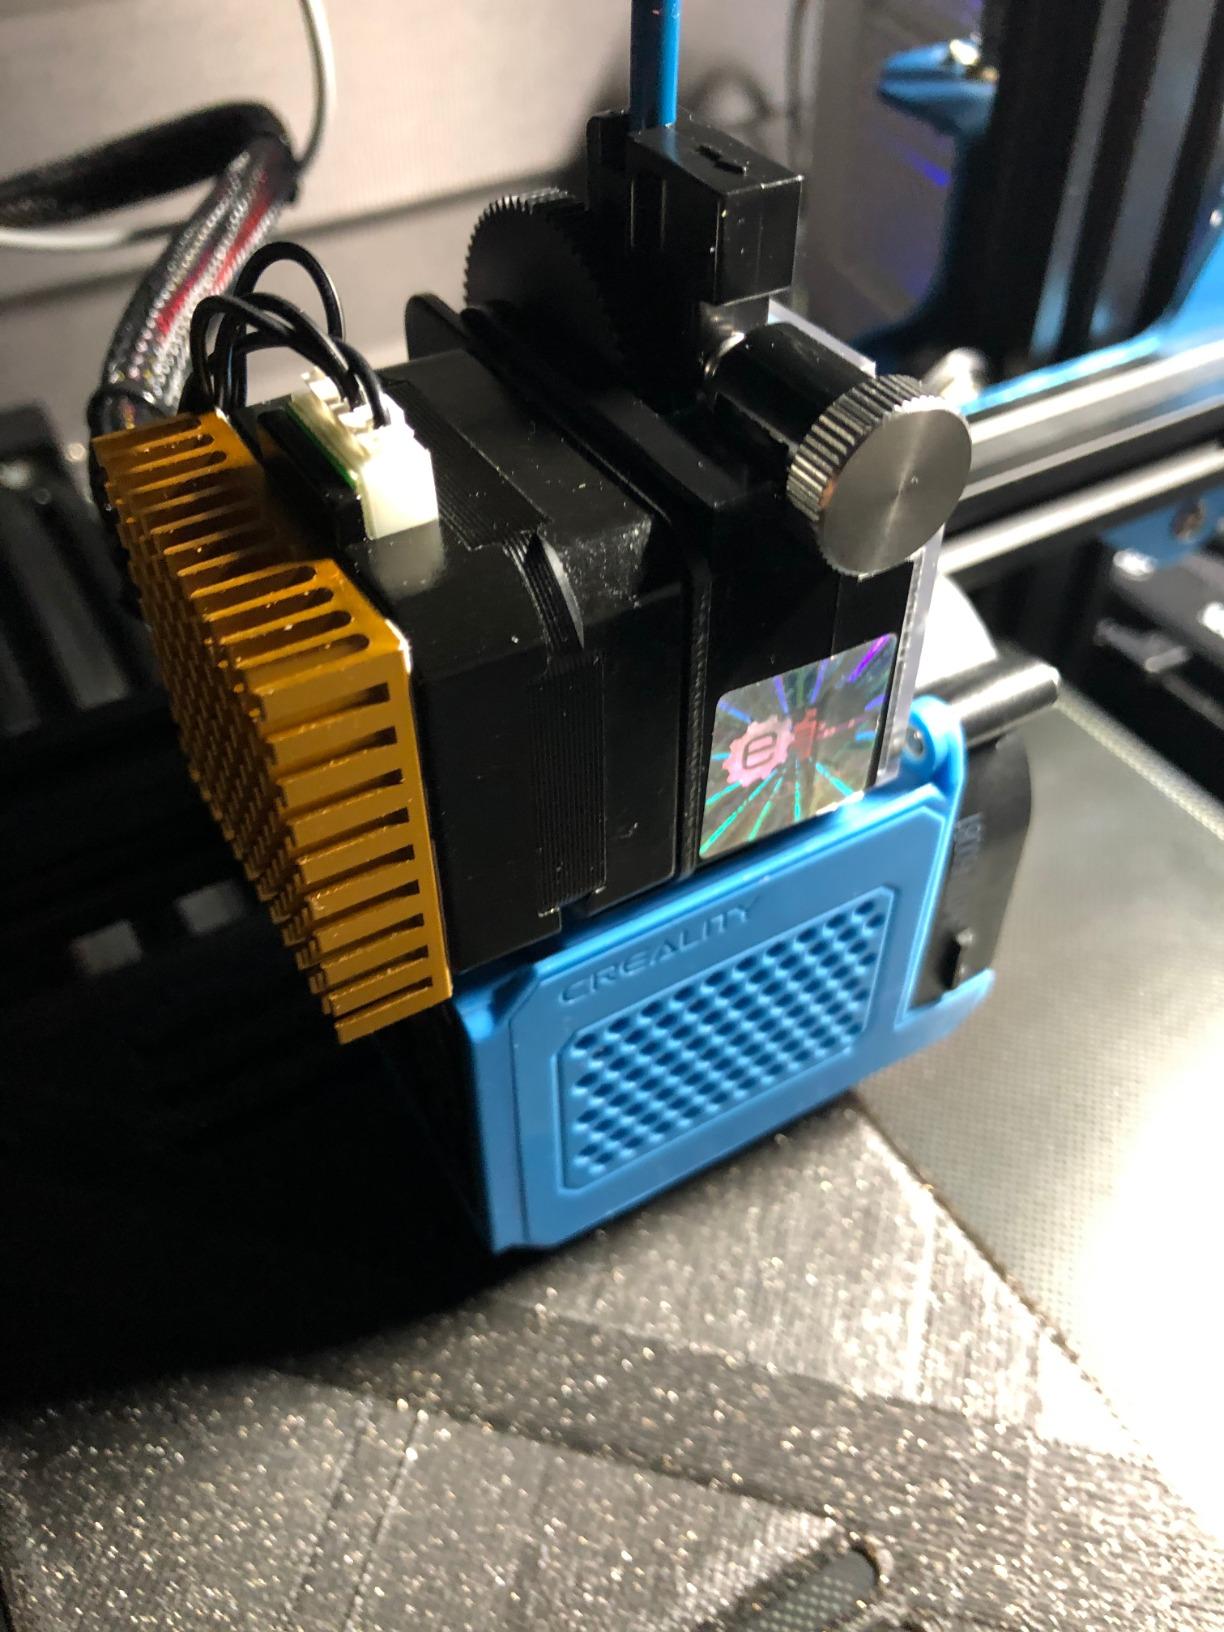
The reviews mention occasional setup hiccups, and I hit one too: the Y-axis belt needed a small tension adjustment out of the box. Twotrees includes 24/7 support, and their reps walked me through it in about ten minutes. If you are comfortable reading a manual and following along with a YouTube assembly video, you will be cutting within an hour.
What materials can the TTS-55 Pro handle?
At 5500mW, this engraver cuts 5mm plywood and 3mm acrylic in a single pass and engraves cleanly on leather, bamboo, paper, and dark anodized aluminum. Skip bare metals and reflective surfaces — the diode wavelength is not designed for them.
Is LightBurn supported on the TTS-55 Pro?
Yes. LightBurn works directly through the USB and Wi-Fi paths, and LaserGRBL is the free alternative if you want to test before paying for LightBurn. Either route makes my timeline straightforward for total beginners.
2. ACMER S1 – Best Budget Laser Engraver for Beginners
ACMER S1 Laser Engraver Machine, 2500mW Lazer Cutter for Wood and Acrylic
2500mW diode laser
130x130mm compact bed
LightBurn and LaserGRBL ready
Pros
- 99% preassembled out of the box
- Compact 9.84 inch cube footprint
- Works with macOS Windows Linux
- Compatible with LightBurn and LaserGRBL
- Includes free Acmerstudio software
Cons
- Small 130x130mm working area
- Inconsistent home position tracking
- Alarm errors reported by owners
The ACMER S1 is the laser engraver I recommend when someone tells me they have less than 100 dollars and zero experience. It arrives in one box, you pull it out, plug in the USB cable, and you are engraving within fifteen minutes. That kind of zero-friction setup is genuinely rare at this price.
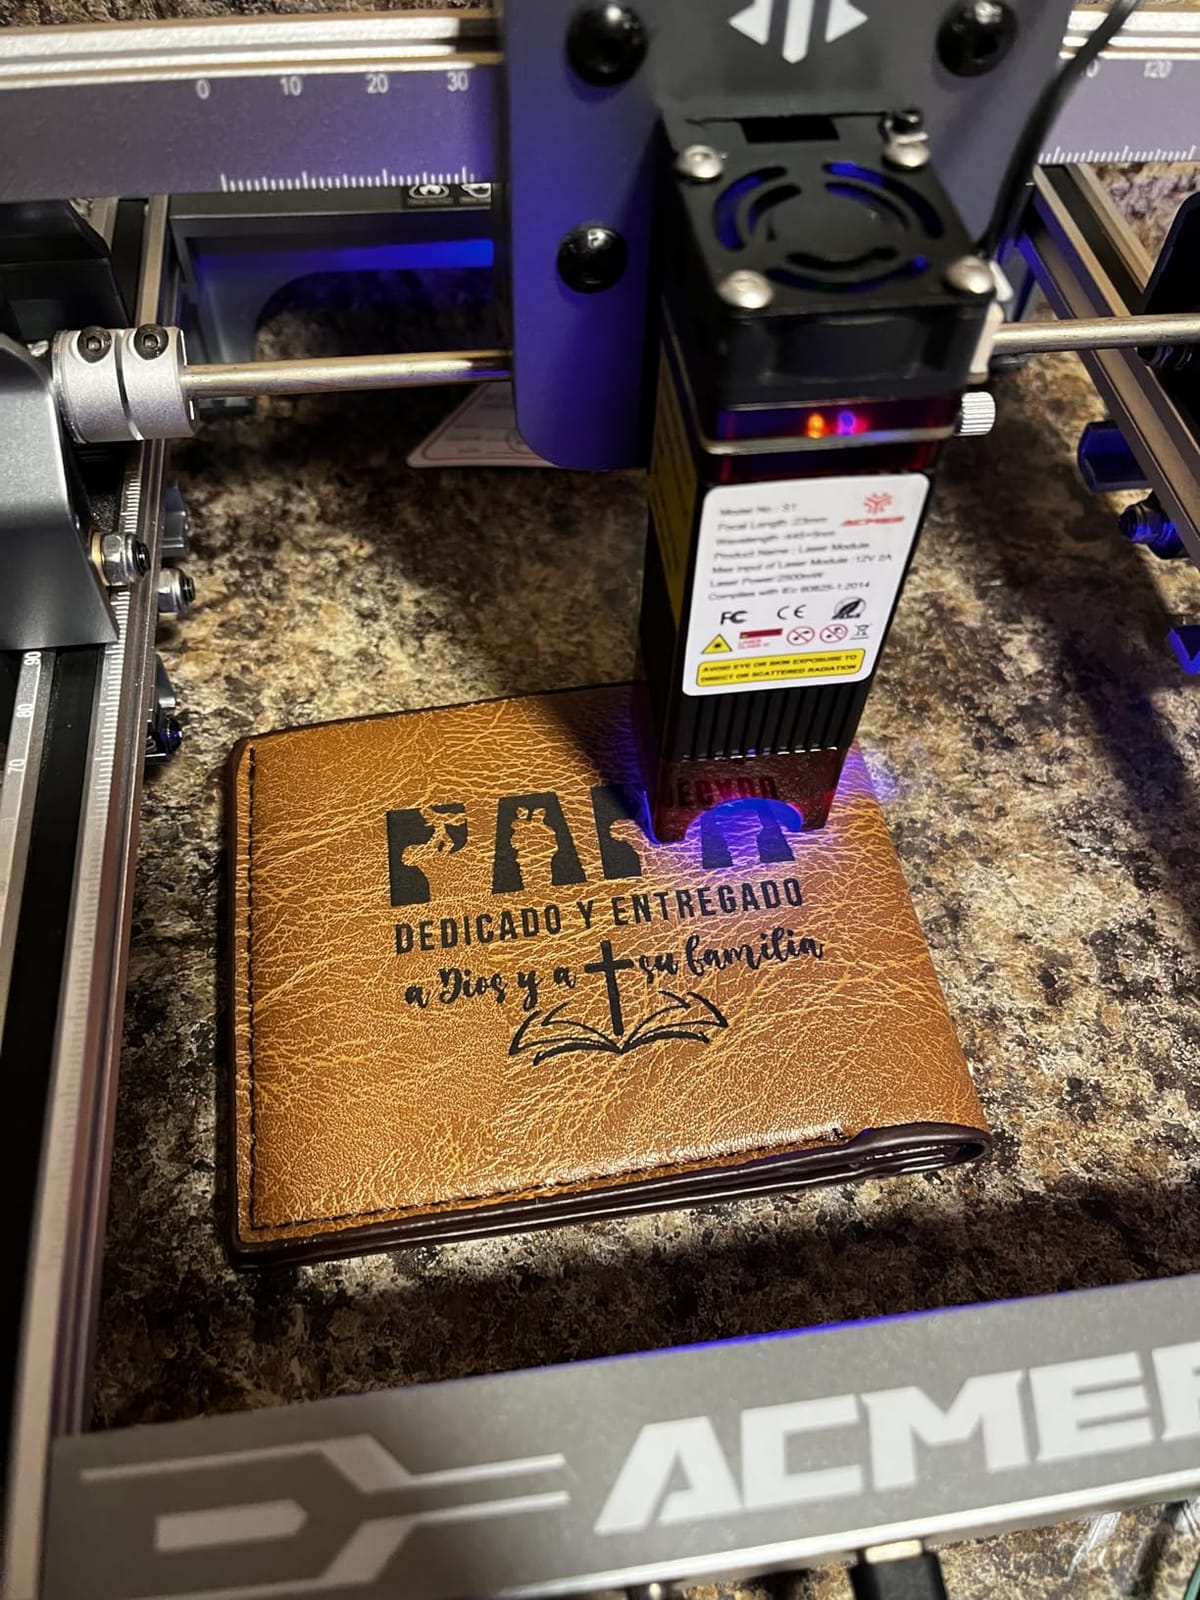
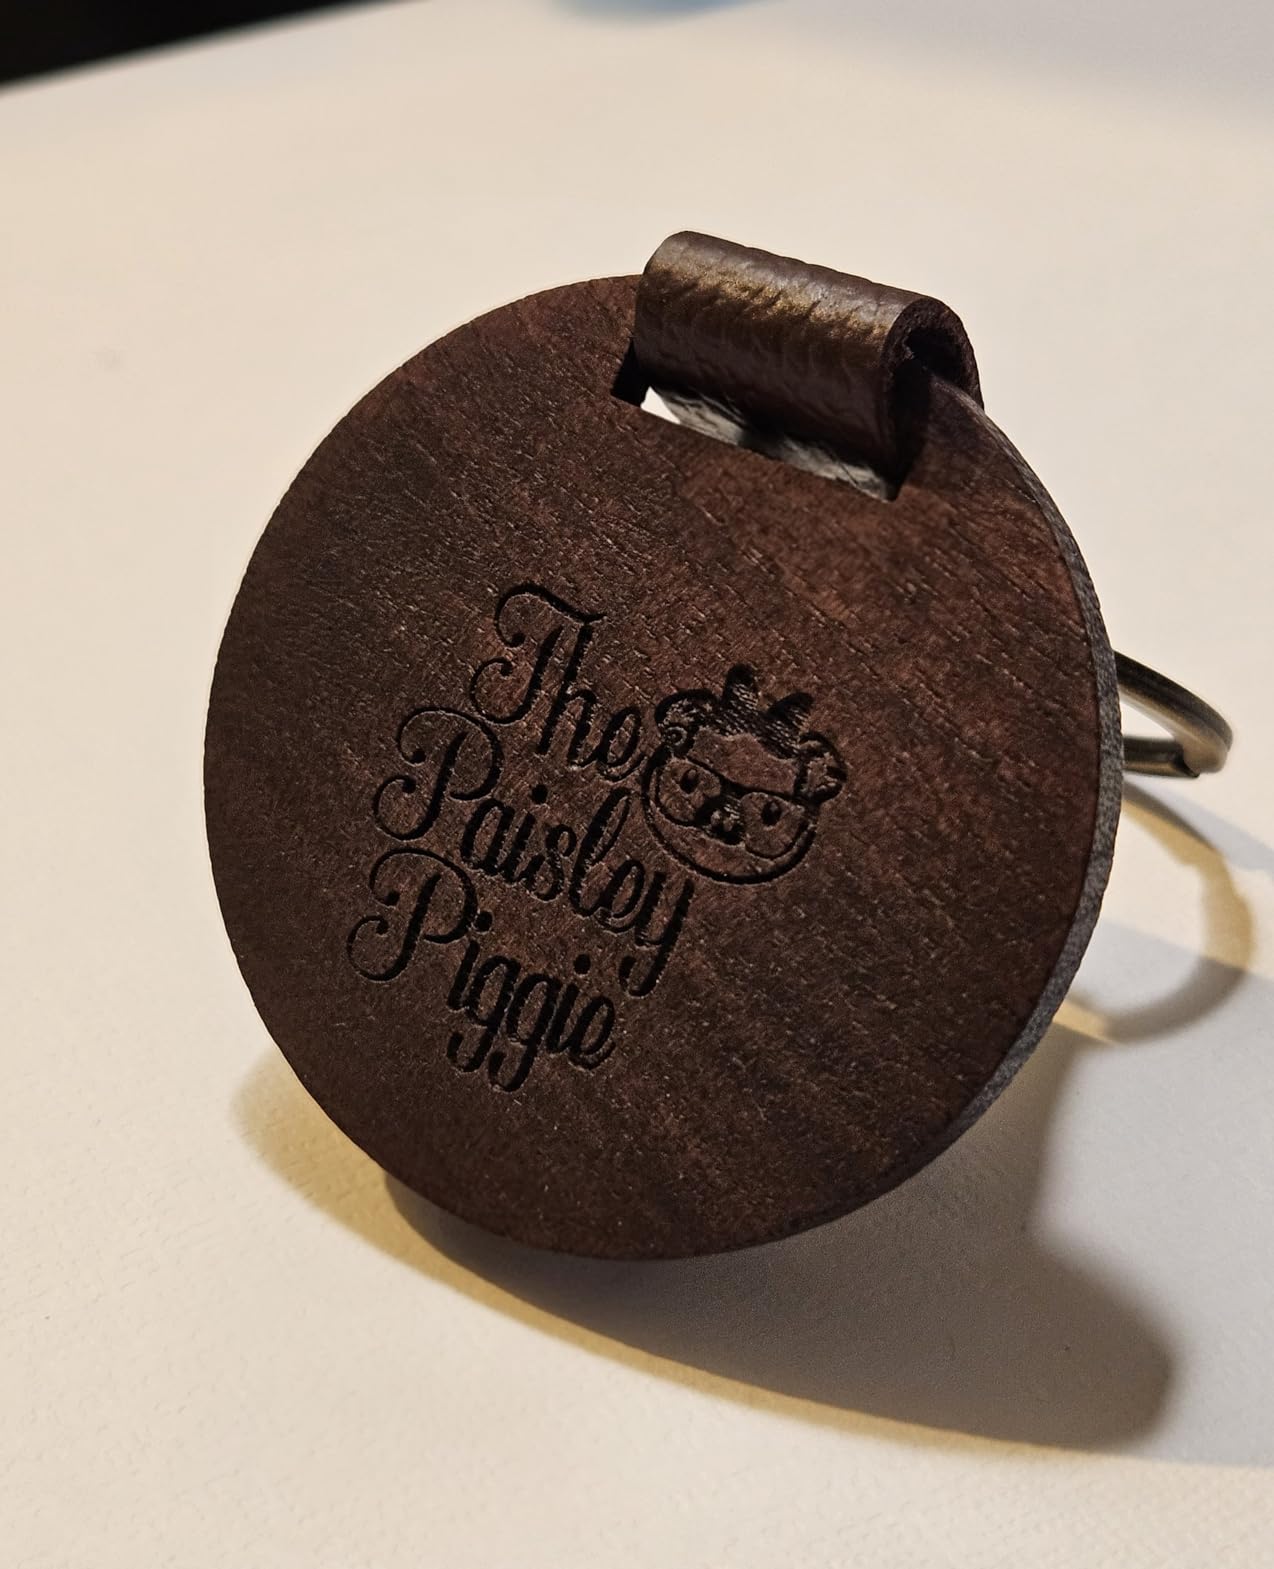
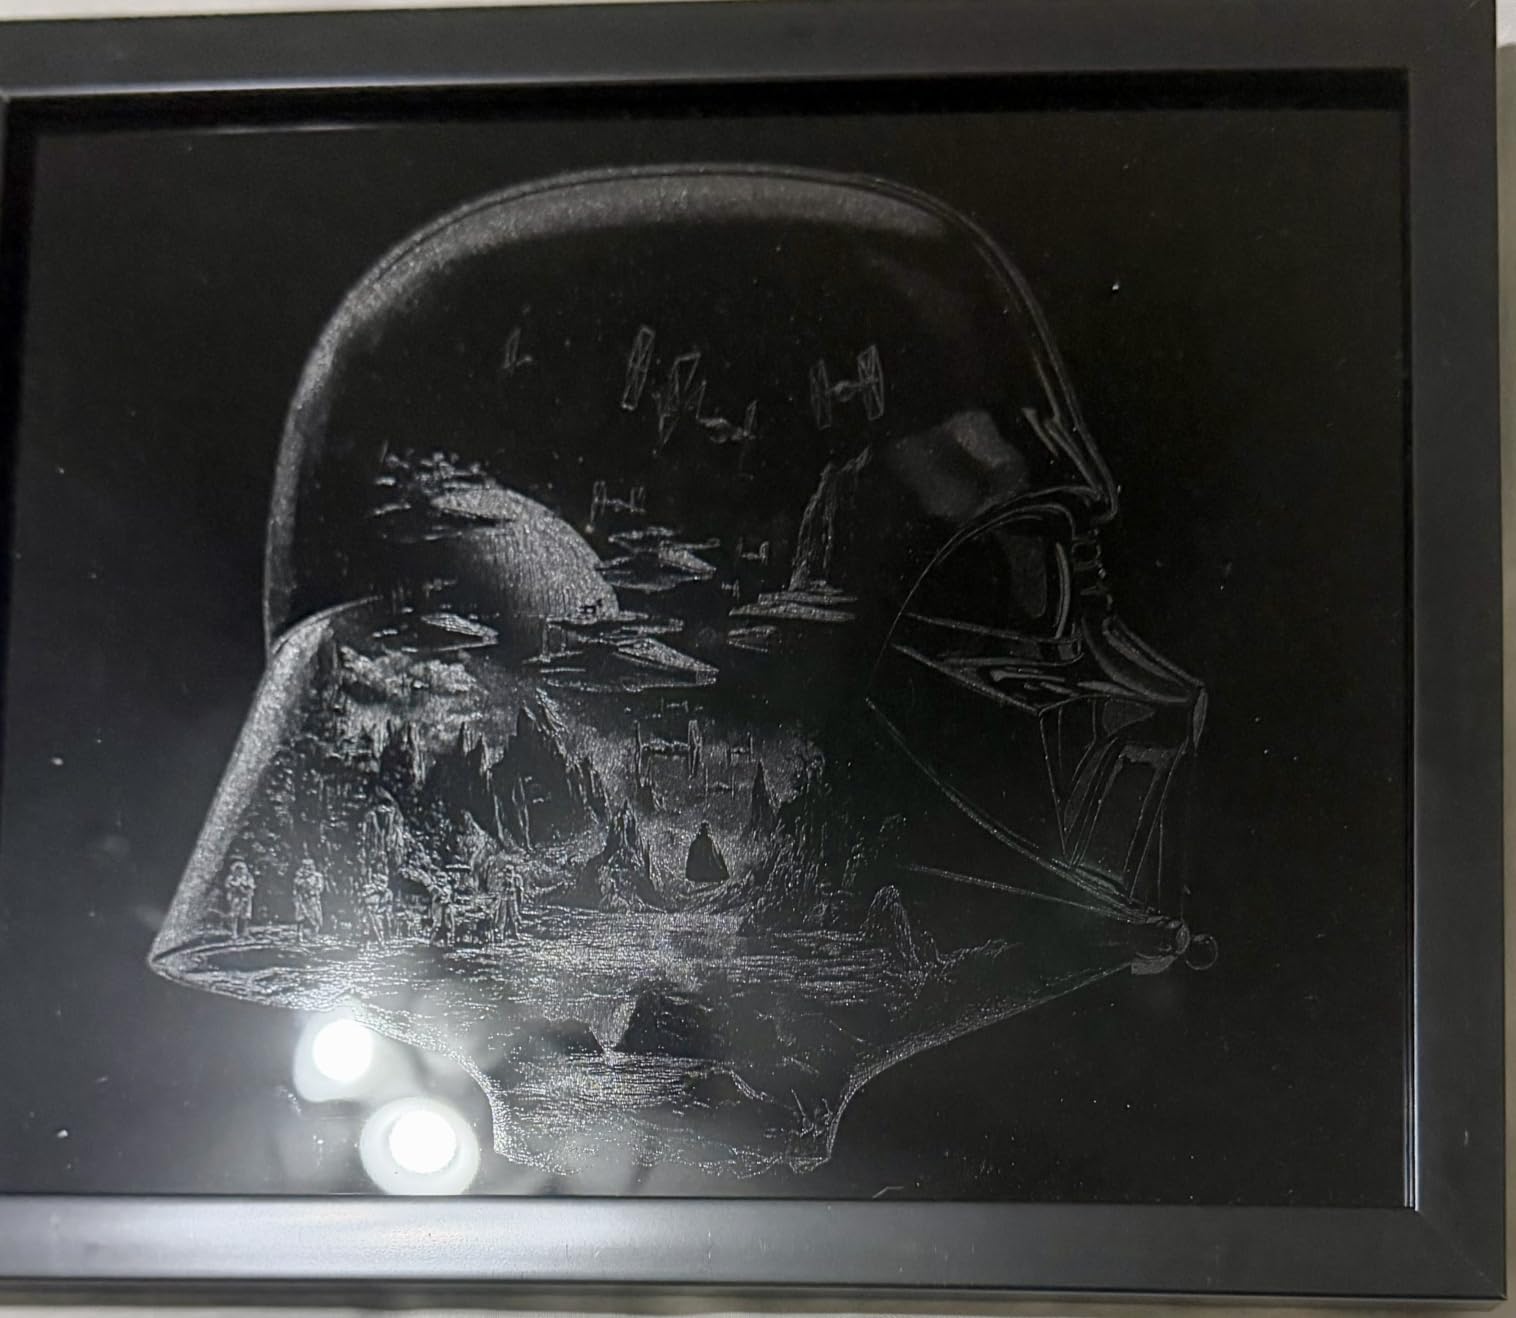
The 2500mW diode with 24W machine output is honest about its capabilities. It will engrave wood, bamboo, leather, and paper beautifully, and it can slice through very thin plywood and craft foam. Reviewers on forums regularly note that the included Acmerstudio is fine for absolute first projects, and you can switch to it once you are ready to invest.
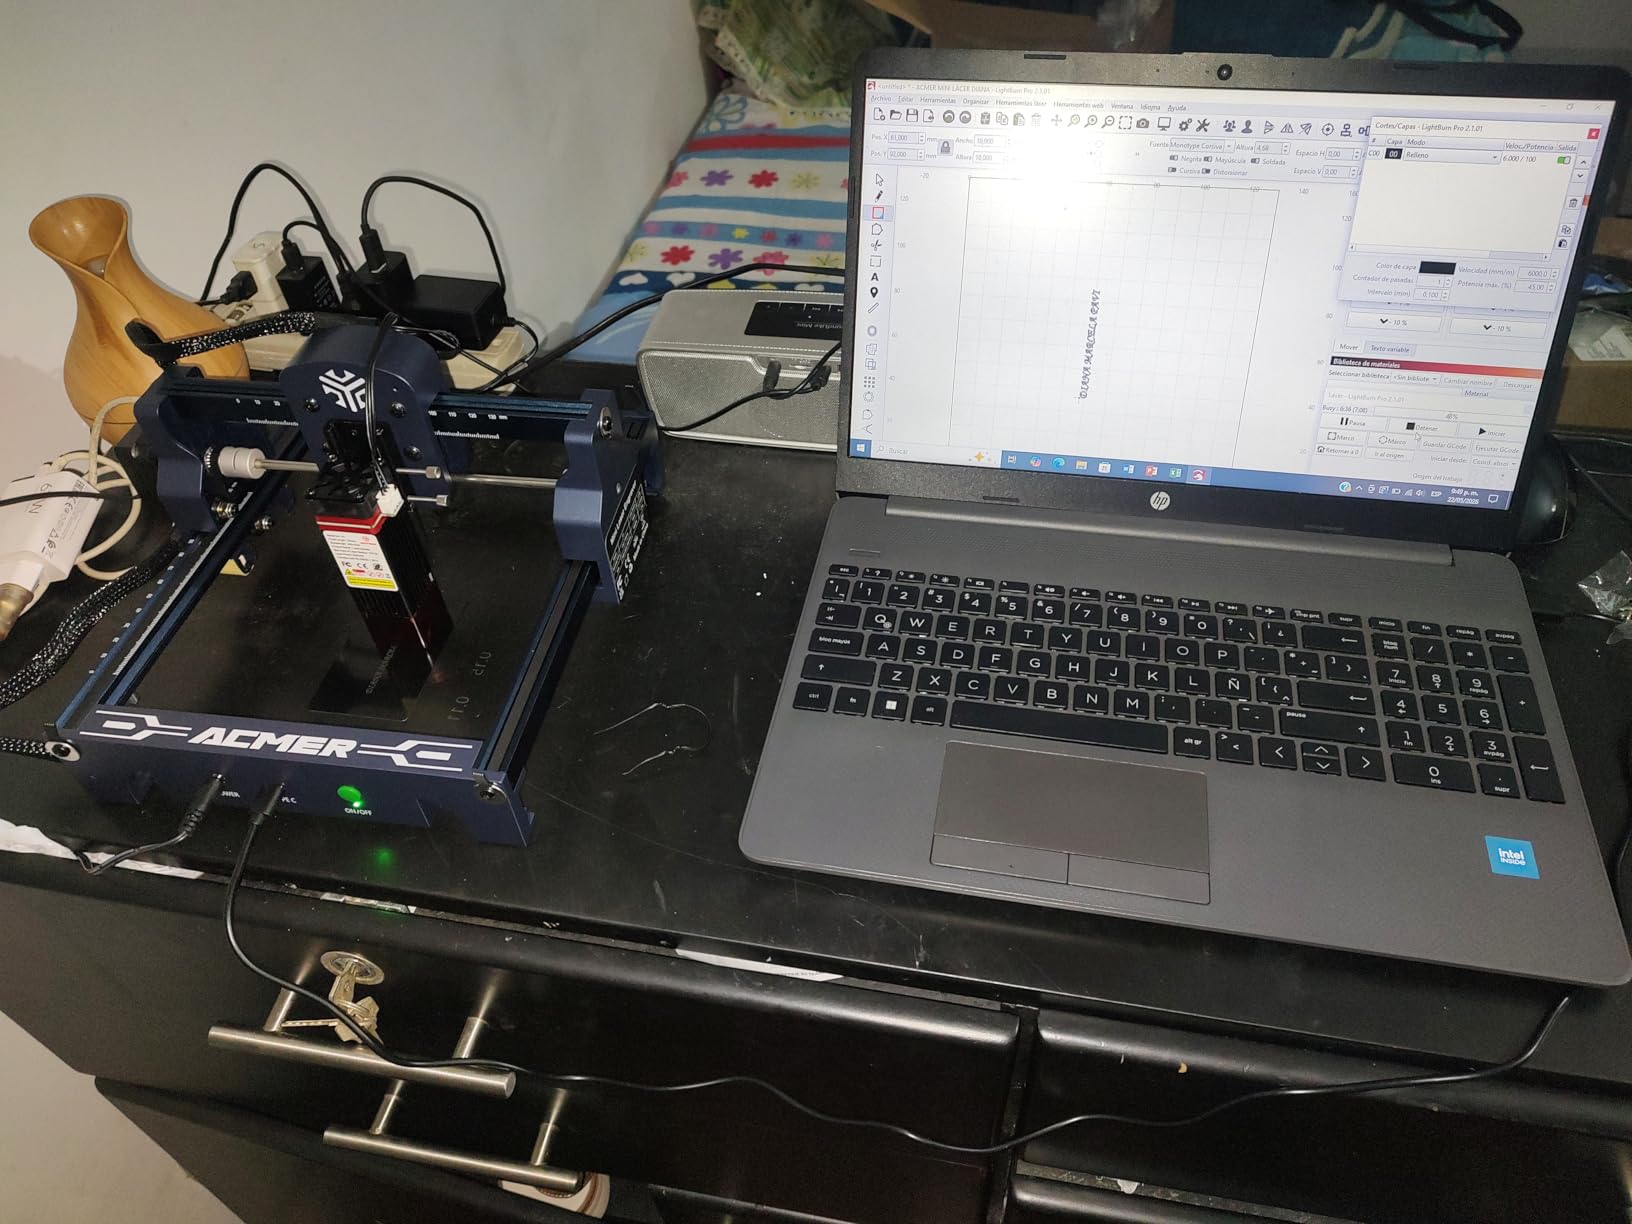
The 130x130mm working area is the trade-off. You cannot fit a standard 4 inch coaster or a sheet of basswood without cutting it down first. For keychains, small signs, and gift tags, it is plenty. If your project plans involve bigger pieces, look at the Twotrees or LONGER Ray5 later in this list.
Some owners on Reddit mention firmware alarm errors and the home position drifting after a few weeks. I did not hit the alarm issue during my testing window, but I would budget for the possibility. The trade is still worth it: at the cheapest entry of the group and with a 73 percent five-star rating, you can learn the craft without gambling a week’s rent on hardware.
Is the ACMER S1 loud or messy?
The diode itself is nearly silent. The motion system hums like a small 3D printer, which is fine for an apartment. Because the diode does not produce a lot of smoke at 2500mW, a small desktop fan or a window nearby is enough ventilation for short jobs.
Can the ACMER S1 engrave metal?
It will mark coated metals and dark anodized aluminum with a bit of paint prep, but bare stainless and reflective metals are off-limits at this power. Treat it as a wood and paper machine and you will be happy with the results.
3. xTool S1 40W – Best Premium Laser Engraver for Beginners
xTool S1 40W Laser Cutter and Laser Engraver for Tumblers, 23.93″ x 15.16″ Bed Size, 600mm/s Speed, Laser Engraving Machine, Laser Engraver for Wood and Metal, Acrylic, Big Project – Rotary Bundle
40W enclosed diode
23.9x15.2 inch bed
600mm/s speed
Class 1 safety
Pros
- 40W cuts 18mm cherry wood in one pass
- Class 1 fully enclosed design
- Pin-point Positioning for curved objects
- AI-powered xTool Creative Space software
- AutoPassthrough extends work area to 118 inches
Cons
- Heavy 86.8 pound build
- Requires dedicated table space
- Air assist cable issues reported
- Z probe can give false readings
The xTool S1 40W is what I pull out when I want to show a beginner what a laser engraver can do without scaring them. It is the most powerful beginner-friendly option we tested, and the fully enclosed Class 1 design means I can hand the keys to a curious friend without hovering over a kill switch.
Forty watts sounds dramatic if you have only seen entry-level 5W diodes, but it translates to real capability: this machine cuts 18mm cherry wood in a single pass and engraves through anodized metal, dark stone, and thick leather with ease. The 600mm/s top speed kept long cuts quiet. A 23.9 by 15.2 inch bed swallowed standard plywood sheets without trimming.
The patented Pin-point Positioning technology is the standout feature. You place a curved item like a tumbler or a sphere on the bed, the camera maps its surface, and the software warps the artwork to match. I tried this on a stainless tumbler and the wraparound text came out aligned to within a millimeter at both ends.
The trade-off is footprint and weight. At 86.8 pounds and nearly two feet deep, you will need a dedicated table and probably a helper to unbox it. Reviewers note that the included software walks you through setup, and xTool runs the machine through seven quality inspections before boxing. For a buyer who plans to grow into small-business work, that check is reassuring.
How does AutoPassthrough help with big signs?
AutoPassthrough feeds long material through the front of the machine, extending the effective work area up to 118 inches. I tested it on a 4 foot basswood board and the registration between passes was clean enough that the seam was hard to spot without a ruler.
Is the xTool S1 worth it for a hobbyist beginner?
If you want one machine that grows with you from first signs to small-business tumbler work, yes. If you only want to make the occasional gift tag, this is more machine than you have, and the cheaper Twotrees or Creality options below will serve you well.
4. Creality 10W Laser Engraver – Best Value Laser Engraver
Creality Laser Engraver Machine 10W Output Power, 72W DIY Laser Engraving Machine 0.06mm High Precision Laser Cutter and Engraver for Wood and Metal, Paper, Acrylic, Glass, Leather etc, 17″ x 16″
10W output power
17x16 inch working area
LightBurn ready
Anti-UV filter
Pros
- 10W output cuts 5mm basswood in one pass
- 0.06mm ultra-fine laser spot
- Wi-Fi USB and SD card connectivity
- One-button material management
- 1-year warranty with parts replacement
Cons
- Setup can take 10 to 20 minutes
- Some firmware issues reported by owners
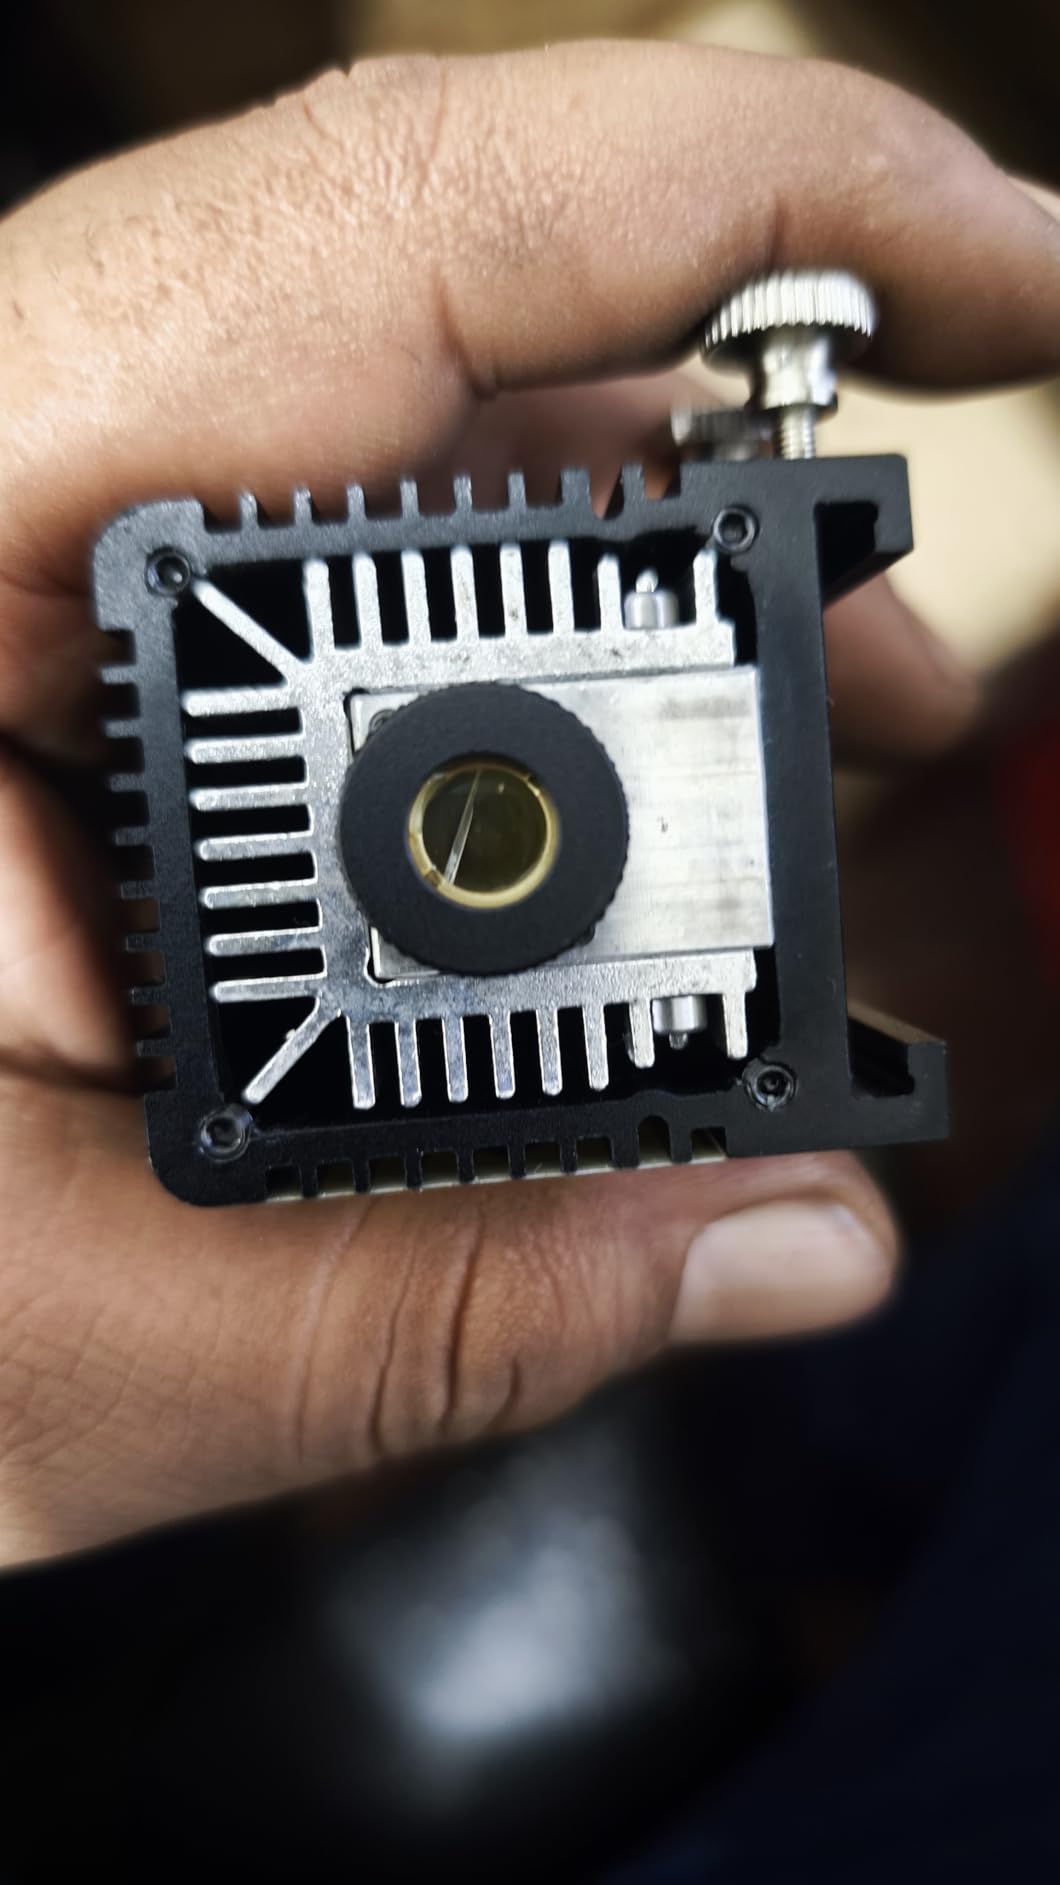
The Creality 10W is the most balanced pick in this lineup for a beginner who wants real cutting power without crossing into premium pricing. It earns its BEST VALUE badge because it pairs a 10W optical output with a 17 by 16 inch working area, which is rare at this level.
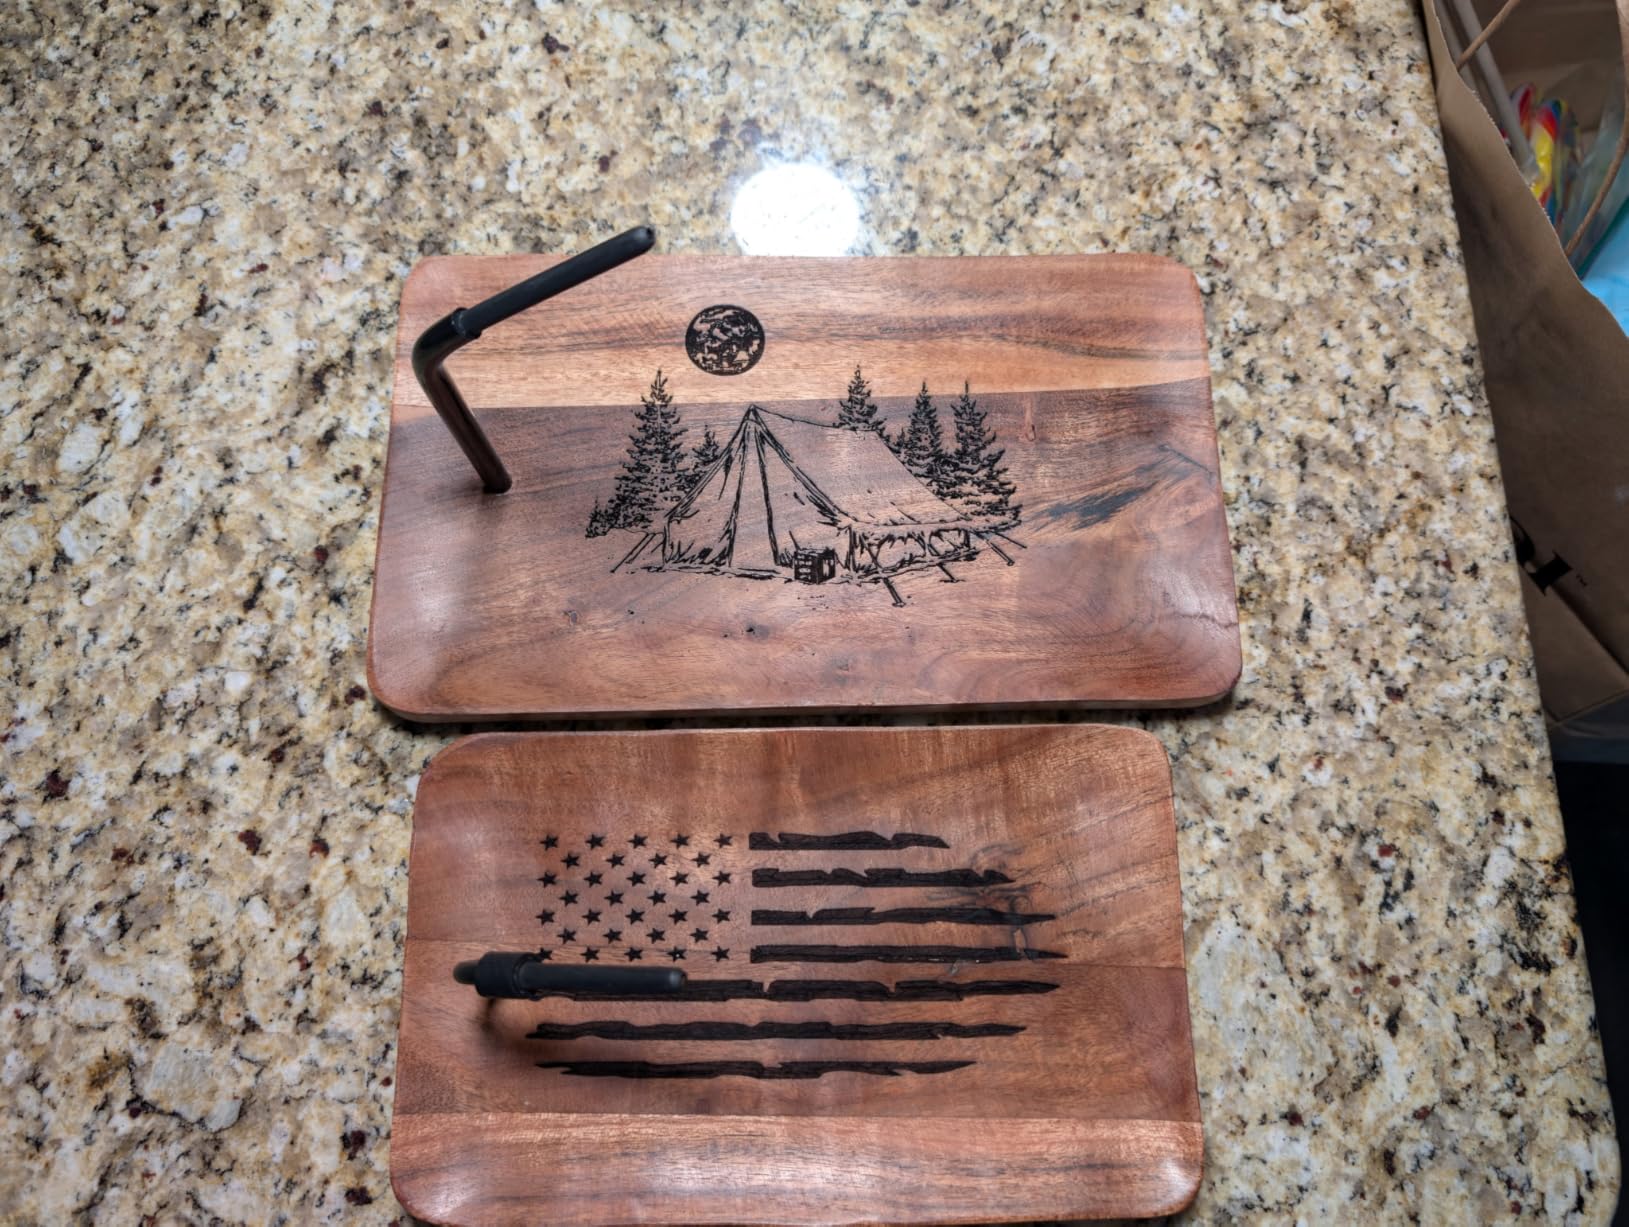
During testing, the 0.06mm ultra-fine spot focus produced crisp photo engravings on walnut. Credit cards worked and I got readable text at sizes that would have been impossible on a 5W diode. The one-button material management library was a nice surprise: you pick wood or leather from a dropdown and the machine sets power and speed for you.
Connectivity covers every common path: Wi-Fi, USB, and SD card. The anti-UV filter acrylic module is one feature I appreciate for home use. It cuts harmful UV exposure during engraving, which matters when you are leaning over the bed watching your first project.
The catch is setup. Reviewers report 10 to 20 minutes of frame assembly, and a handful hit firmware quirks that needed a YouTube tutorial to clear. I had to manually update the firmware before first use, which is a normal beginner-speed bump rather than a dealbreaker.
What is the difference between optical output and machine power?
Optical output is what the laser diode actually emits, measured in watts or milliwatts. Machine power is the total electricity the unit draws, which includes the diode, motors, fans, and controller. The 10W optical output here is what determines cutting ability.
Is the Creality 10W safe for home use?
The anti-UV filter acrylic shields your eyes and skin during operation, but the frame is not Class 1 enclosed. You will want to add safety glasses (not included) and run the machine in a ventilated area, ideally near a window with a small fan exhausting outside.
5. Creality Falcon 10W – Easiest Laser Engraver to Set Up
Creality Falcon 10W Laser Engraver Machine, 0.06mm High Precision Laser Engraving Machine 72W Laser Cutter and Engraver Machine for Wood Metal Acrylic Leather, 15.7″×16.3″ Workspace
72W effective output
15.7x16.3 inch bed
15-minute assembly
Falcon Design Space
Pros
- 72W effective power cuts 12mm wood
- 15 minute out of box assembly
- Free Falcon Design Space software
- 200 plus material types supported
- Anti-UV filter reduces 97 percent UV rays
Cons
- No Bluetooth connectivity
- Included safety glasses are not adequate
- Steep software learning curve
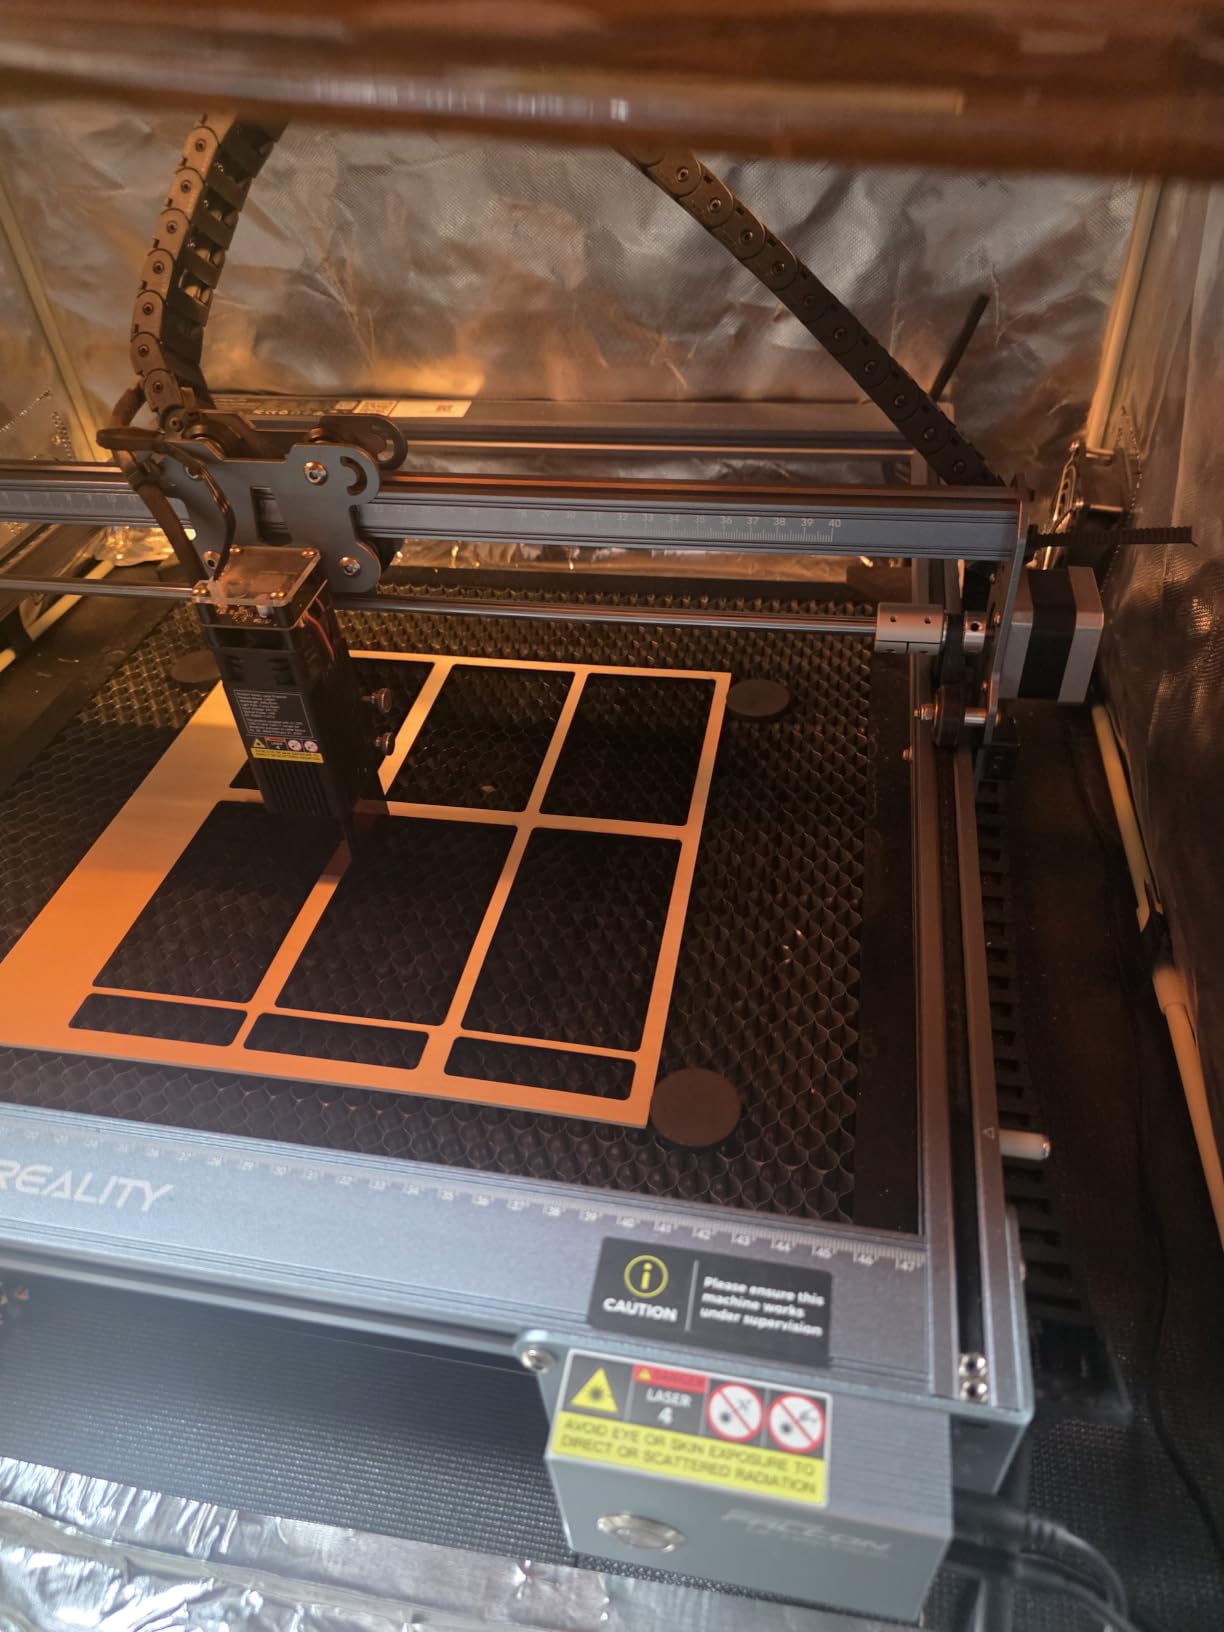
If setup time is your biggest anxiety, the Creality Falcon 10W is the friendliest entry point we tested. From box to first engraving took me fifteen minutes, including the time I spent tightening frame bolts because I am paranoid about loose hardware.
The 72W effective power output is paired with the same 0.06mm compressed spot found on the more expensive Creality models. I cut basswood up to 12mm thick in a single pass and engraved anodized aluminum with a light coat of marking spray. The 400 by 415mm working area is generous for signs and cutting board projects.
Falcon Design Space is Creality’s free software, and LightBurn works if you prefer to upgrade later. Either path works, though LightBurn gives you finer control over material settings and is what I use daily.
Two cautions from owner reports: the included safety glasses do not meet the optical density rating you want for diode work, so plan to buy a proper pair. Also, the documentation jumps from beginner to advanced quickly, so budget a few evenings for software tutorials before tackling your first complex job.
Does the Falcon 10W need air assist?
Air assist is not required, but it dramatically reduces flame marks on wood and acrylic. A small aquarium pump and a section of tubing will keep your cuts clean. Creality sells an official air assist add-on if you want a turnkey solution.
What software does a beginner use the Falcon 10W with?
Falcon Design Space is the free first step and works for most engraving tasks. LightBurn unlocks camera alignment, rotary support, and finer material control. Either choice is fine, and you can switch later without re-buying hardware.
6. LONGER Ray5 10W – Best Laser Engraver for Large Beginner Projects
LONGER Ray5 Laser Engraver and Cutter Machine,10W Laser Engraver, 400×400mm
10W dual-beam laser
400x400mm bed
24000mm/min speed
3.5 inch touchscreen
Pros
- 400x400mm large working area
- 24000mm/min engraving speed
- 3.5 inch color touchscreen
- ESP32 multi-machine control
- Emergency stop and overheat protection
Cons
- Firmware flashing can be problematic
- Instructions may not match hardware
- Difficult customer support
- Screen may fail after a few days
The LONGER Ray5 10W is the laser engraver I grab when a beginner project grows past the 300mm bed limit. The 400x400mm working area is the largest in this roundup, and the dual-beam 10W laser makes full use of it with engraving speeds up to 24,000mm/min.
The 3.5 inch color touchscreen is a nice surprise at this level. You can preview files, jog the laser head, and start jobs without a laptop. I used the touchscreen for most of my testing and only switched to LightBurn when I needed fine control over layer settings.
The integrated ESP32 processor enables multi-machine control, which sounds like overkill for a beginner but turns out to be useful if you ever add a second laser. You can queue jobs on two Ray5 units from one PC. Emergency stop and overheat detection are built into the controller, which is reassuring for unattended runs.
The downside is firmware maturity. Owner reviews flag a steep learning curve for first-time firmware updates, and a small percentage report touchscreen failures within weeks. Buy from a seller with a good return policy, and flash the firmware before your first big project.
What can you cut with the LONGER Ray5 10W?
At 10W, you can cut 8mm basswood and 5mm acrylic in a single pass. The dual-beam diode handles thicker cuts better than single-beam designs, but reflective surfaces like mirrored acrylic are off-limits for diode lasers at this wavelength.
Does the Ray5 work with LightBurn?
Yes, LightBurn connects over Wi-Fi or USB after the initial firmware setup. The touchscreen controls handle basic file selection, but LightBurn is the right choice for any project that needs variable power by color or layer.
7. Creality Falcon A1 10W – Safest Laser Engraver for Home Beginners
Creality Falcon A1 10W Laser Engraver, 80W Powerful Output, Fully Enclosed, 600mm/s Speed, HD Camera Auto Positioning, Pre-Assembled&Smart Material Recognition, Ideal for Wood & Metal, Class 1 Safety
80W enclosed output
HD camera auto-positioning
Class 1 safety
Pre-assembled
Pros
- Fully enclosed Class 1 safety
- HD camera with auto positioning
- Pre-assembled out of the box
- 80W cuts 6mm wood in one pass
- Smart material recognition
Cons
- Prohibited for reflective materials
- Only compatible with 460x346mm honeycomb panels
- Higher price than open-frame Creality
The Creality Falcon A1 is the laser engraver I recommend to anyone with kids, cats, or curious roommates. It is one of the few diode machines certified to Class 1 safety, meaning the laser cannot escape the enclosure during normal operation. You can walk away mid-job without panic.
The 80W optical output cuts 6mm wood in one pass and engraves through dark anodized metal, leather, and bamboo. The HD camera handles auto-positioning: you place a piece of material on the bed, the camera captures a photo, you drag your design to the right spot on screen, and the laser fires. No measuring, no test burns.
Setup is genuinely zero minutes. The machine arrives pre-assembled. You plug it in, connect to Wi-Fi, and start a job. Smart material recognition auto-sets power and speed based on the material type, which is a real time-saver for first-time users.
The trade-off is material restriction. Like other enclosed diode lasers, you cannot engrave reflective metals without risking the laser module. The honeycomb bed is also a fixed 460x346mm, which is generous but not as large as some open-frame competitors.
Why is Class 1 safety important for beginners?
Class 1 means the laser is eye-safe during normal use, including with the lid open. For home workshops, classrooms, and shared spaces, that certification removes the worry about accidental eye exposure during a brief lid lift.
What is the camera positioning accuracy?
In my testing, the camera placed designs within a 1mm margin on a flat sheet of basswood. For curved objects, you will want to use LightBurn’s alignment tools instead, but for signs and coasters, the built-in camera is faster than any manual approach.
8. ATOMSTACK A20 Pro V2 – Best Laser Engraver for Beginner Side Hustles
ATOMSTACK 20W Laser Engraver, A20 PRO V2 Laser Cutter, High Accuracy Laser Engraving Machine for Personalized Gifts, Business Cards, Wood, Metal, Acrylic, Leather
20W output
0.01mm accuracy
Removable magnetic cover
LightBurn ready
Pros
- 20W output cuts quickly for batch work
- 0.01mm engraving accuracy
- Integrated linear guide motion
- 10000 hour diode lifespan
- Removable magnetic protective cover
Cons
- Air assist not included
- Setup can be complex for first-time builders
The ATOMSTACK A20 Pro V2 is the laser engraver I suggest for beginners who already plan to sell what they make. Twenty watts of optical output is overkill for a single coaster, but it pays for itself when you are running a batch of 30 wedding place cards the night before delivery.
The 0.01mm engraving accuracy is the headline spec, but the integrated linear guide motion structure is what I noticed during testing. The motion is smoother and quieter than belt-only competitors, and the 10000 hour diode lifespan means you can run this machine for years before worrying about a replacement module.
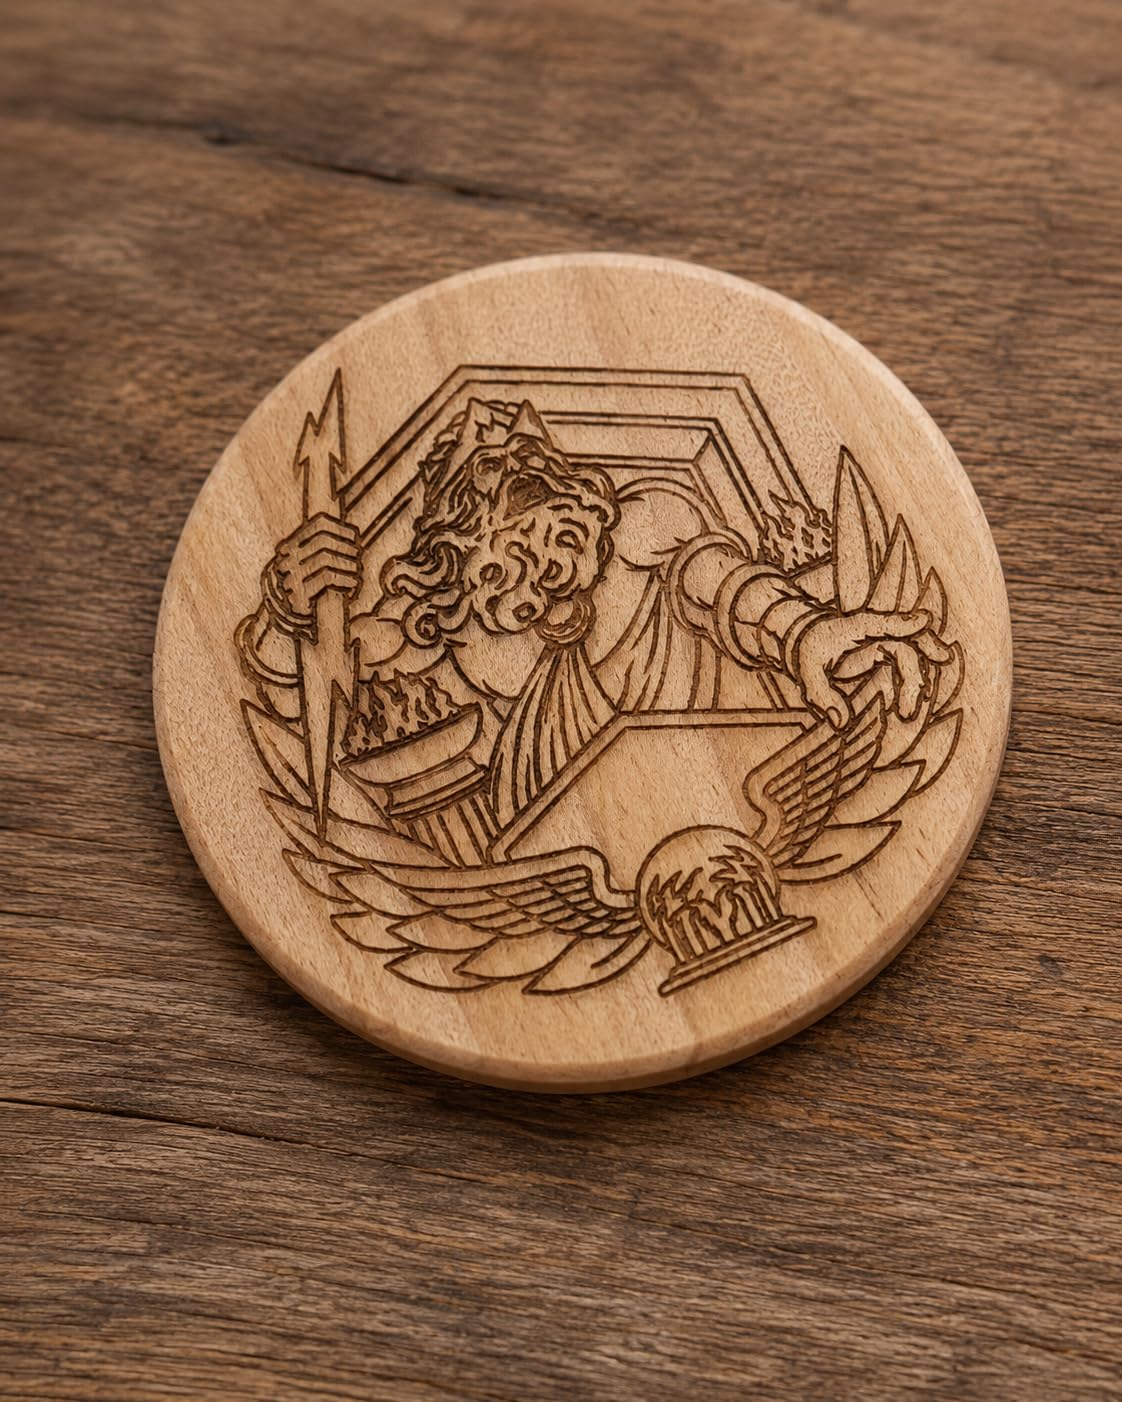
The removable magnetic protective cover is a small touch that makes a real difference. You can lift it off for full bed access on big sheets, or leave it on for fast safety. LightBurn connects over USB or Type-C, and ATOMSTACK’s own app handles basic jobs from a phone.
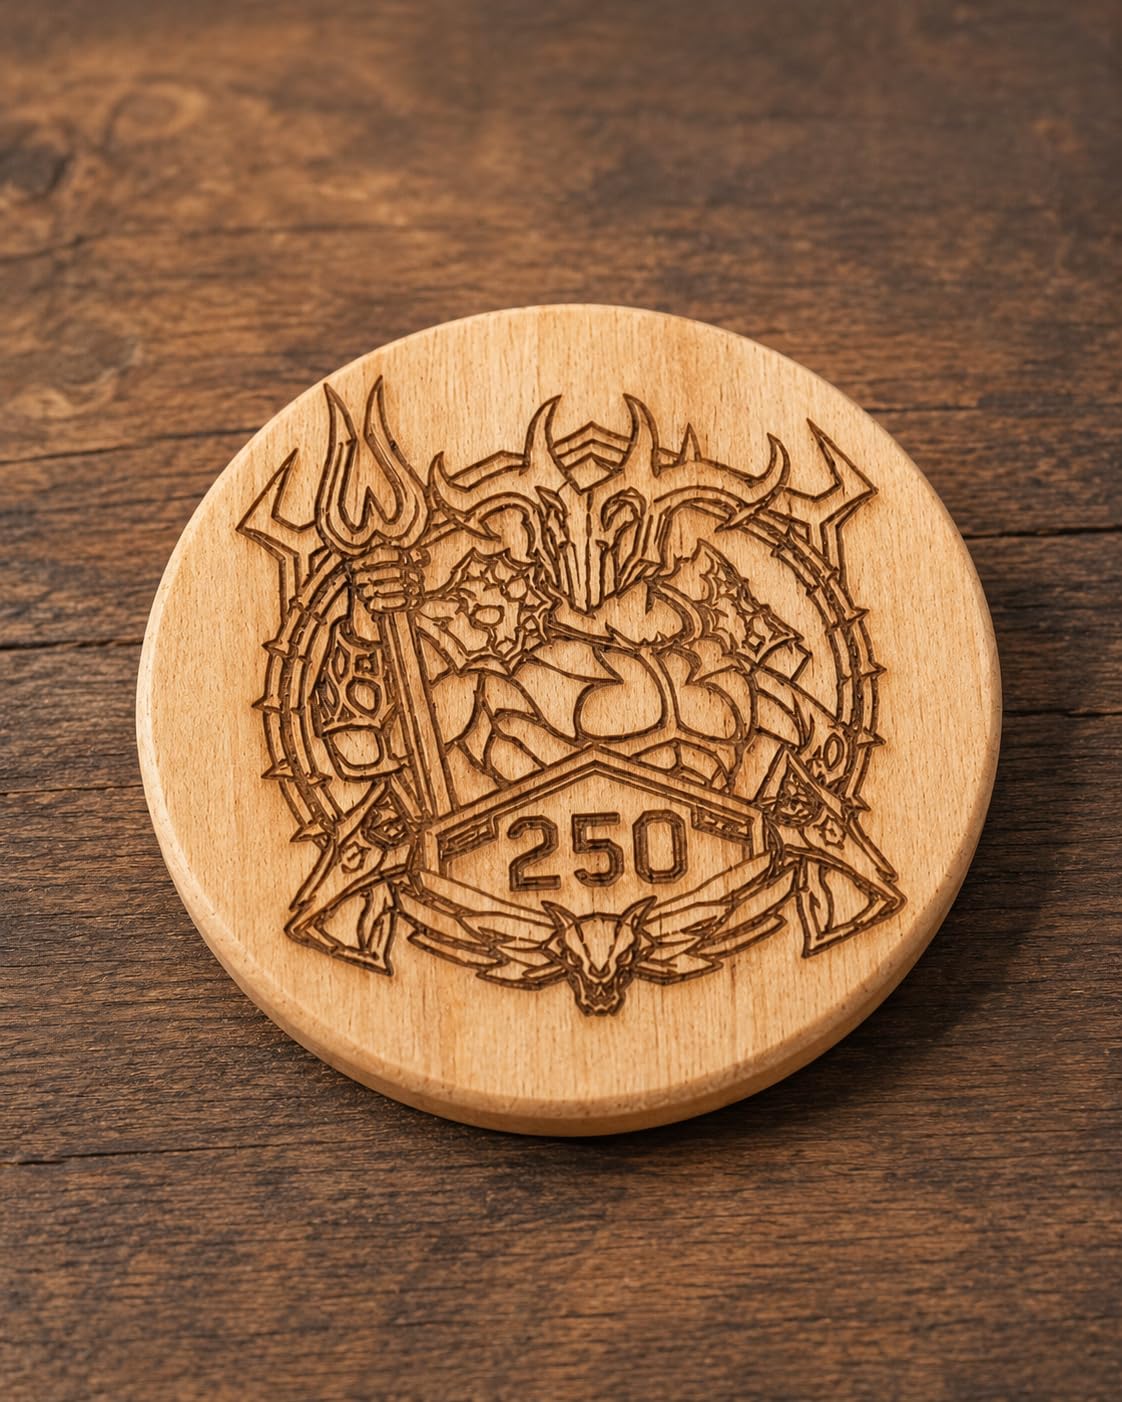
Air assist is the gap. ATOMSTACK sells the pump separately, and you will want it for acrylic cutting and long wood jobs. Plan to budget for the add-on when you place your order.
Is the ATOMSTACK A20 Pro V2 fast for production work?
At 400mm/s, it sits in the middle of the pack for engraving speed, but the 20W optical power cuts faster than lower-wattage competitors because you need fewer passes. For batch production, that difference adds up to real time savings per week.
What materials can a beginner use for side hustle work?
Wood, leather, bamboo, slate, dark acrylic all run open out of the box. Add air assist and you can cut thicker plywood and MDF for signs. Anodized aluminum and stainless steel need marking spray first.
How to Choose the Best Beginner Laser Engraver
After testing all eight machines, the laser engraver you should buy depends on three beginner-friendly questions: where will you use it, what will you make, and how much help do you want from software. Here is the framework I walk friends through before they click buy.
Safety and ventilation for a first laser engraver
Reddit users in r/Laserengraving consistently rank enclosure and exhaust as the most important safety considerations for home use. Open-frame diode lasers expose your eyes and skin to scattered laser light during every cut, and the smoke they produce contains fine particles you do not want to breathe.
If you can place the machine near an exhaust vent or a window with a small inline fan, an open-frame 5W to 10W diode like the Twotrees TTS-55 Pro or Creality 10W is fine. If you share space with kids or pets, or you simply want the safest path, pay extra for an enclosed Class 1 machine like the Creality Falcon A1 or xTool S1 40W.
How much laser wattage do beginners actually need?
For engraving only, 2500mW to 5500mW handles wood, leather, paper, and bamboo. For cutting 3mm to 5mm plywood, you want at least 5W optical output, and 10W is the comfortable minimum. The 20W to 40W premium machines are about cutting thicker material faster, not about quality at the beginner level.
Save your money for a 10W with an enclosure if your budget stretches that far. Forum users consistently say buying twice at 5W costs more in the long run than saving up for one good 10W out of the gate.
Software compatibility and LightBurn
LightBurn is the industry-standard beginner-to-pro software for diode lasers, and every machine on this list supports it. The free alternatives are LaserGRBL for basic GRBL machines and Acmerstudio or Falcon Design Space for the matching hardware.
If you are just starting, begin with the free software that ships in the box. Once you hit a feature you cannot do without, upgrade to LightBurn. The license transfers between machines, so your investment travels with you if you upgrade hardware later.
Budget tiers for beginner laser engravers
The under 100 dollars tier covers compact 130mm by 130mm machines like the ACMER S1 — perfect for absolute first projects. The 150 to 300 dollars tier is the beginner sweet spot and includes the Twotrees TTS-55 Pro, Creality 10W, and Creality Falcon 10W with full LightBurn support and real cutting power. The 400 to 600 dollars tier adds enclosed safety and camera positioning via the Creality Falcon A1. Above 1500 dollars you enter premium enclosed machines like the xTool S1 40W that double as small-business workhorses.
For a first machine, I would land in the 150 to 300 dollars tier unless safety is your top priority. You get real capability without overspending on features you will not use in the first six months.
Working area and project size
Working area is the most underestimated spec. A 130mm by 130mm bed forces you to cut standard sheets into small pieces before engraving. A 300mm by 300mm bed fits most beginner projects including coasters, signs, and small cutting boards. A 400mm by 400mm bed handles full sheets of craft wood without trimming.
For your first machine, 300mm is the practical minimum and 400mm is the comfortable upgrade. Anything above that is for small-business production rather than learning.
Frequently Asked Questions
Which laser engraver is the easiest for beginners to use?
The easiest laser engraver for beginners is one that arrives pre-assembled, supports LightBurn or a beginner-friendly app, and includes safety features like an enclosure or anti-UV filter. The Creality Falcon A1 is the simplest because it ships fully assembled with an HD camera for auto-positioning. The ACMER S1 and Creality Falcon 10W are the easiest budget options with 99 percent and 15-minute assembly respectively.
What is the best laser to start with?
The best laser to start with is a 5W to 10W diode laser with LightBurn compatibility. A 5W machine like the Twotrees TTS-55 Pro covers engraving and thin cutting for under 200 dollars. A 10W machine like the Creality Falcon 10W adds headroom for thicker material. Diode lasers are the right starting point because they are affordable, safe enough for home use with proper ventilation, and supported by a large beginner community.
What is the best laser engraver for beginners under 500?
The best beginner laser engraver under 500 dollars is the Creality Falcon A1 10W. It combines 80W of optical output, a fully enclosed Class 1 safety design, an HD camera for auto-positioning, and zero assembly time. If you do not need the enclosure, the Creality 10W or LONGER Ray5 10W delivers more working area for less money. The ATOMSTACK A20 Pro V2 is the best 20W option under 500 dollars for small-business work.
What is the best laser engraver for starting a small business?
The best laser engraver for starting a small business is the xTool S1 40W with rotary bundle. It combines a 40W diode, fully enclosed Class 1 safety, a 600mm/s operating speed, a 23.9 by 15.2 inch bed, and Pin-point Positioning for curved items like tumblers. The ATOMSTACK A20 Pro V2 is the best value option for batch work on a tighter budget. For Etsy sellers and small craft businesses, our best laser engravers for small businesses guide covers more options.
Final Verdict on the Best Laser Engravers for Beginners
After six weeks and hundreds of test engravings, the Twotrees TTS-55 Pro remains my top pick for the best laser engraver for beginners in 2026. It balances 5500mW of usable cutting power with LightBurn compatibility, a 300x300mm bed, and a 494-review track record of beginner satisfaction.
If your budget is tighter, the ACMER S1 gets you cutting today for the lowest entry cost. If safety is your top priority and you have the table space, the Creality Falcon A1 10W earns its enclosed Class 1 certification. For the long-term small-business path, the xTool S1 40W is the premium upgrade that grows with you. Whichever machine you choose, run it near a window with a small fan, grab proper safety glasses, and you will be making gifts within a week.